Saturday, August 27, 2011

Asian Ginger Dressing


Ingredients:
3 cloves garlic, minced
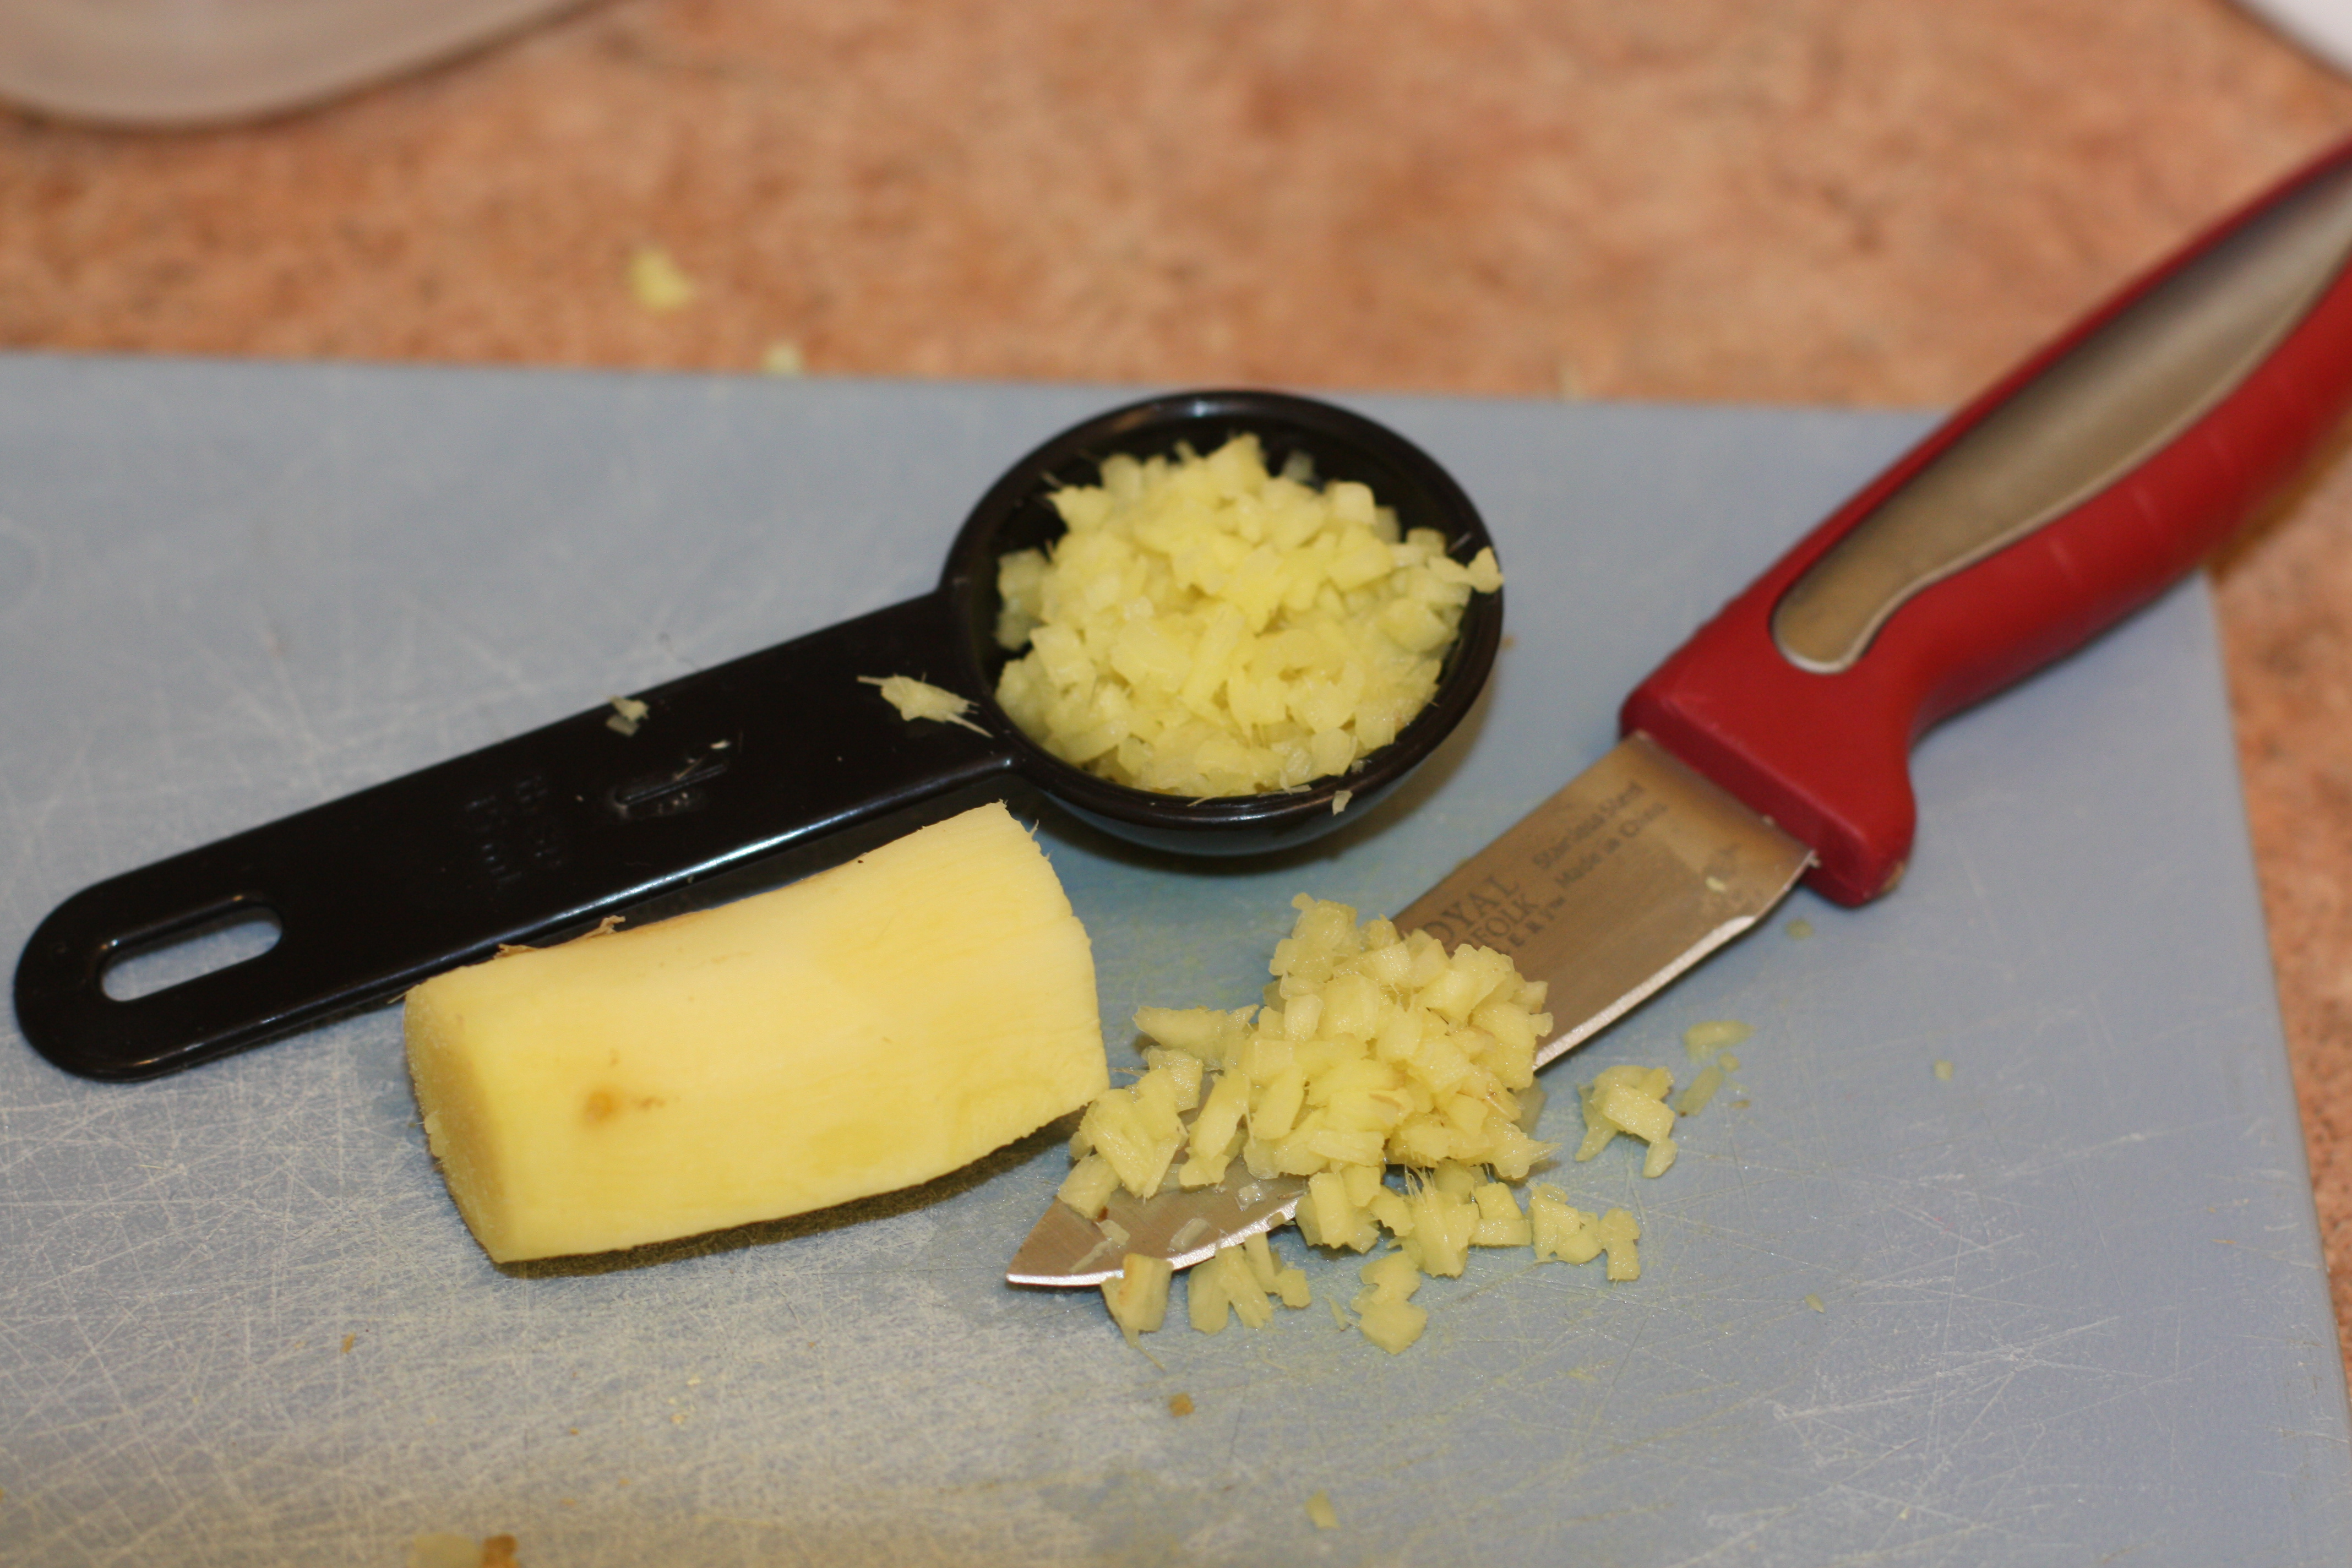
2 Tbsp minced ginger root
3/4 cup olive oil
1/3 cup rice vinegar
1/2 cup soy sauce
3 tablespoons honey
1/4 cup water

Directions:
1. Combine all ingredients into a jar or other storage container.
2. Cover container and shake well.
3. Heat dressing for 1 minute to dissolve honey.
4. Cool to use and store extra in refrigerator.

This dressing is delicious, but tastes very salty. If you're not a fan, decrease the amount of soy sauce to 1/4 cup.

Vegetable Stock


Ingredients:
2 quarts (1/2 gallon) of water
5 medium carrots
5 celery stalks
2 medium onions
3 medium potatoes
1 sweet potato
3 cloves of garlic
1 medium to large tomato
3 Tbsp olive oil
2 Tbsp fresh cilantro (or other fresh herbs)
1 tsp salt
1 tsp pepper
1 tsp dried parsley

TIP: If you want to maximize the flavor from your vegetables, cut them a little finer. The smaller the pieces the more surface area will be exposed to the water and infused into your broth.

Directions:
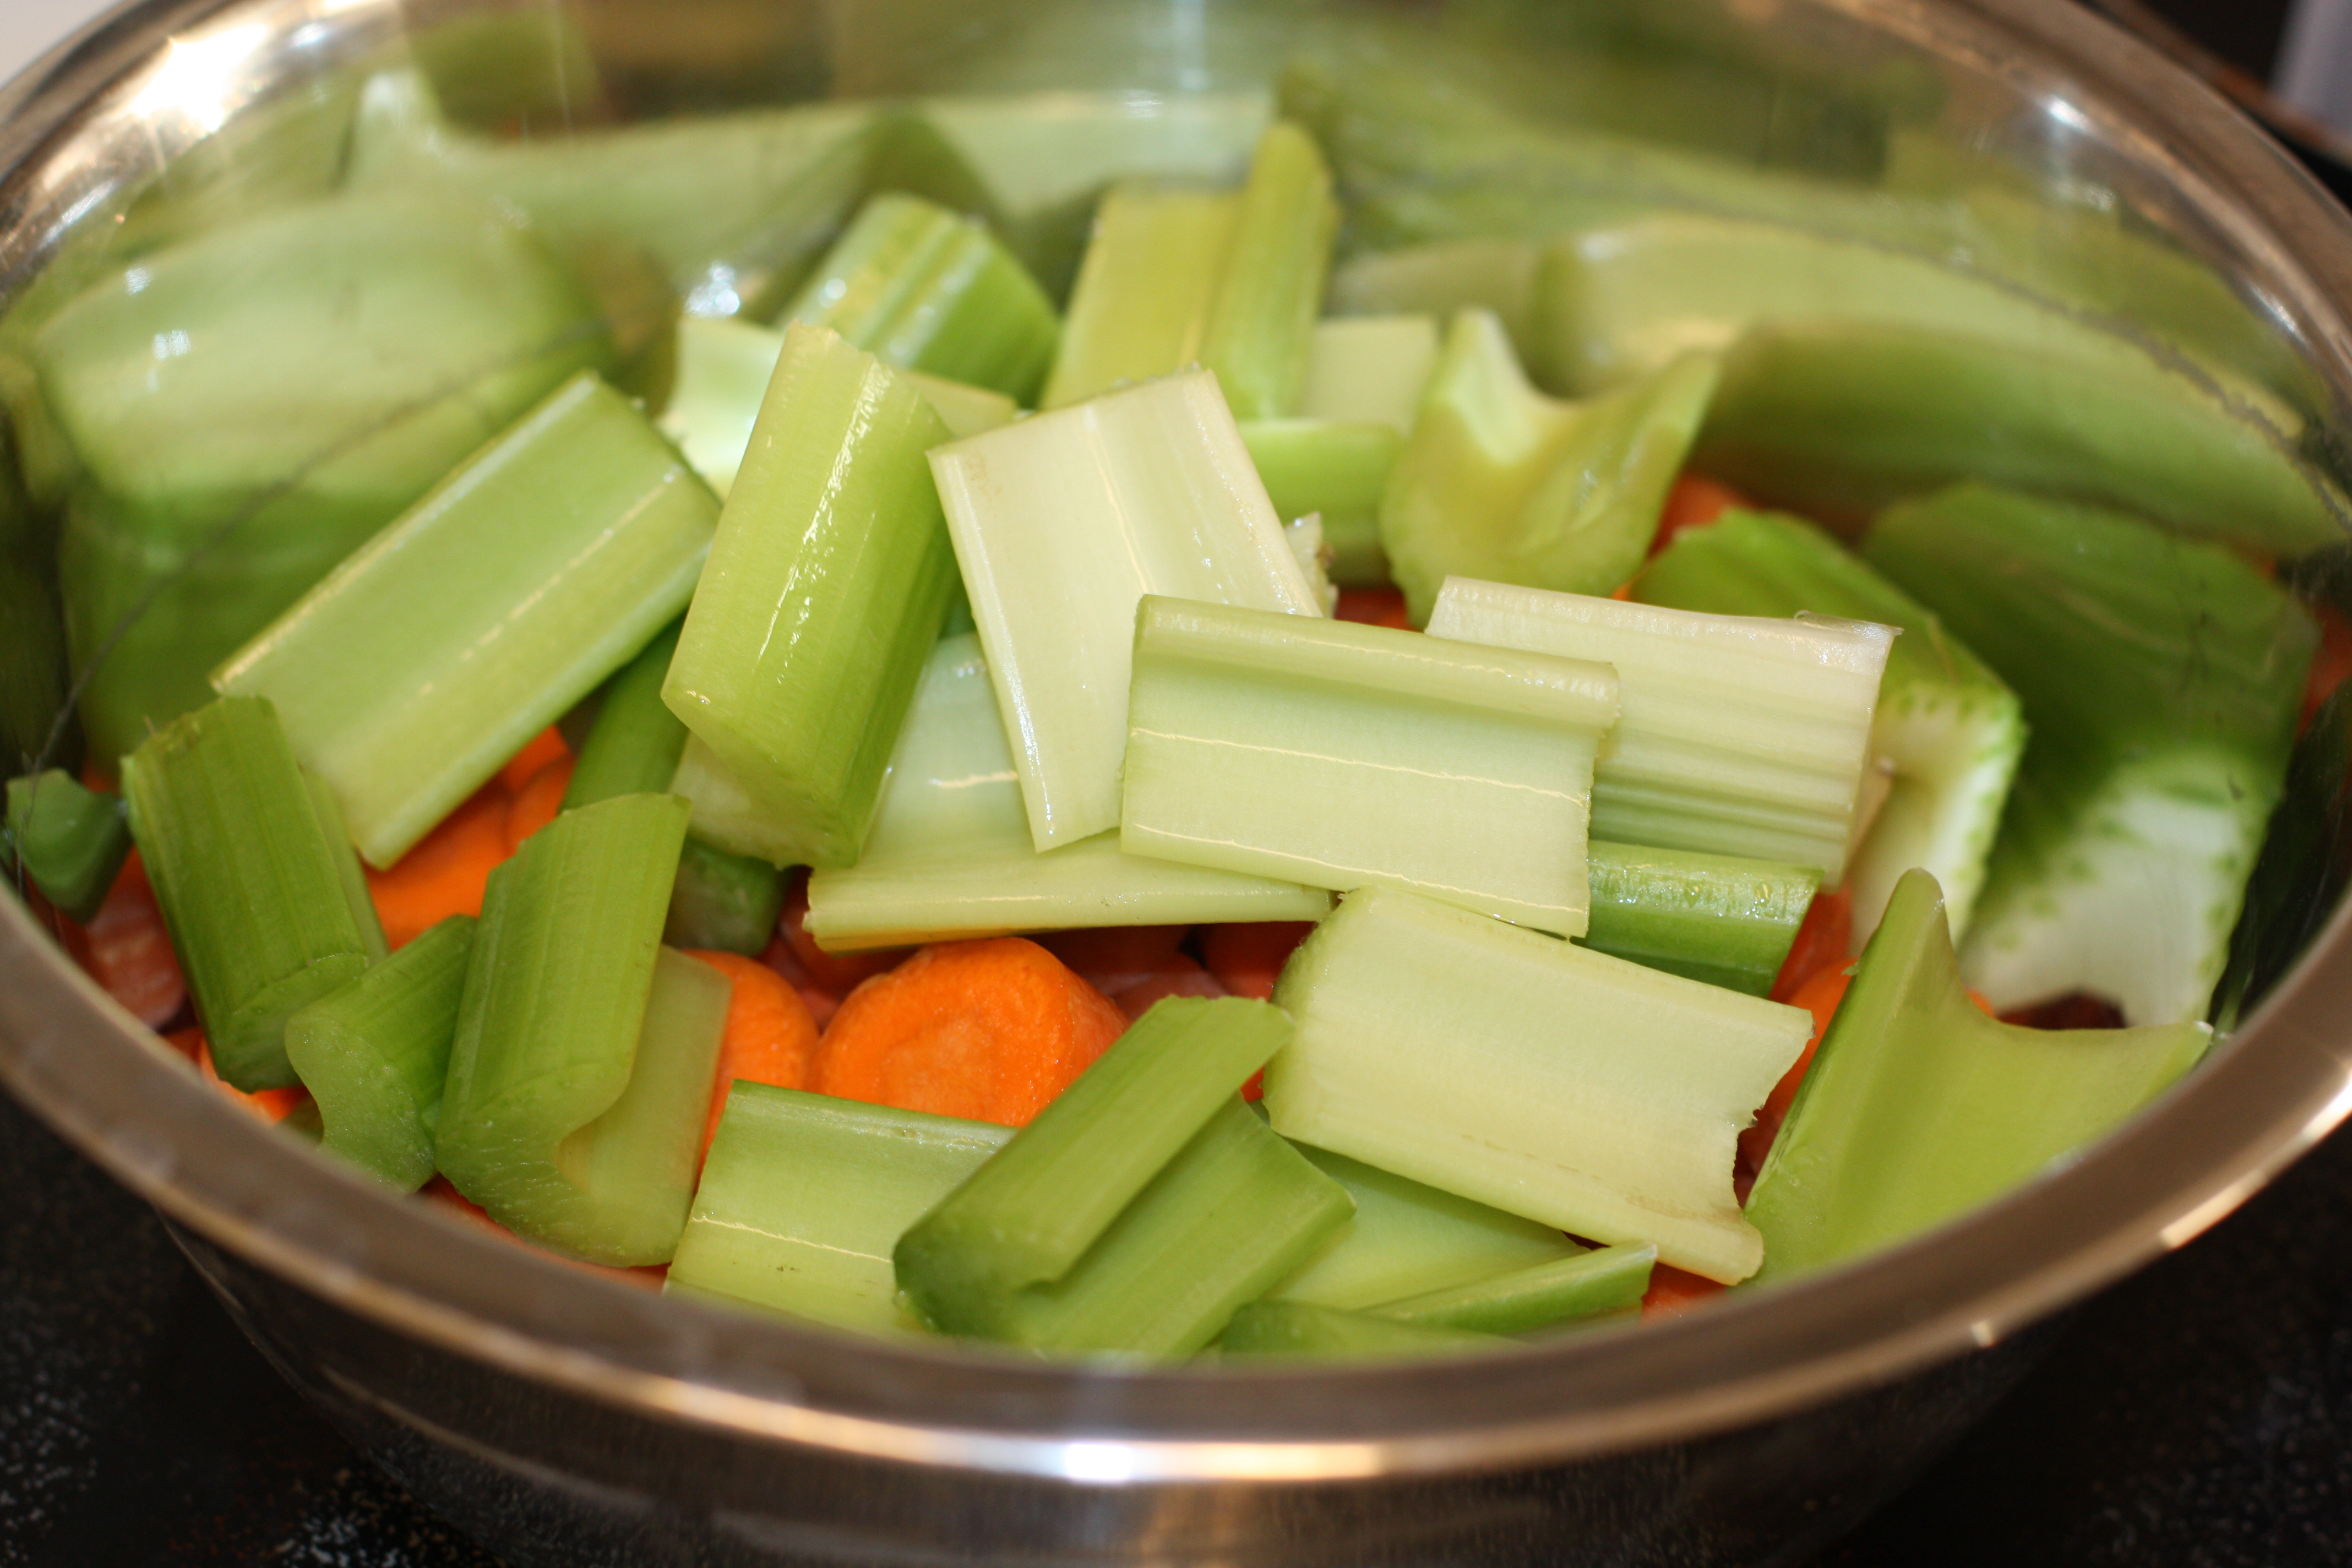
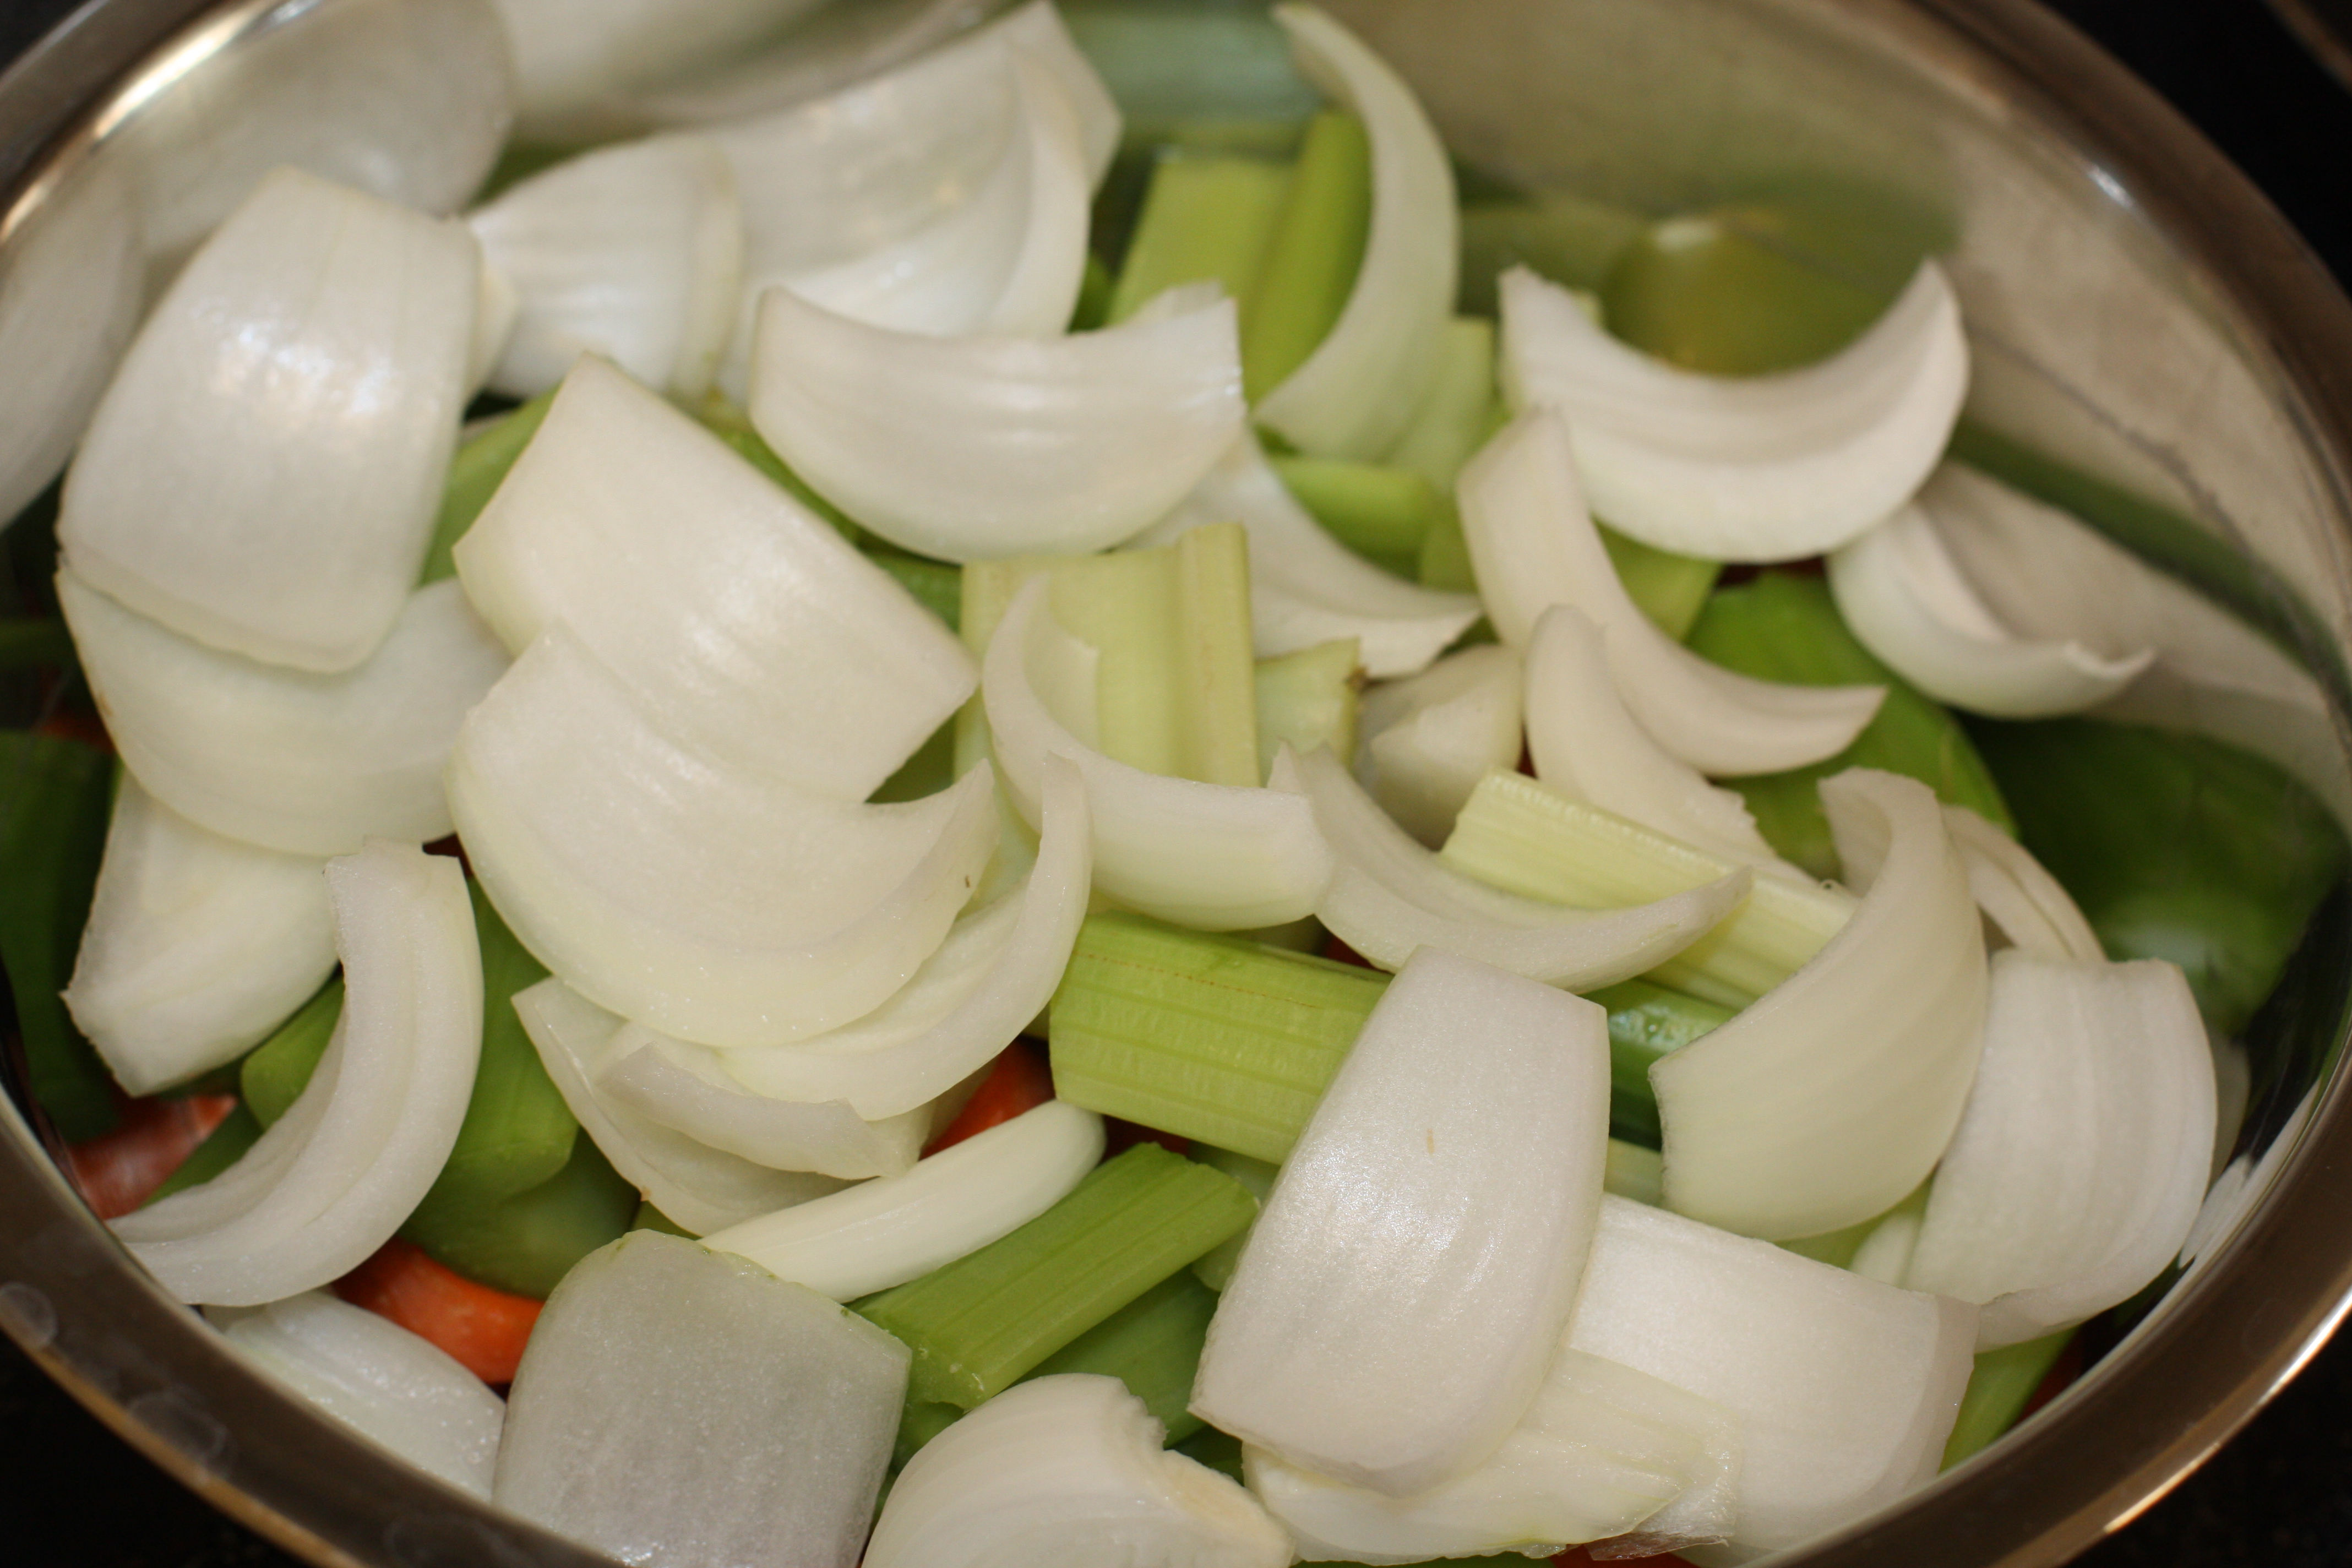
1. Chop all vegetables, placing all aromatics (carrots, onions, celery, and garlic in the same bowl).

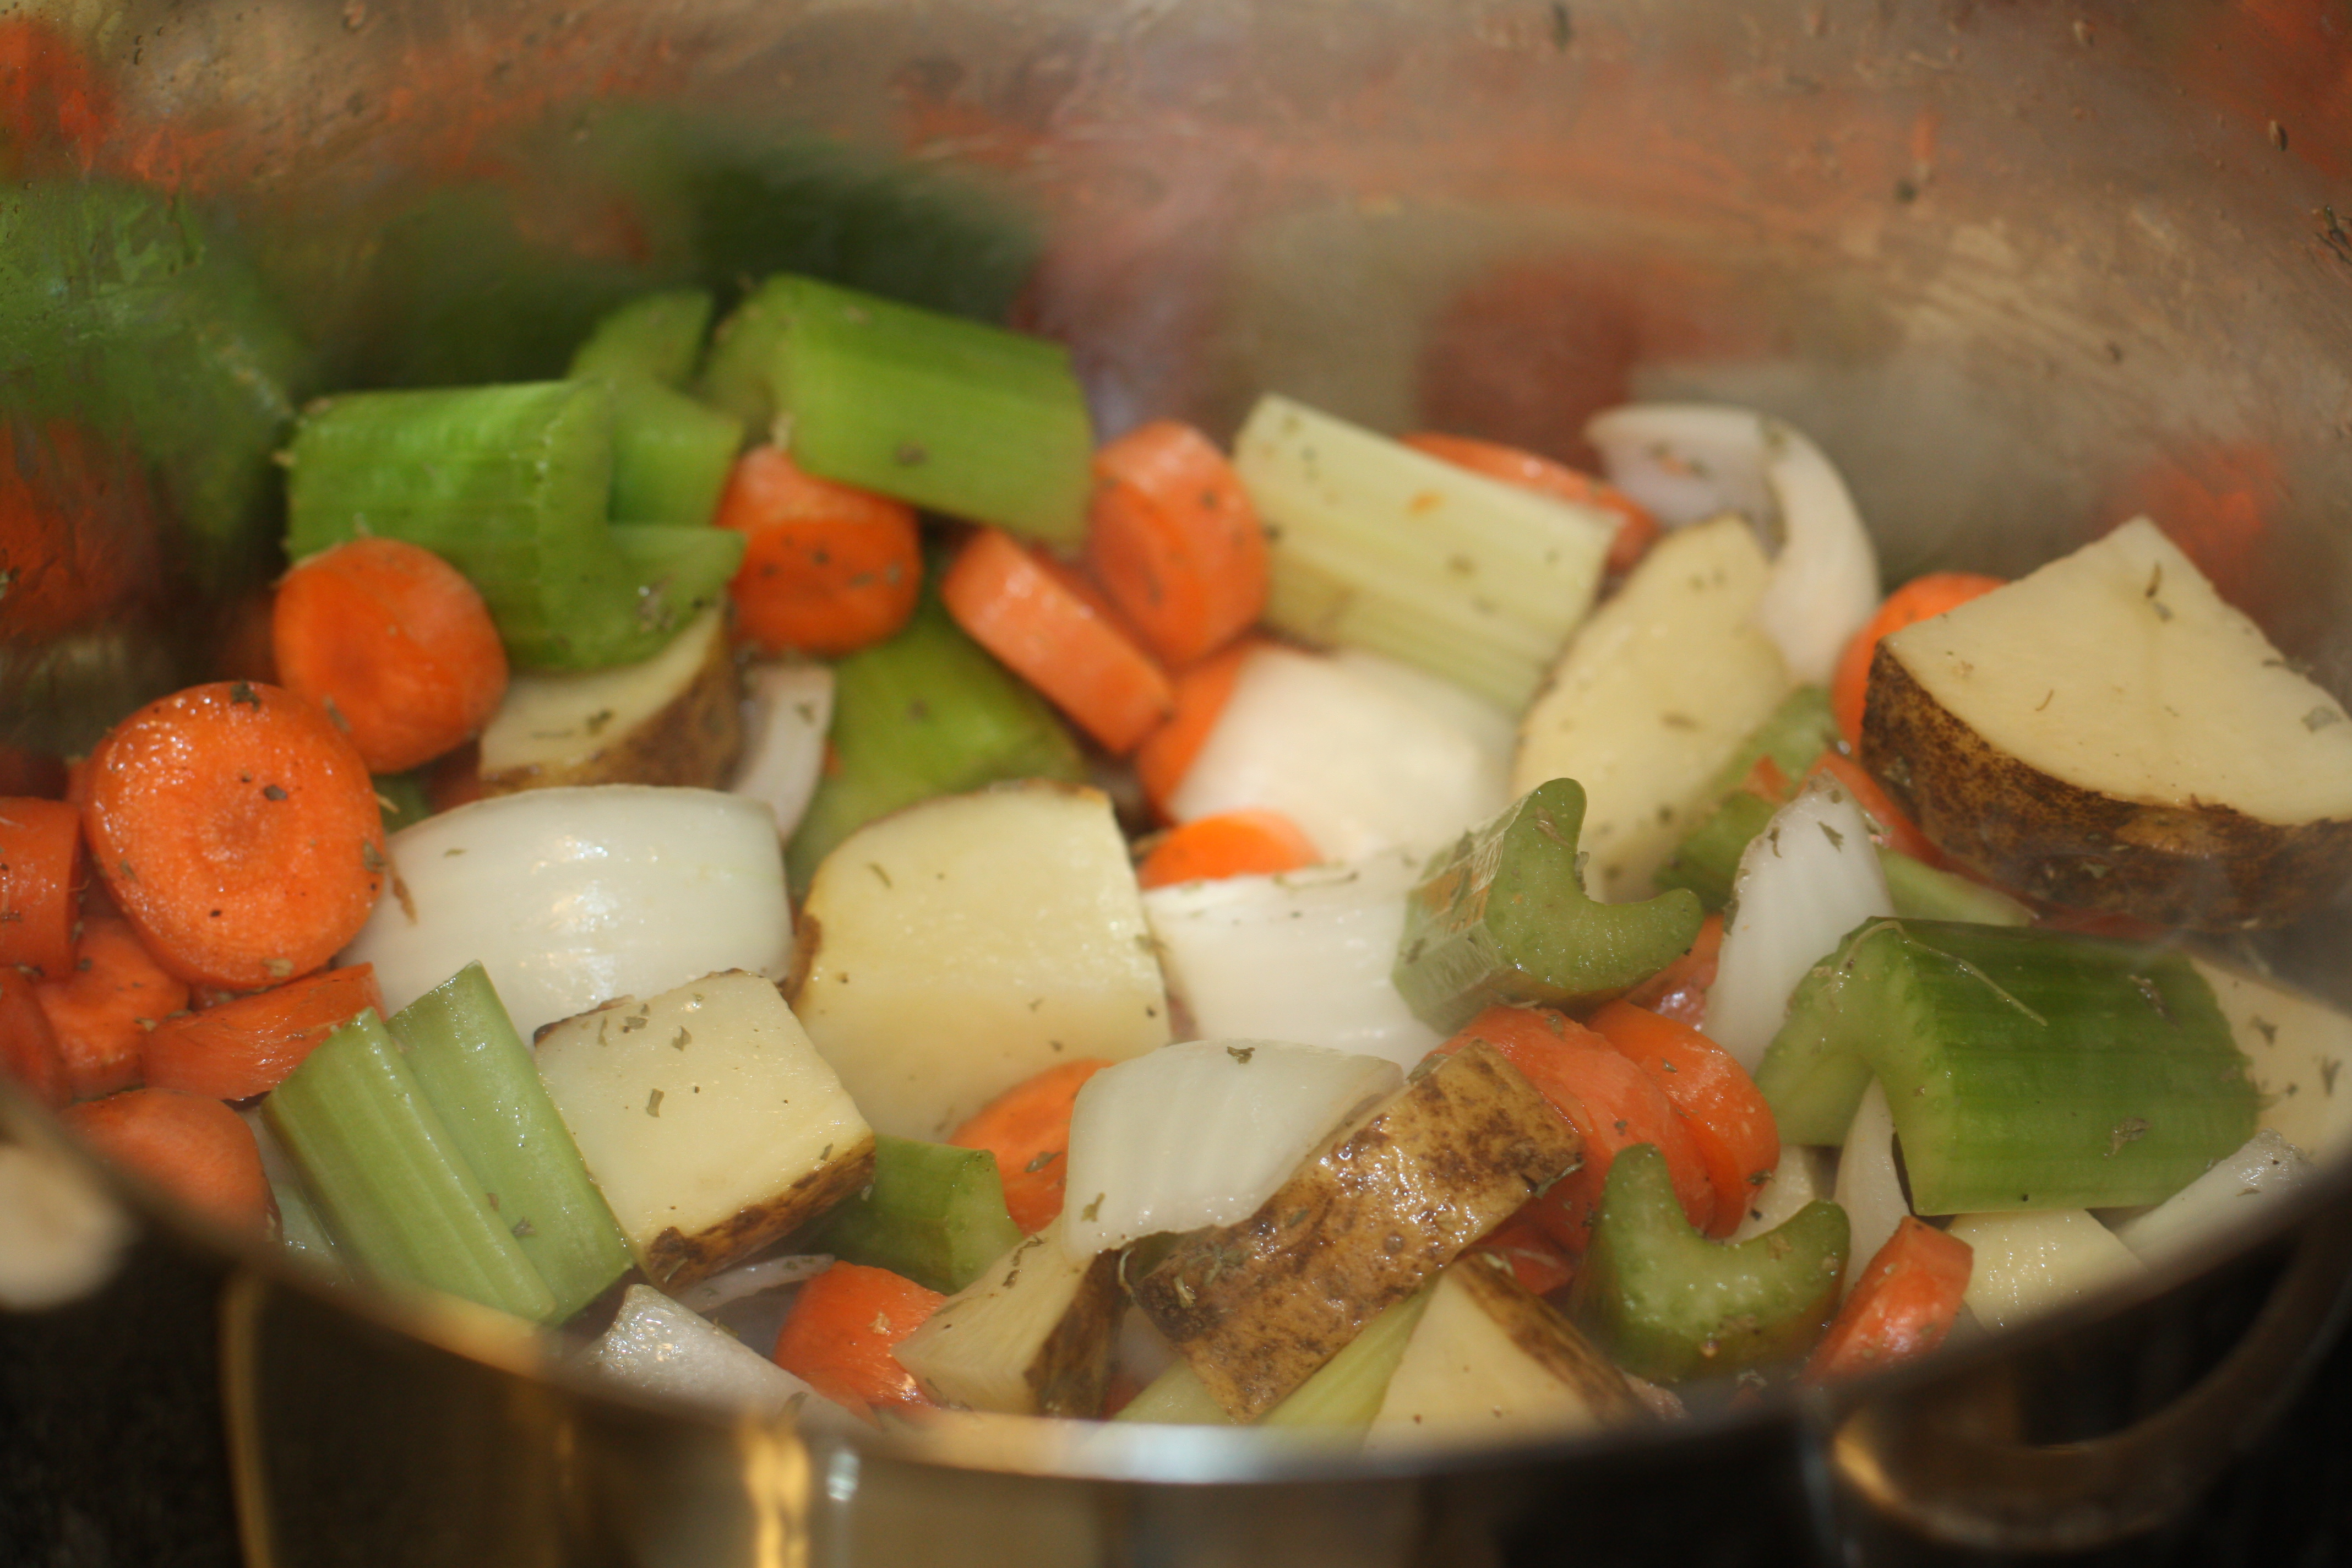
2. Coat pot with olive oil and heat at medium high. Place aromatics into the pot and sweat for a few minutes to create a strong flavor base.
3. Add the rest of the vegetables and seasonings to the pot.
3. Pour in water, cover pot, and bring to a boil.
4. Reduce heat and simmer for about 2 hours.
5. Strain the stock. Use immediately, store in refrigerator 2-3 days, or store in the freezer for a couple months.

So far I've used the broth to cook noodles, make soup, and even warmed some in a sippy cup for my son when he was sick.

Friday, August 26, 2011

DIY Canvas Wall Art . . . Continued


In my last post I made a canvas for a large wall of nothingness that exists above our bed. Of course, one piece of magnificent art would not be enough to fill up the space.
I just needed to figure out the perfect pieces to make that would compliment the first.
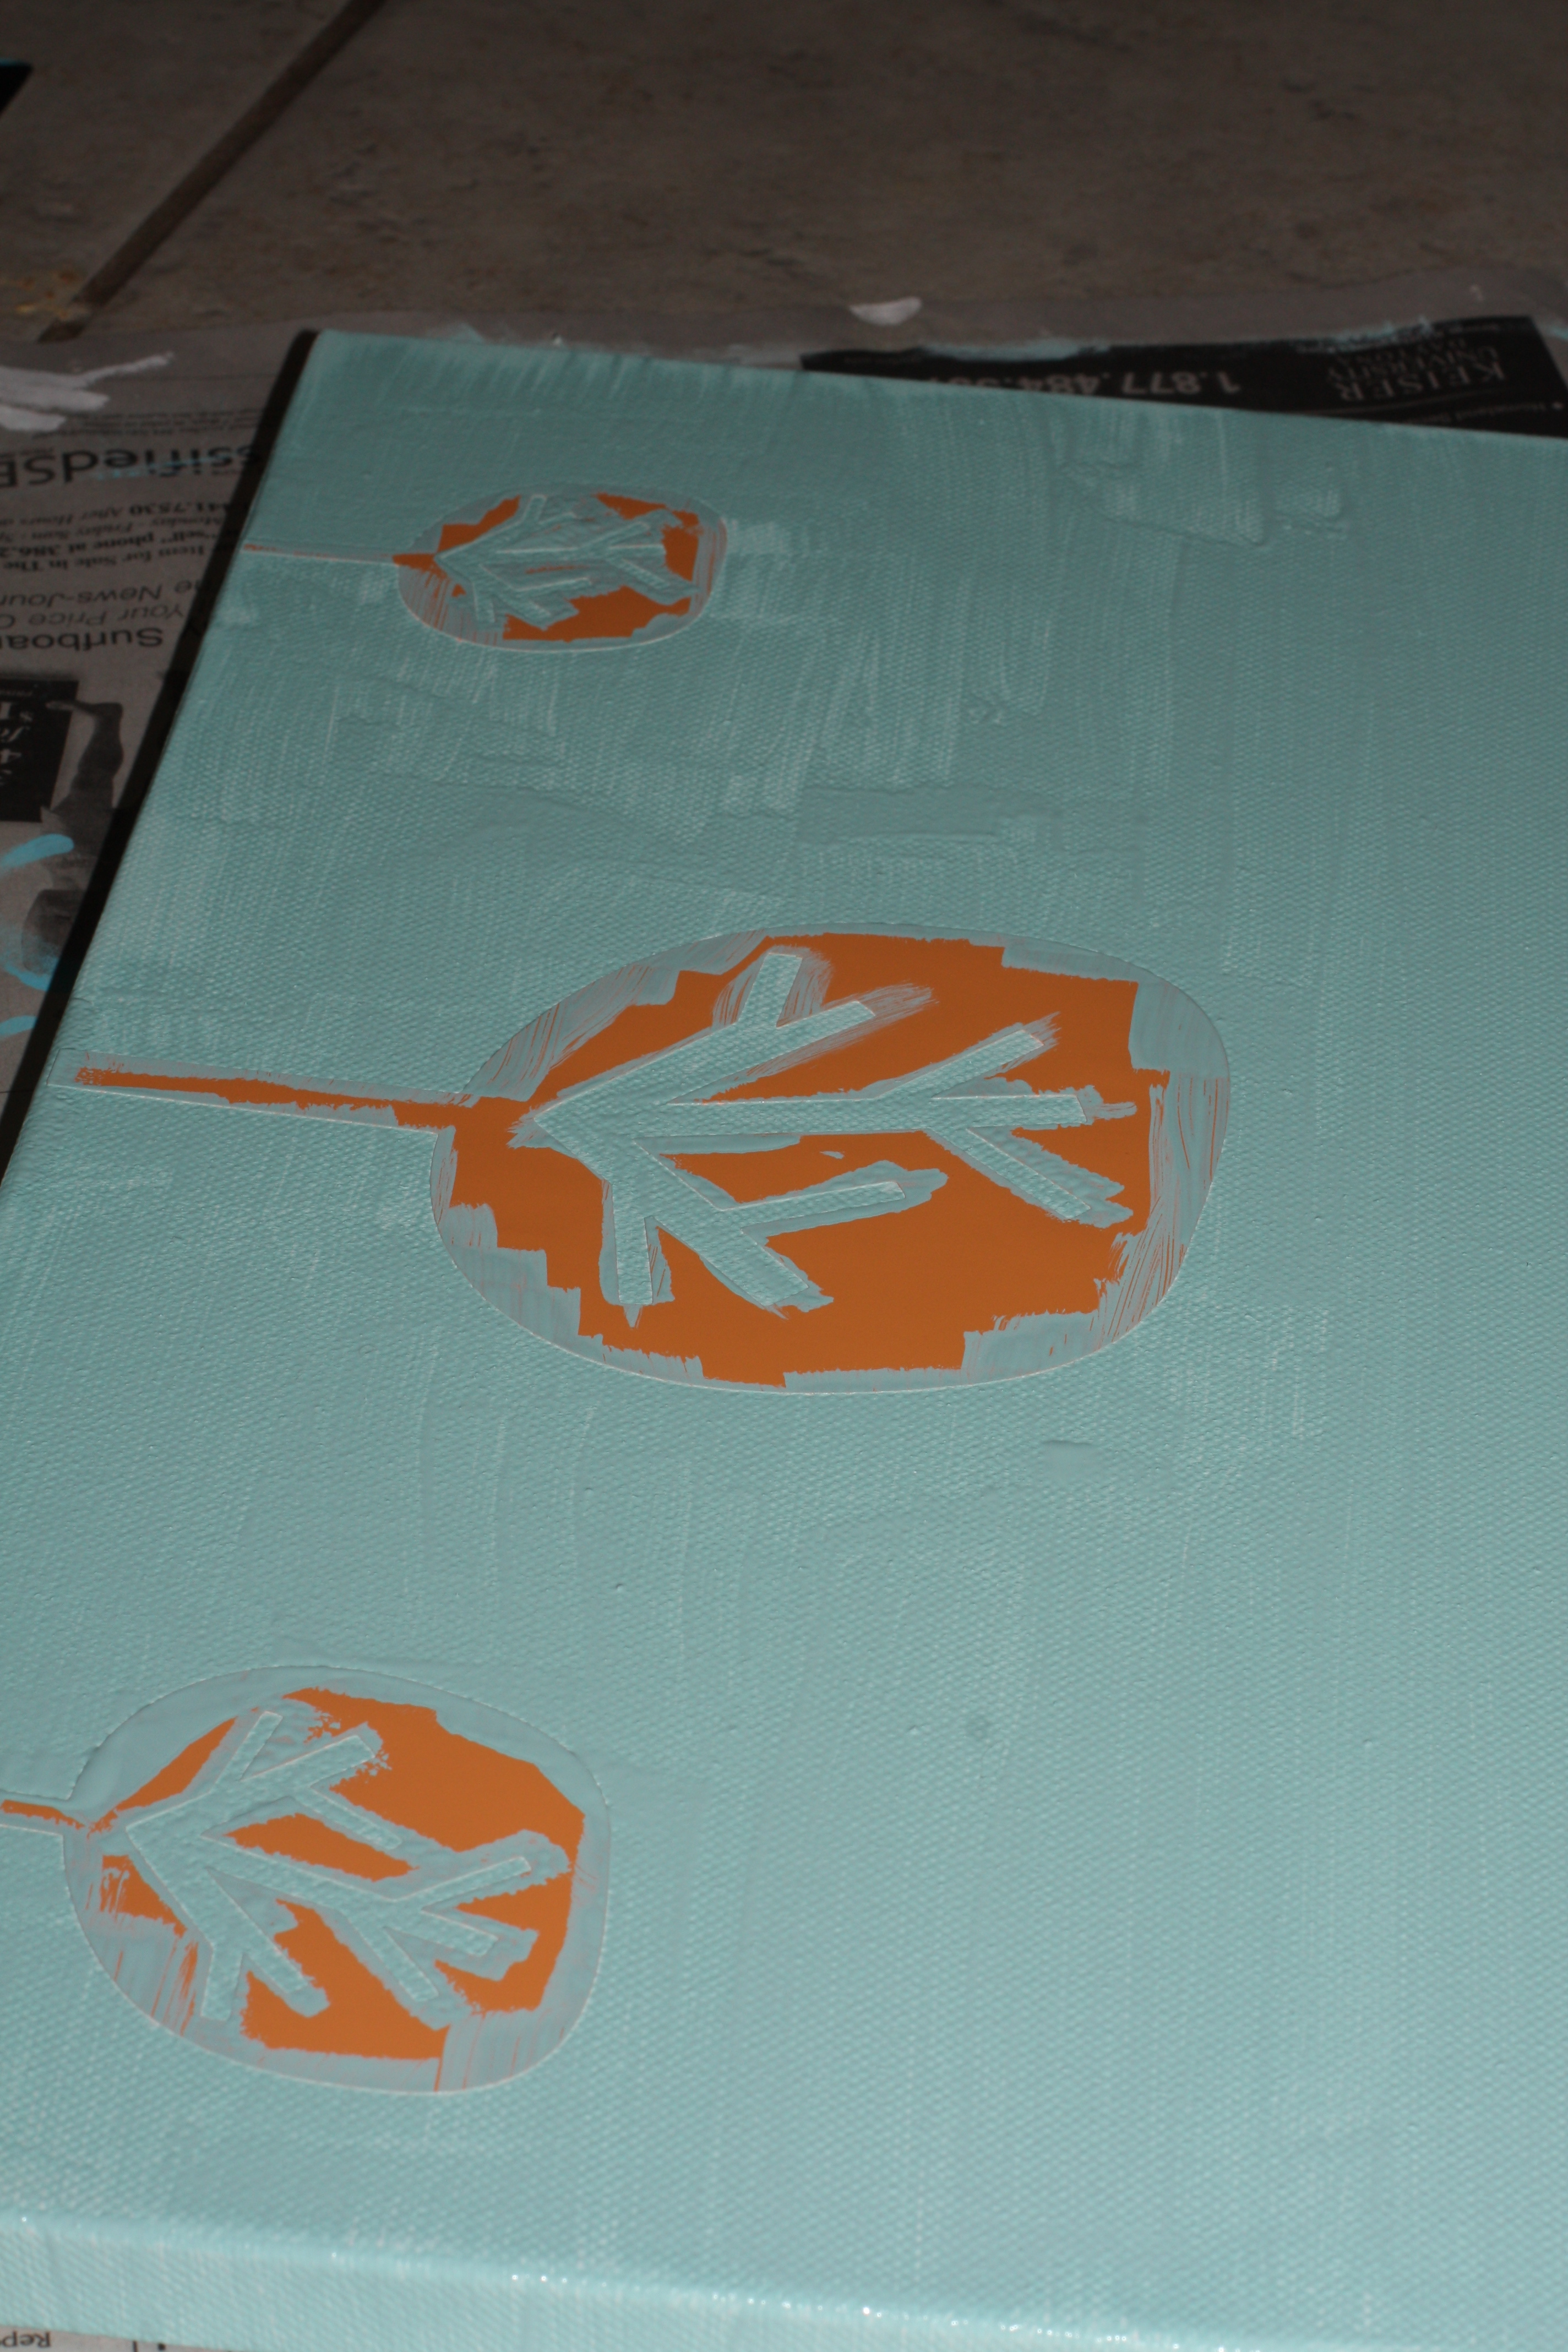
Here's what I came up with:
Figures my camera would decide this should be the photograph to gather exceptionally specific detail like the white touch ups I made, but you really can't tell when looking at it.
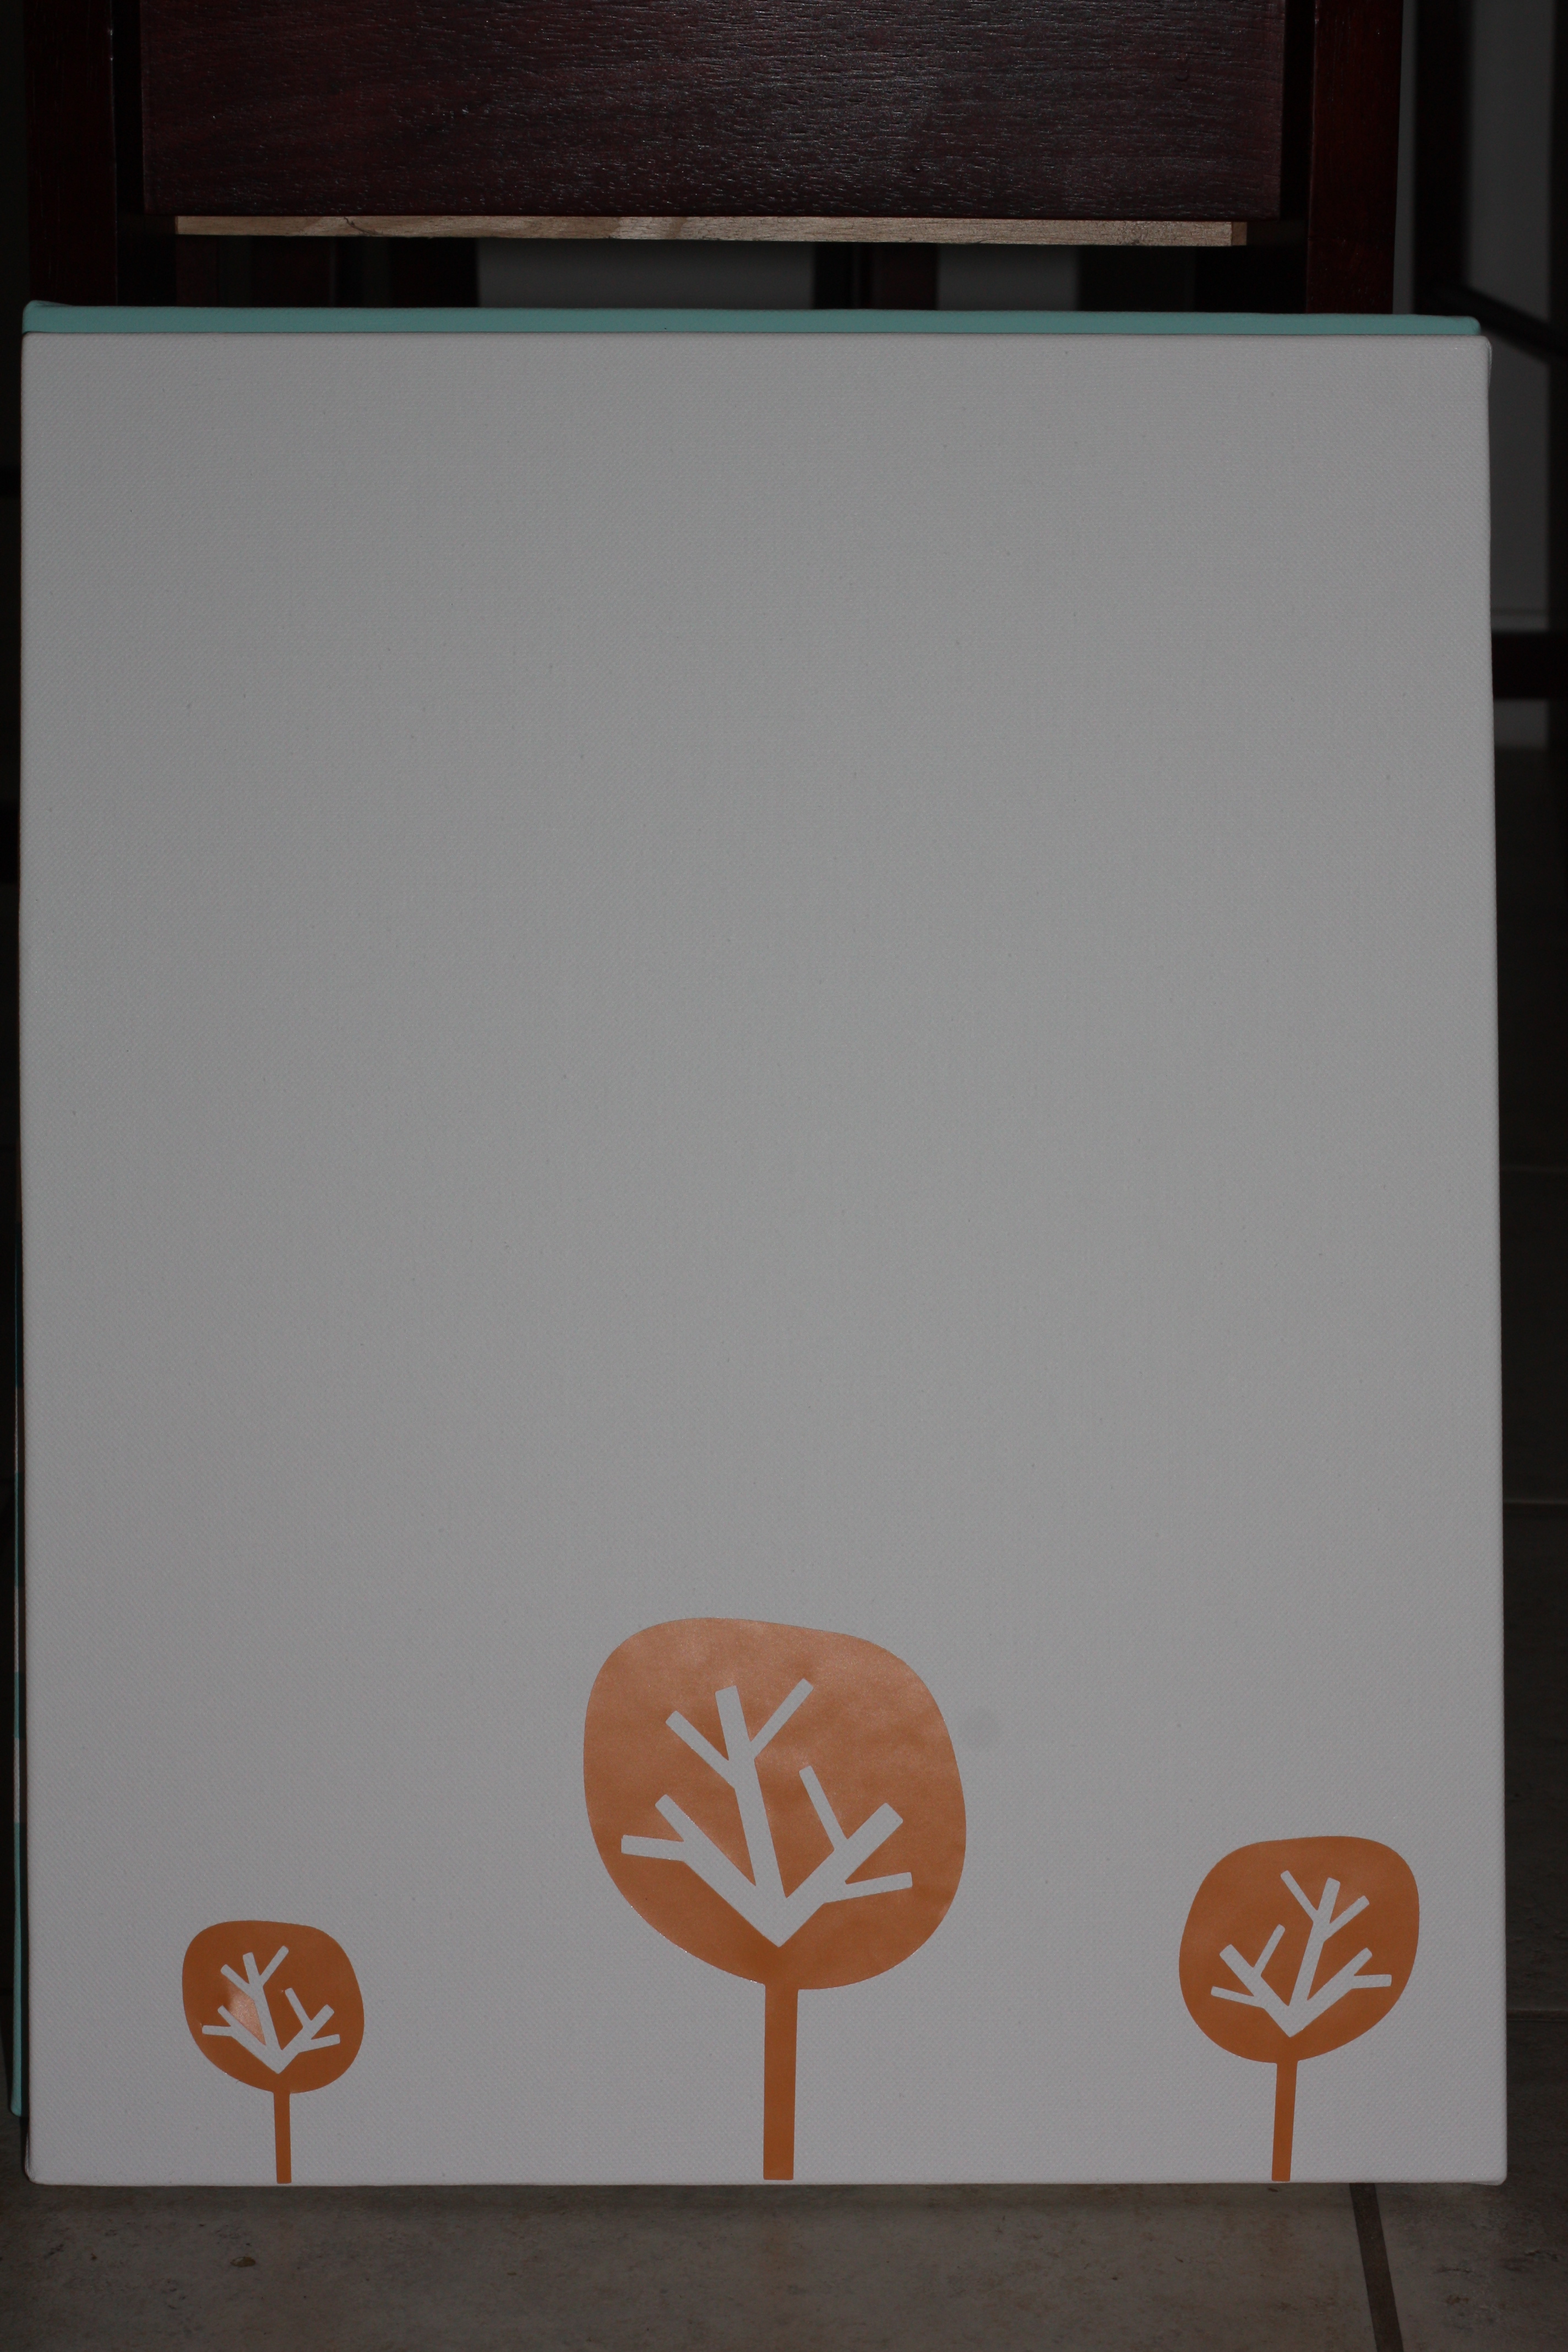
The first painting I made by placing vinyl stickers on the canvas and painting over the entire canvas. Once dry, I removed the vinyl.
The final painting in this series took me forever to decide on and the longest to make.
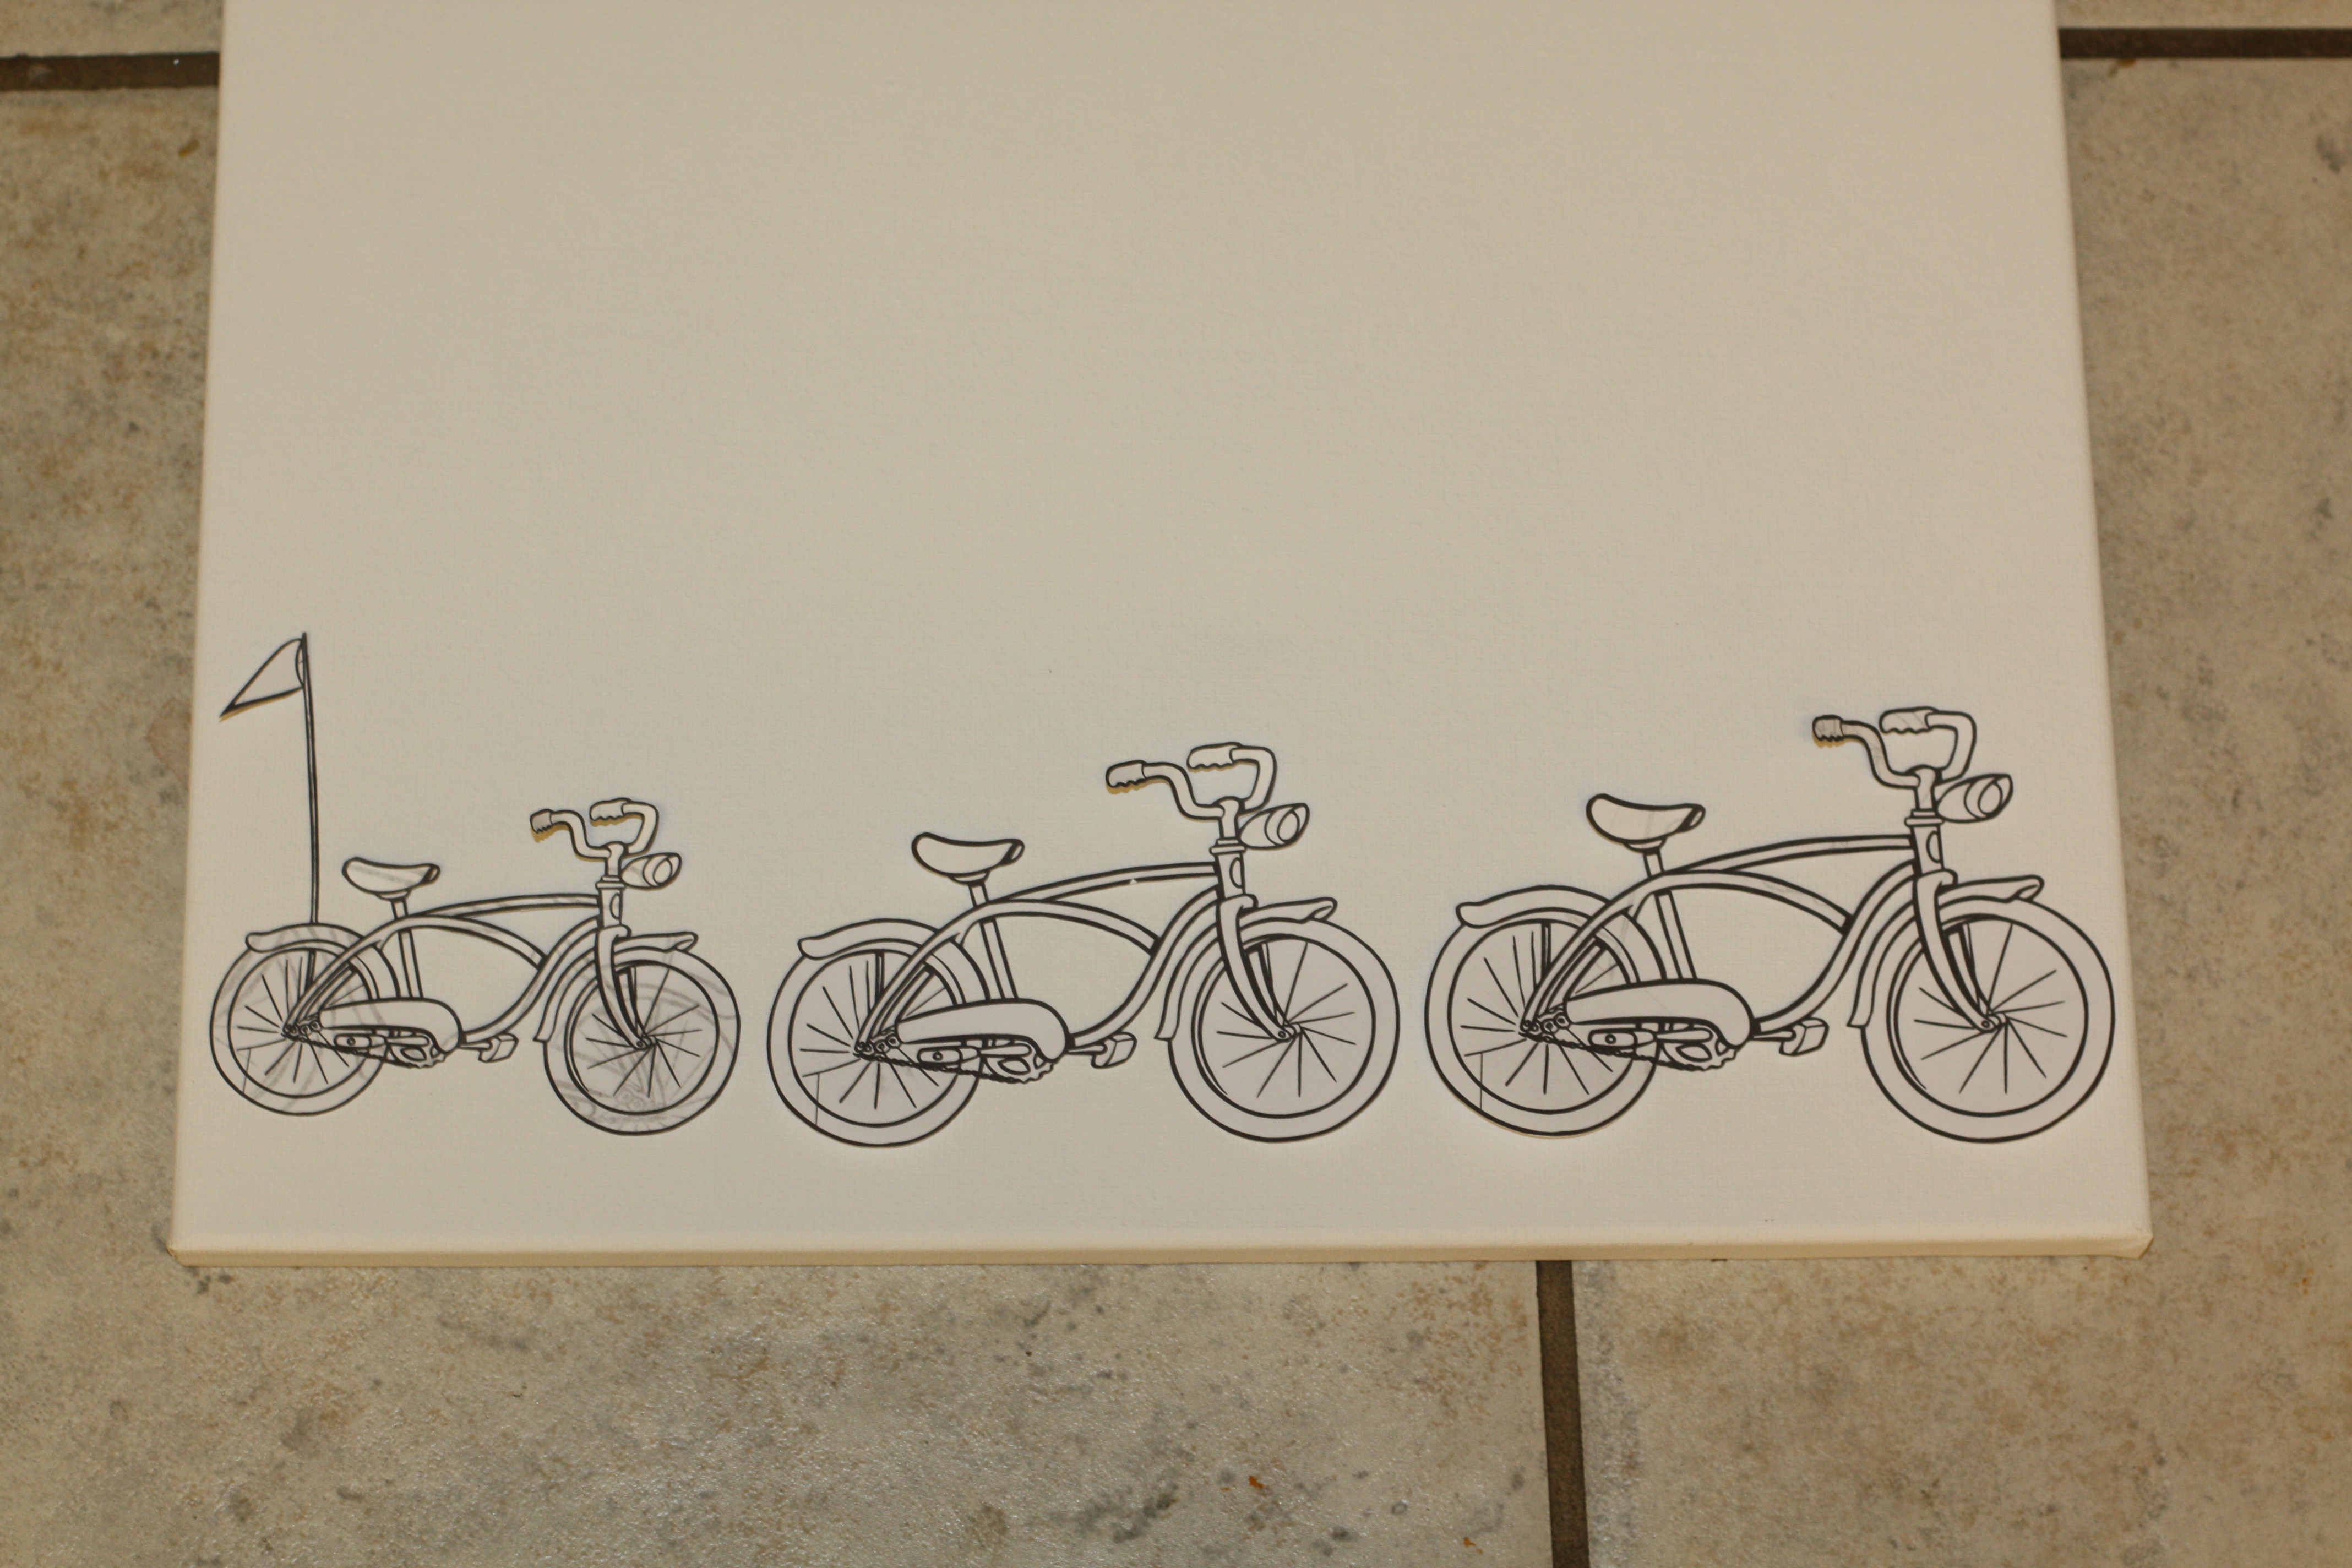
I wanted something that represented our family and since we love taking bike rides my idea was to have 3 bikes decreasing in size (papa, mama, baby bikes). Unfortunately since the canvas needed to be painted vertically to fit with the other paintings it is somewhat difficult to notice the size differences, but I still love how it turned out.
I found some clip art of a bike I like and printed it at 100%, 90%, and 75%. I then cut them out, placed them on the canvas, and painted over them.
It was messy with all the detail and I had to do a LOT of touch ups, but it was worth it I think.
These definitely fill up the space better than the wedding photograph that previously occupied this space.
Total Cost: $9
Canvas - $2.50 each x 3 = $7.50
Paint - $0.50 each x 3 = $1.50
Friday, August 19, 2011

DIY Canvas Wall Art

I saw this on BHG and posted all over pinterest and had to have my own. 
We've had this 11x14 wedding picture above our bed:


 and despite it being disproportionately small for the space we've kept it there for over 2 years.

I figured this would be the perfect project for the space. So I got to work.

I took a 16x20 canvas and placed pieces of painter's tape across in lines of varying angles. 


Then pressed the tape down with a shopping card, which I'm not sure made any difference.


Paint!


I used 2 shades of blue, but you can use more or less.


Peel the tape before it is completely dry so it doesn't pull paint off the canvas.


Just like when you paint walls using painter's tape, paint seeps underneath. Just cover with white paint.

BHG painted the entire canvas first, then covered it with white tape. I didn't realize that until after I made my painting since I just assumed how they had made it and read the directions after.

I prefer my variation anyway.

The final product, dried and touched up.


Monday, August 15, 2011

DIY Magazine Holders

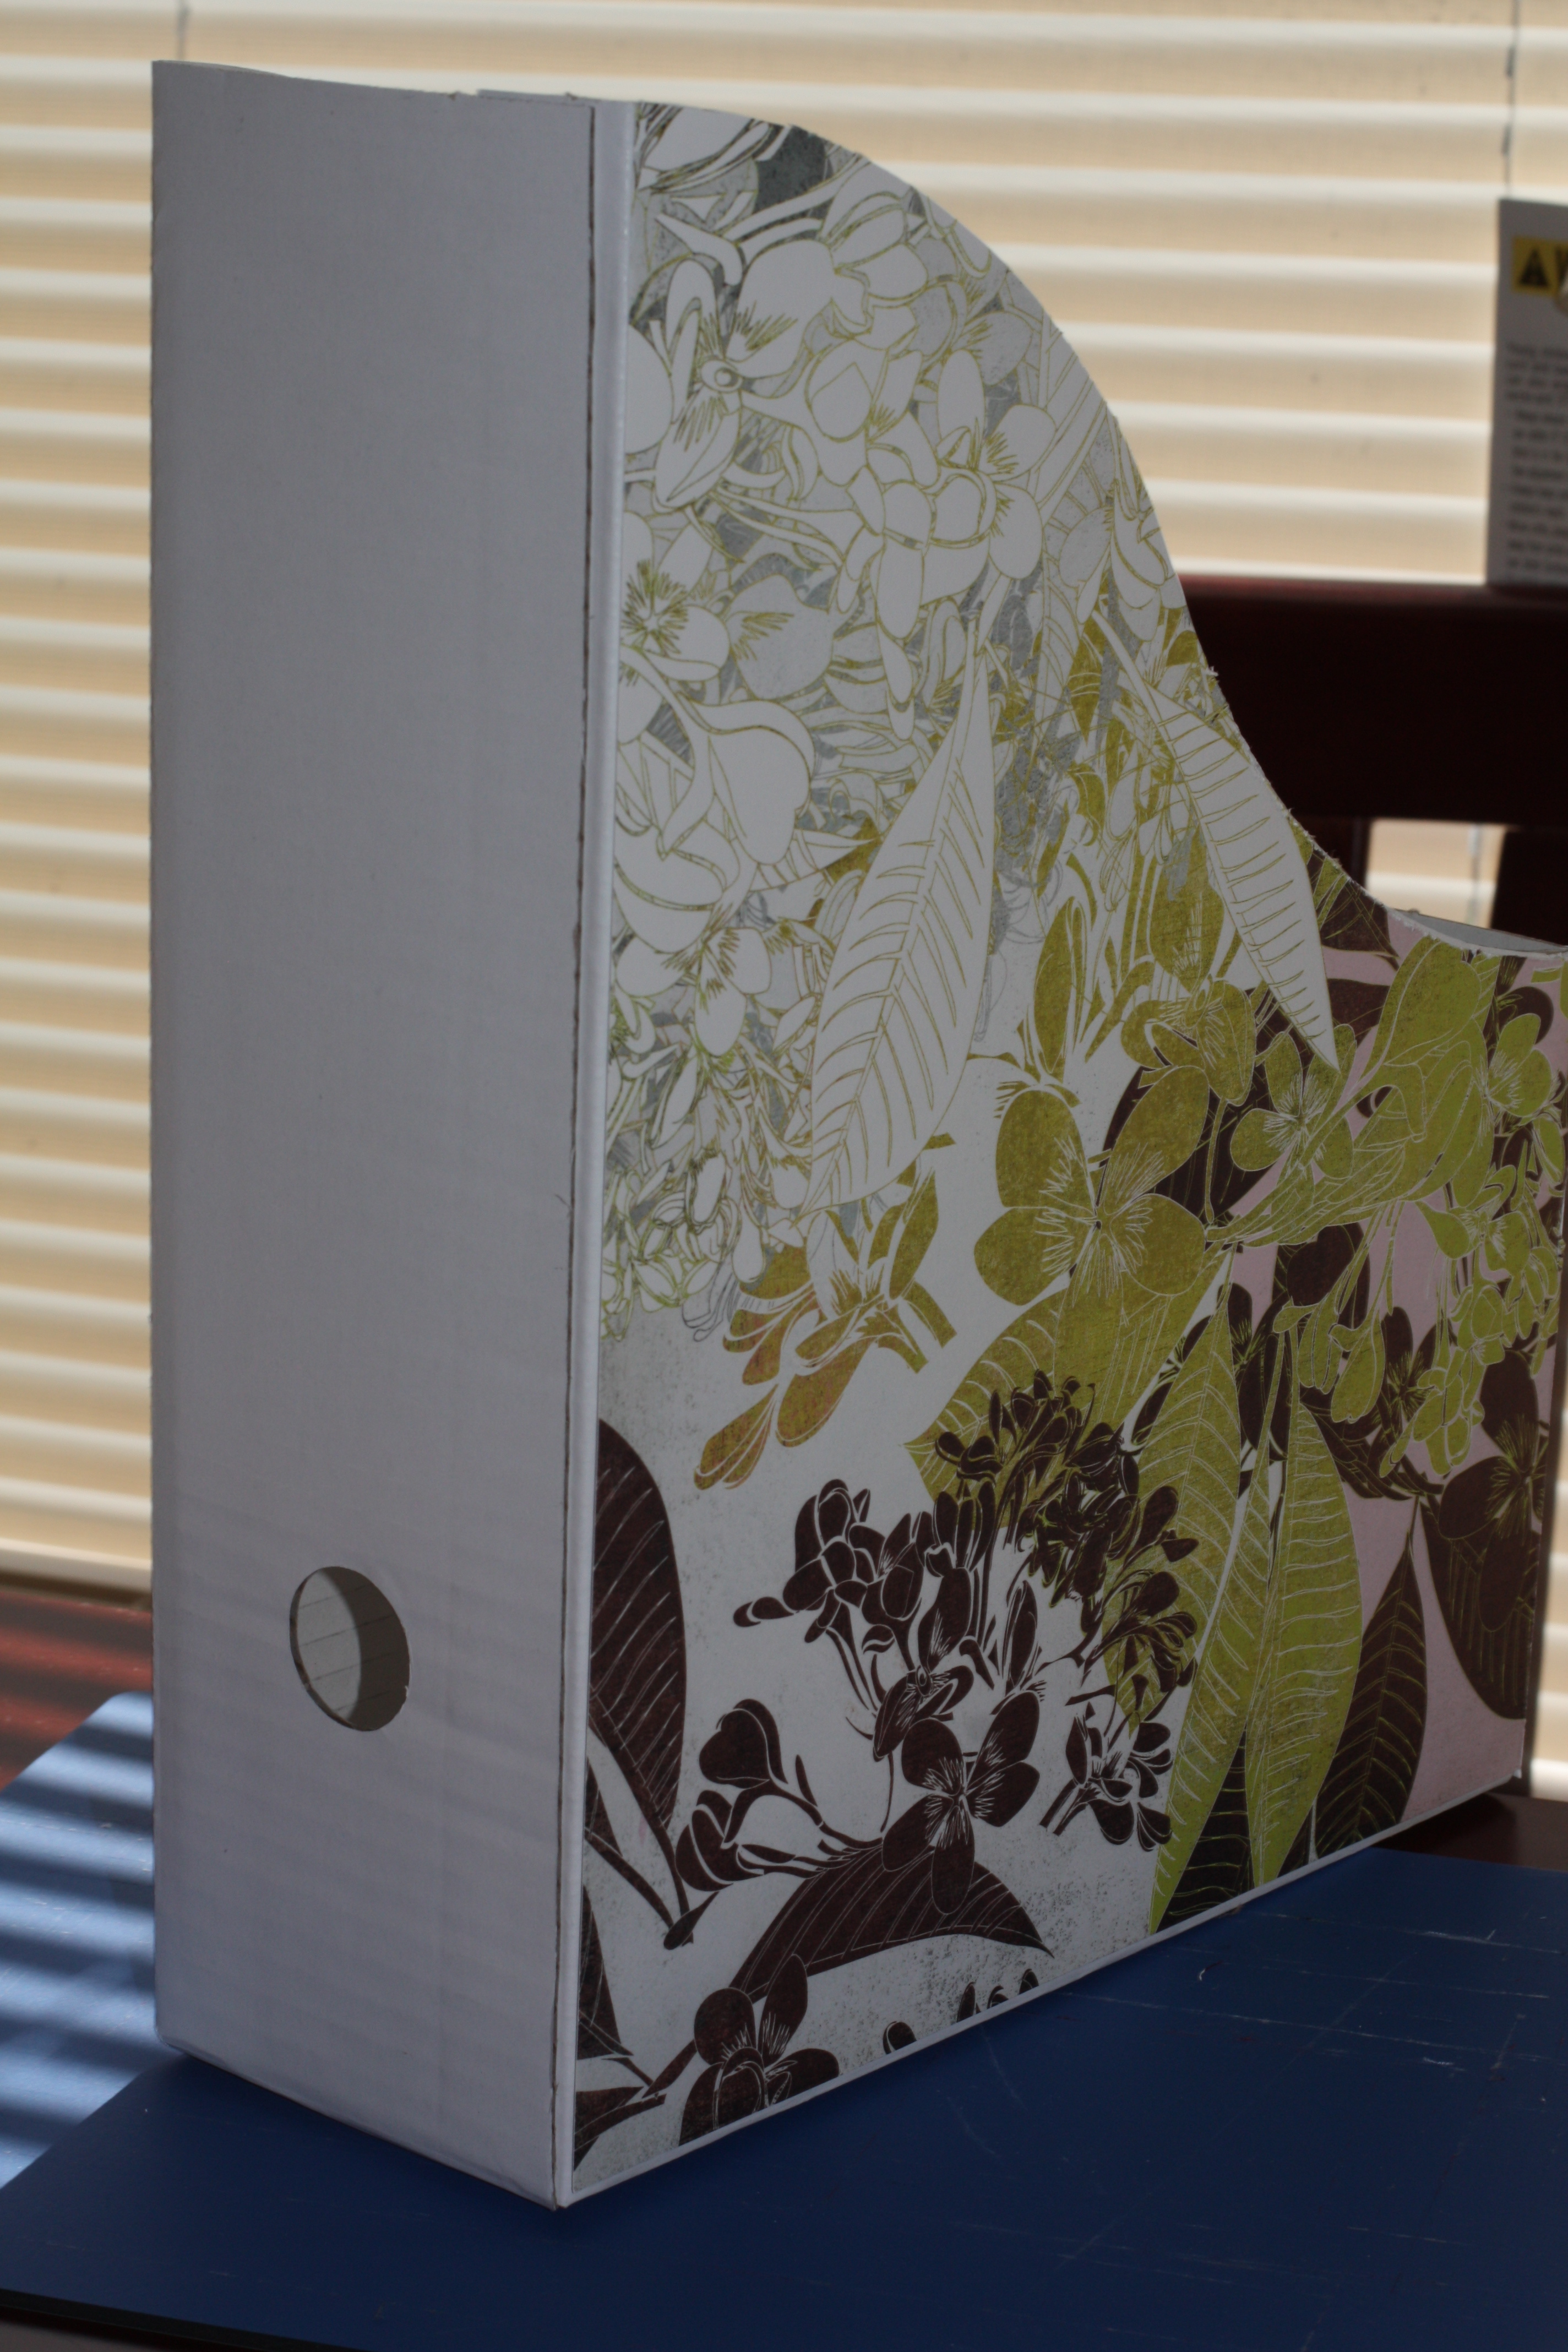
Ok, this isn't a complete DIY . . . I cheated. I found 5 plain cardboard magazine holders at Ikea for $3! I thought it was quite a steal and worth the time it would save me making 5 out of cereal or mailing boxes.


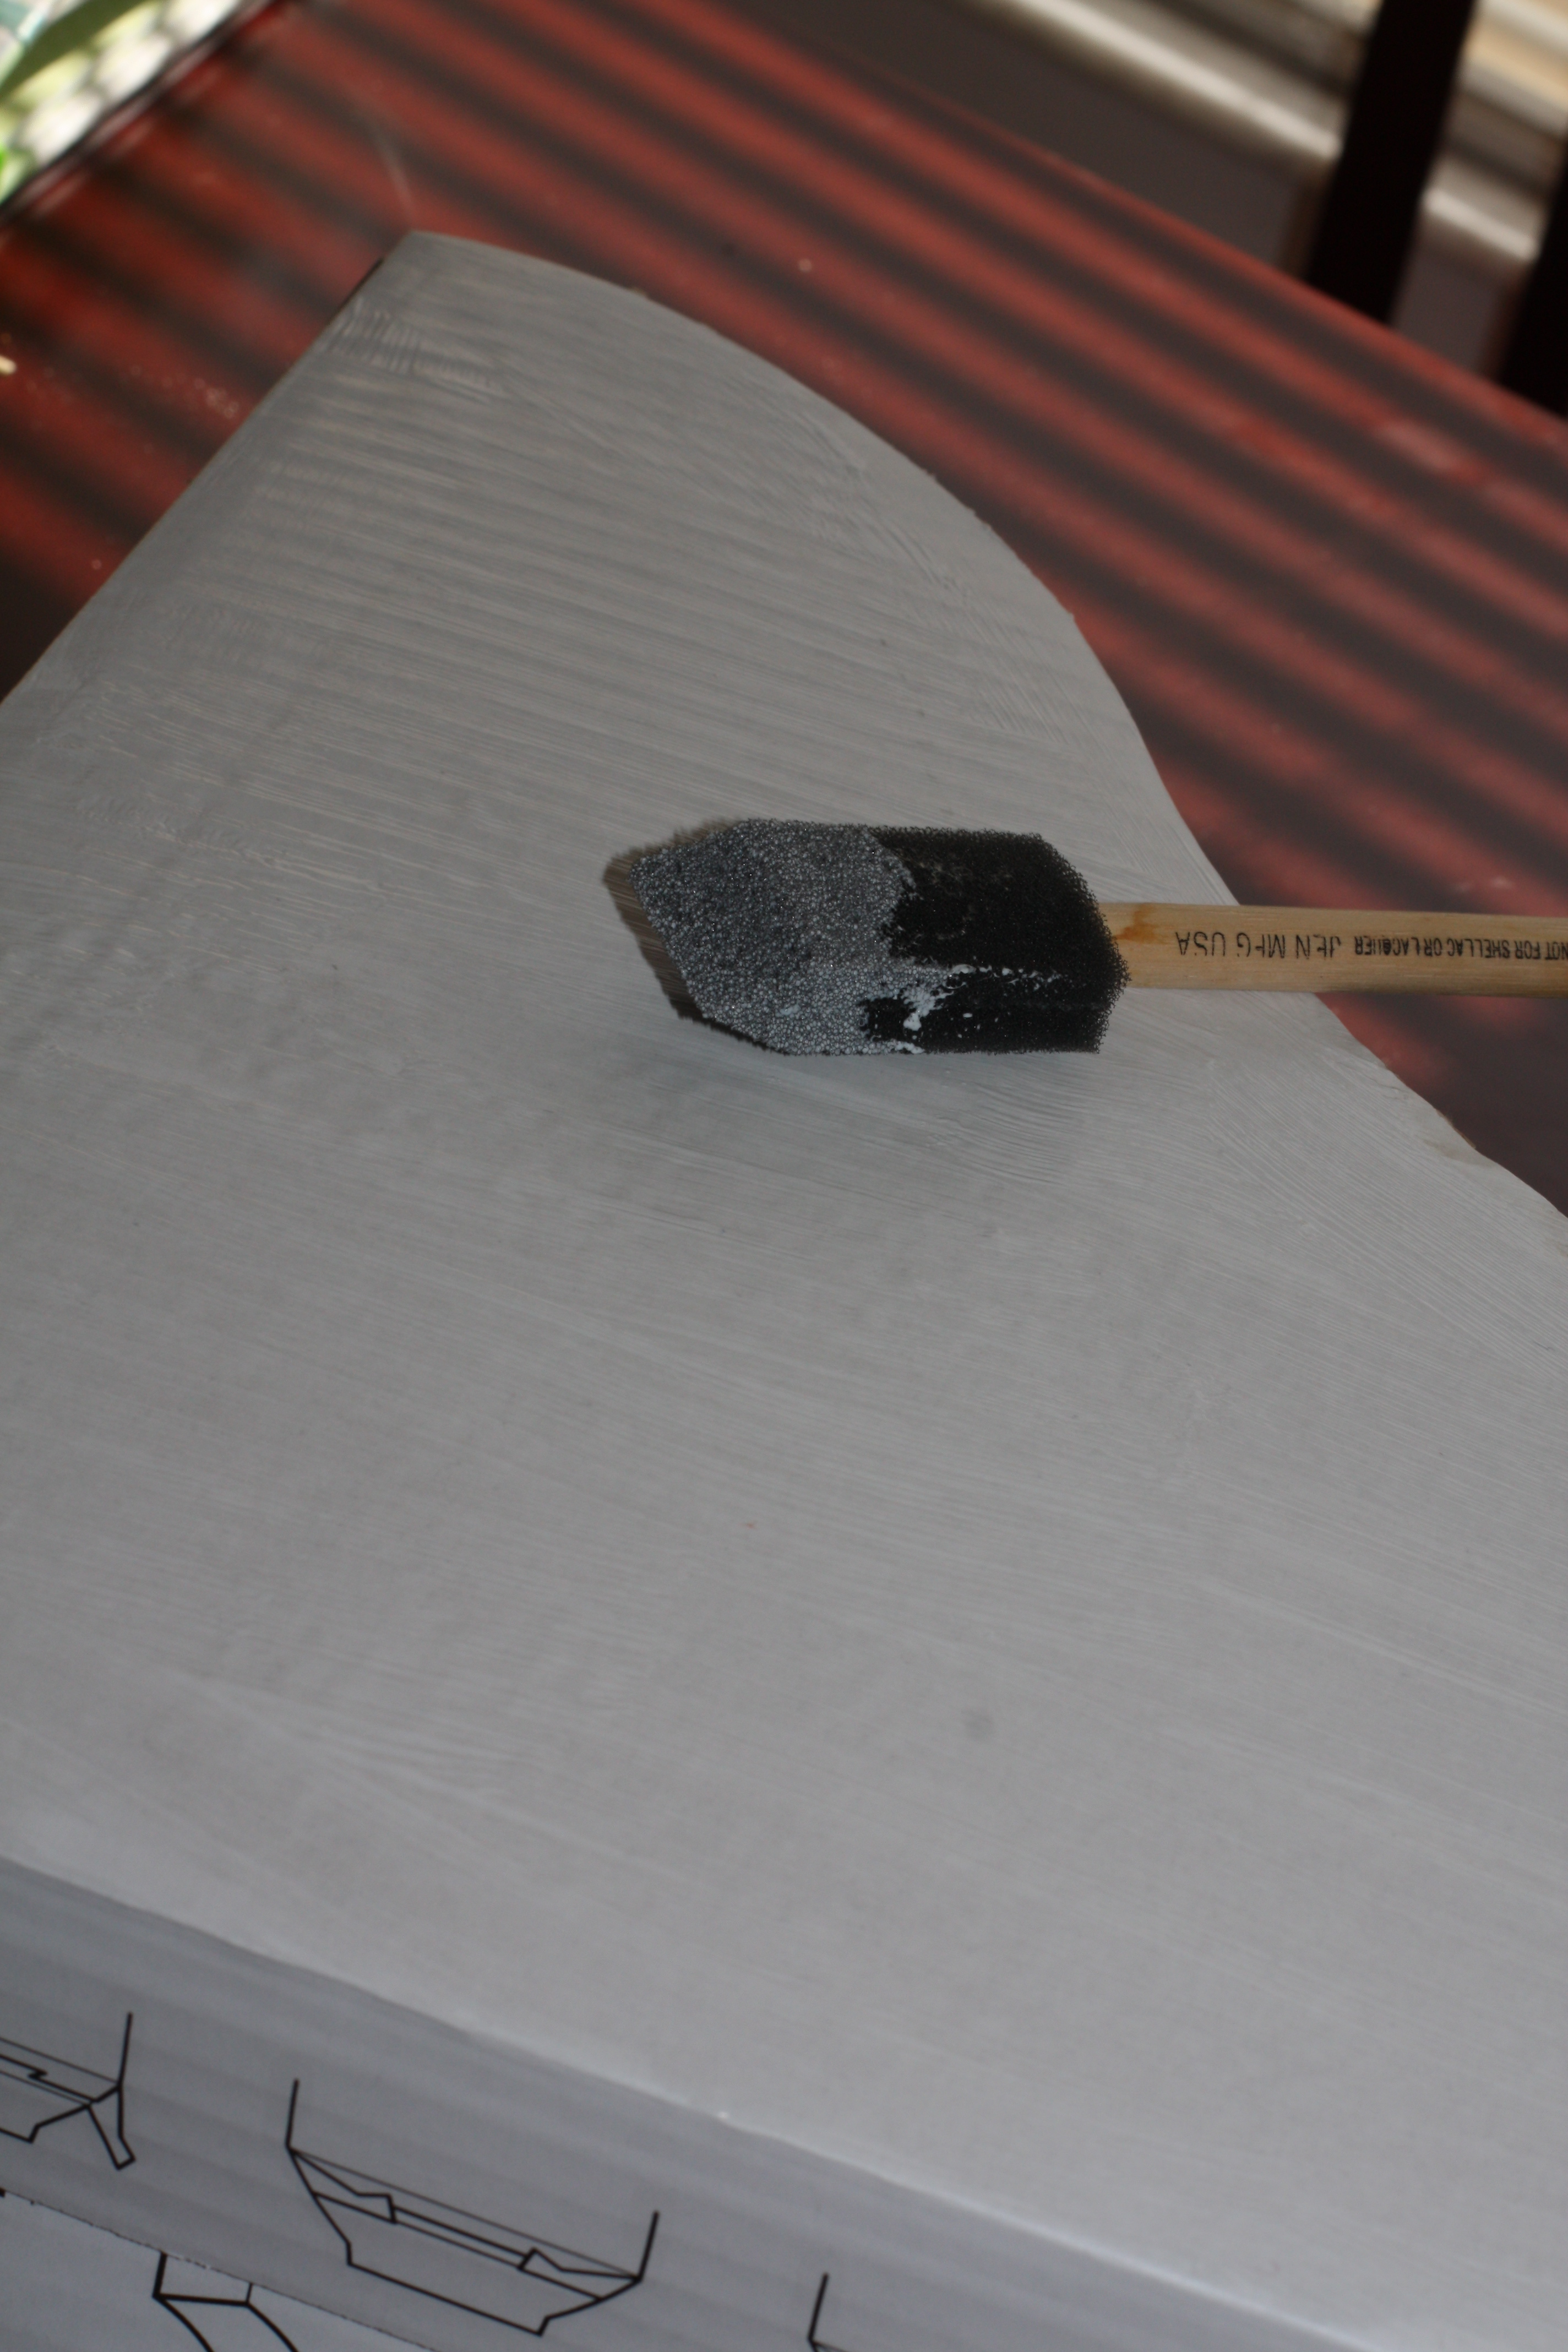
Mod Podge one side at a time and cover with the scrapbook paper or fabric, cut excess.


You can also trace each side of the magazine holder onto a piece of scrapbook paper and cut out before covering the magazine holder.

I left the back side uncovered since it will be facing the wall. You can also use fabric instead of scrapbook paper. 


Once each magazine holder is covered with paper or fabric, coat with Mod Podge.
Simple and stylish (I think).

Total Cost: $3 (If you already have paper and Mod Podge or Elmer's glue)

Friday, August 12, 2011

Totsy Deal and Feeding Baby


Have you heard of Totsy? It's fabulous! If you haven't you should go over and have a look. They have extremely cute things for kids and parents at reasonable prices. It's somewhat complicated to explain, but they have sales that only last for a certain number of days. It is hit or miss depending on the day. If you want to look at the deals to see if there's anything you needgo here. I think they make you put in an email address before you can see what they have, but I can't remember.
Now normally I wouldn't be telling you about Totsy, except that I found another deal that makes it even better!
BuyWithMe is like Groupon, but not nearly as popular as you can tell since you've probably never heard of it. For the next couple days they have a $30 voucher to Totsy for $15. And if you have never been to Totsy and are signing up for the first time you get free shipping!
Gosh I sound like I'm being sponsored by them. I just get so excited about good deals. Yesterday they had the Trunki discounted so you could get that and some of the Trunki stickers with the $30 and free shipping. They also had the cutest baby girl outfits for $6. Since I do not have a little girl I figured I should probably refrain, but it was hard. Today of course there are different deals.

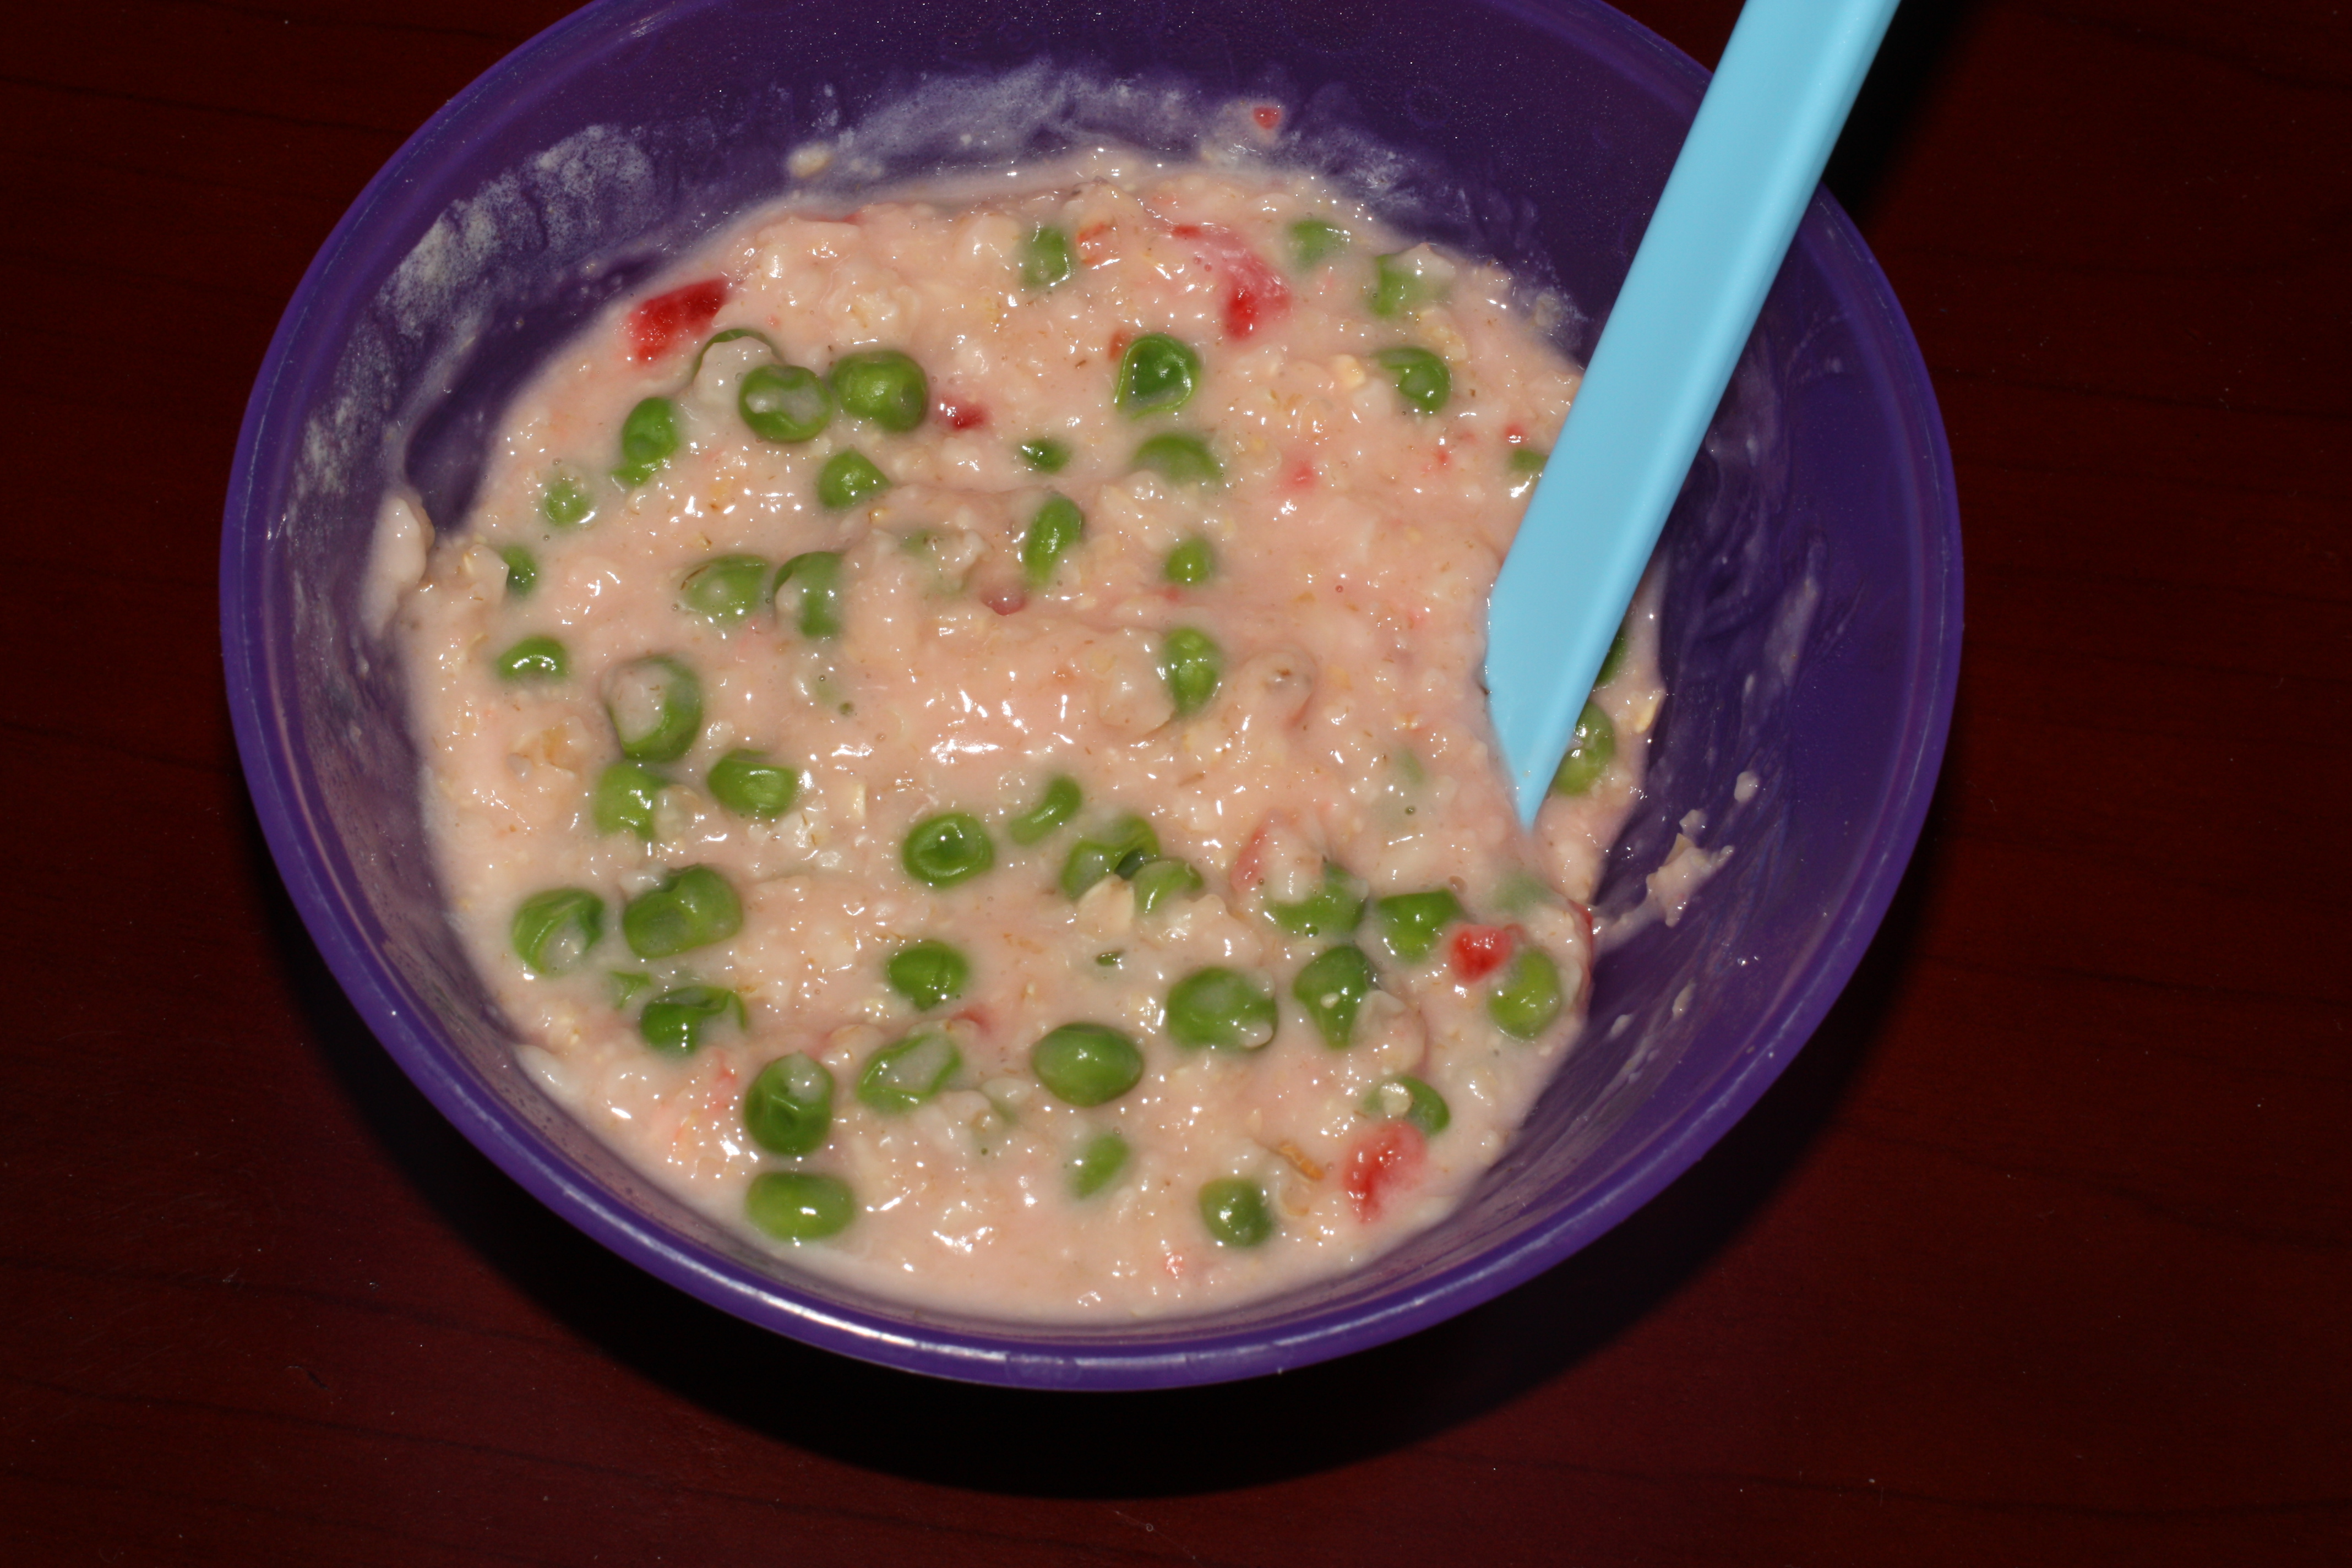
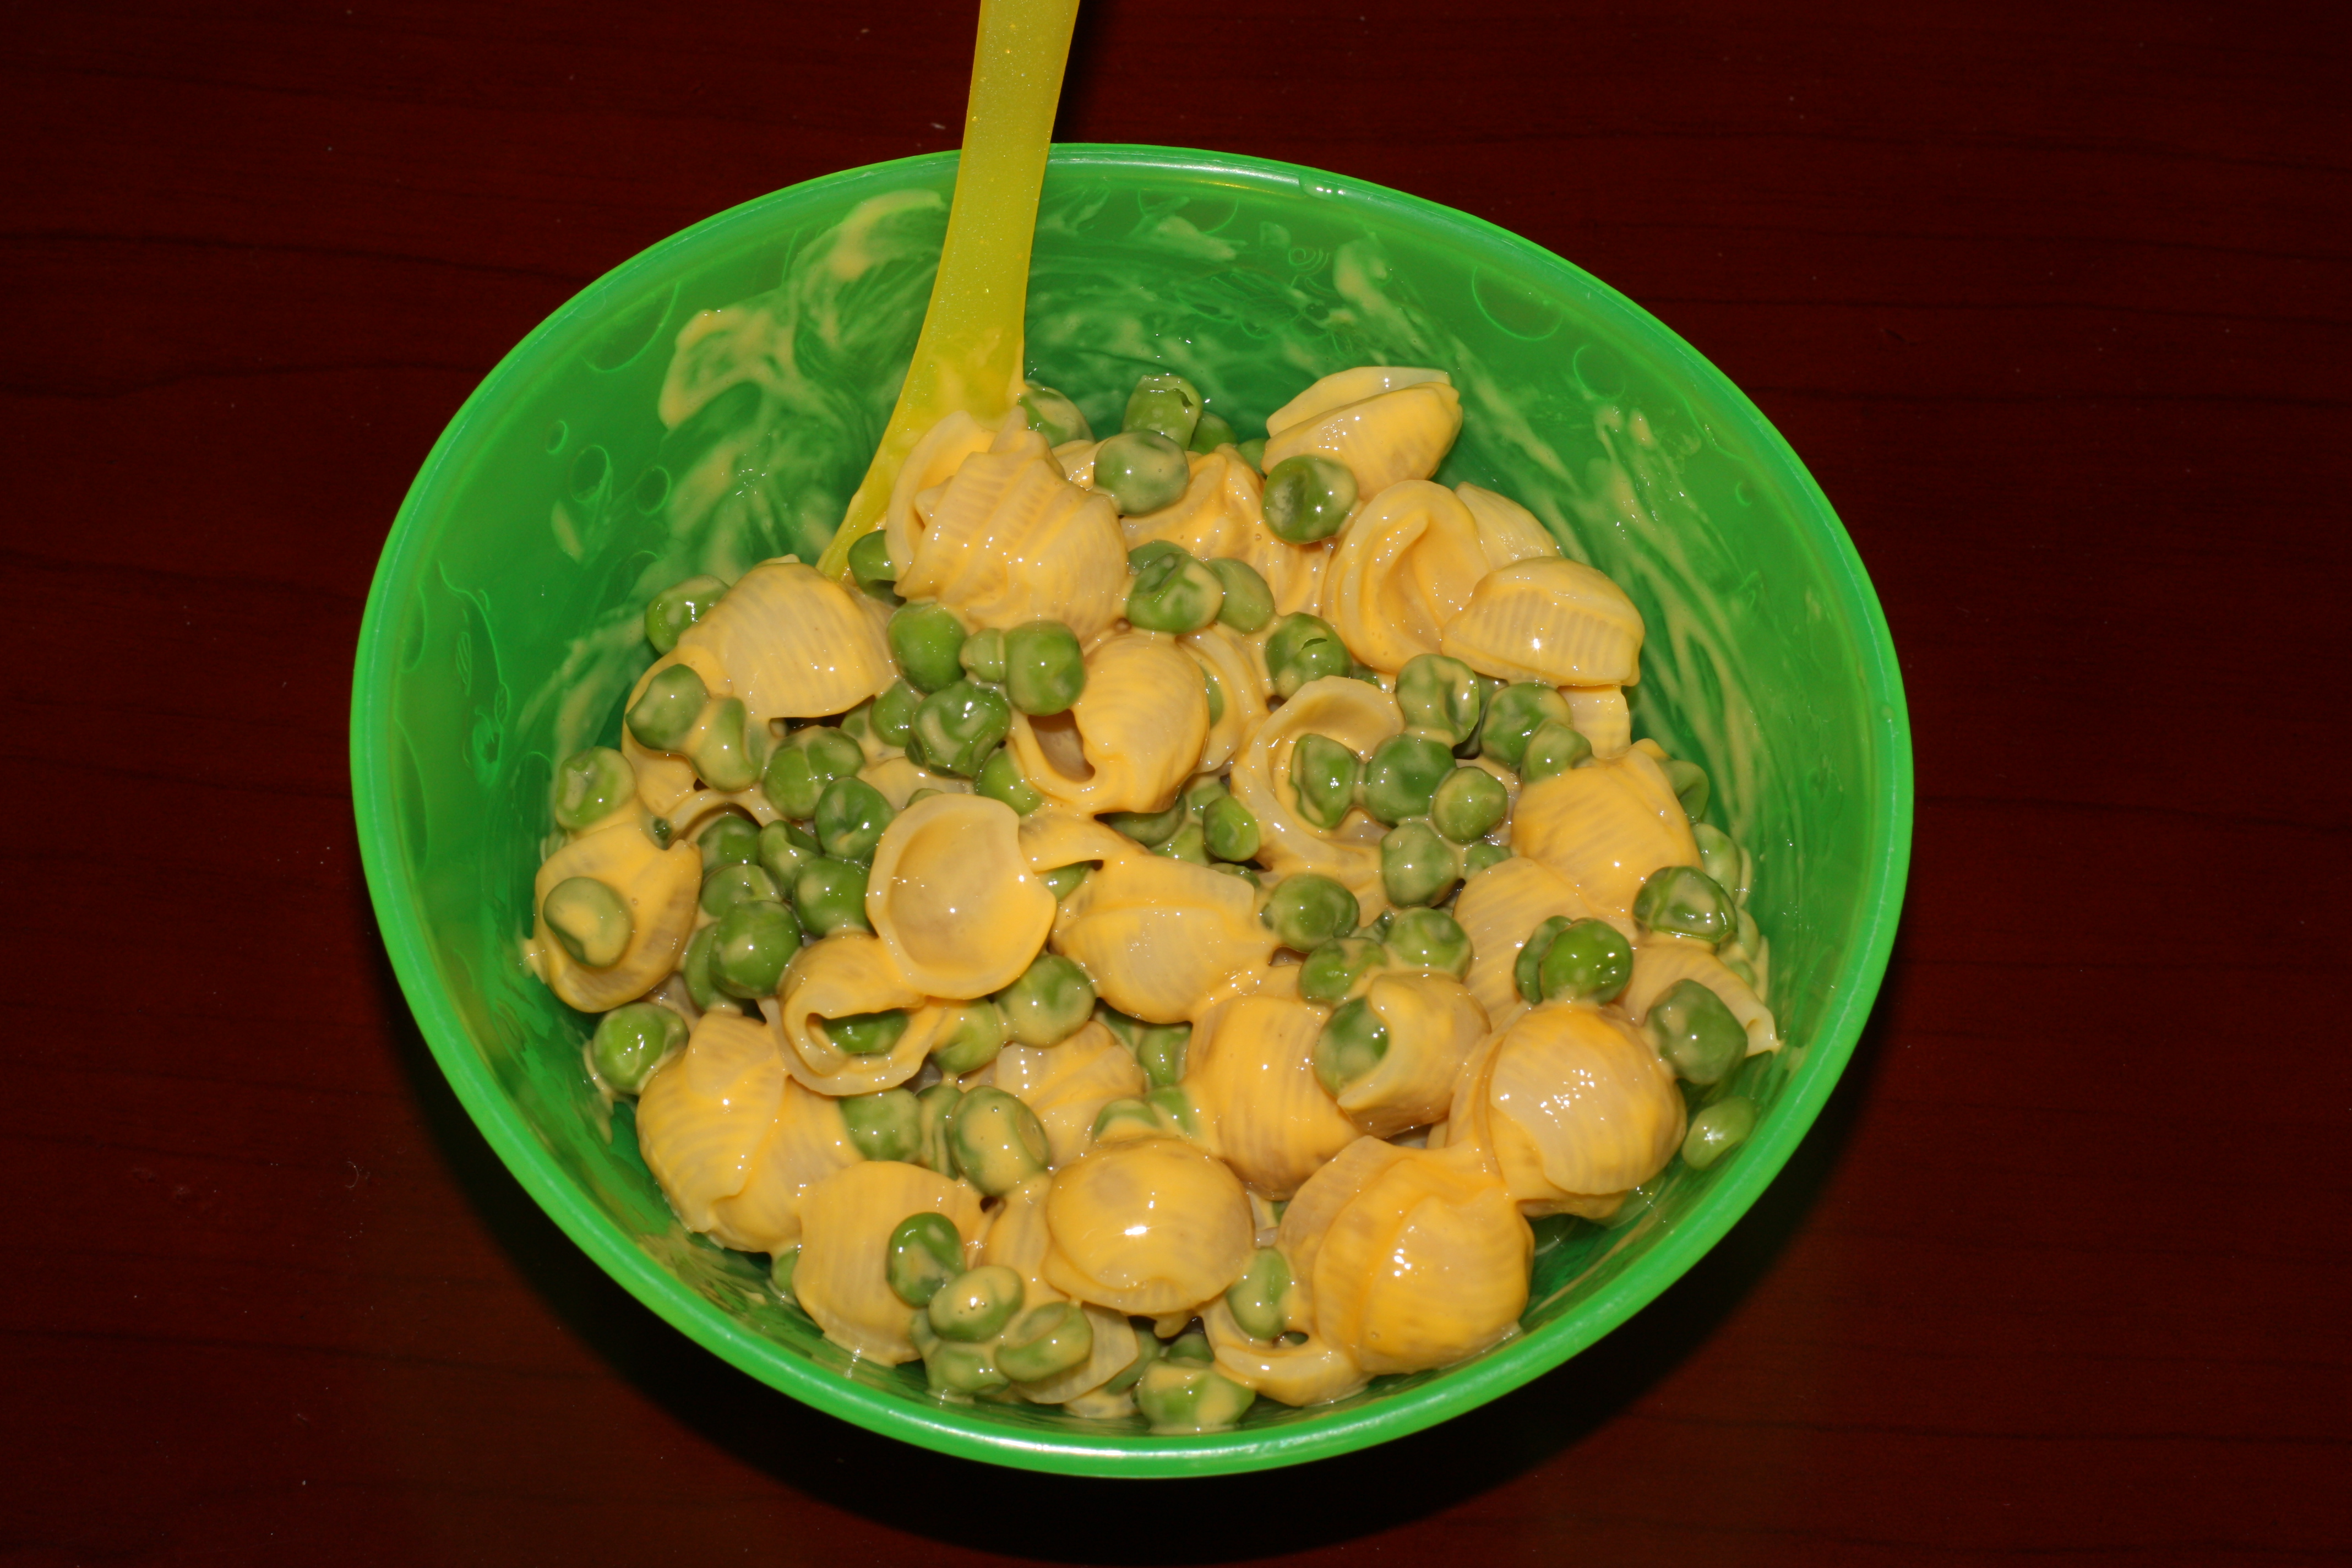
Now I'm trying to decide if this is wrong, but since I've been having some trouble getting the little Bhudda belly to eat his veggies I decided to try this . . .


Peas in Oatmeal

Peas in Macaroni
I know, I know. Disgusting! He loved it though, well the veggies in oatmeal at least. He will eat anything I put into oatmeal. So far we've tried potatoes, sweet potatoes, carrots, peas, and corn. 

Oh, last night we tried him in the crib again and he slept through the night! And I just laid him down for a nap, quiet as a mouse.

Thursday, August 11, 2011

Some Good Deals

Lately I've been finding some great freebies and deals so I thought I'd start sharing them.
Here are a couple I found today:

Savemore is having a deal on a teeth whitening pen from Smile Bright. Now do you or I need this? Probably not, but hey it's free. It's a $30 pen for $8, but you get a $10 credit for signing up so it ends up being free with $2 leftover. Shipping is free! The deal is here if you're interested.

At Saveology you can get a year's worth of seeds from Mike the Gardener Enterprises' for $15, retails at $31. You get 8 packs to start, then 4 packs a month for a year. Too bad I have no idea how to care for fruits and veggies or I would be all over this one. Oh well, maybe some of you could use this deal.

Another one at Saveology is a $50 gift card from TheHotelCard.com for $20. You can probably tell by the name, but just in case the gift card is good towards booking a hotel. They say there are 55,000 to choose from all over, but I'd look at the list and see if they have ones where you'll be traveling.
I'll post more deals as I find them.

Wednesday, August 10, 2011

Random Thoughts on Growing Up

Do you ever wonder what your kids will be like when they grow up?

I don't mean what they will be, but how they will be. How they will approach this life? I think about that a lot.

Will he accept Christ as his Savior?

Will he be honest and keep his word?

 Will he be well-mannered?

Will he be stand up for what he believes?

Will he be quick to listen, slow to speak?

Will he always be curious and creative?

Will he give when he has only a little?

Will he believe he can, even when the odds are against him?

How will he treat others?

Will he be patient?

 Will he be the bigger man and walk away?

Will he work hard?

 How will he react to his first broken heart?

Will he think outside the box?

 Will he be hApPy?

I know good is a relative term, but hopefully you'll understand what I mean when I say that my hope for my son is that he will be a good person, that he will treat others kindly, even those that have not been kind to him.


I hope he is a better person than I am. 

Tuesday, August 9, 2011

Mason Jar Pin Cushion


I've seen these everywhere and had to try them for myself. Fortunately the pasta sauce we like to use comes in mason jars!

Supplies:
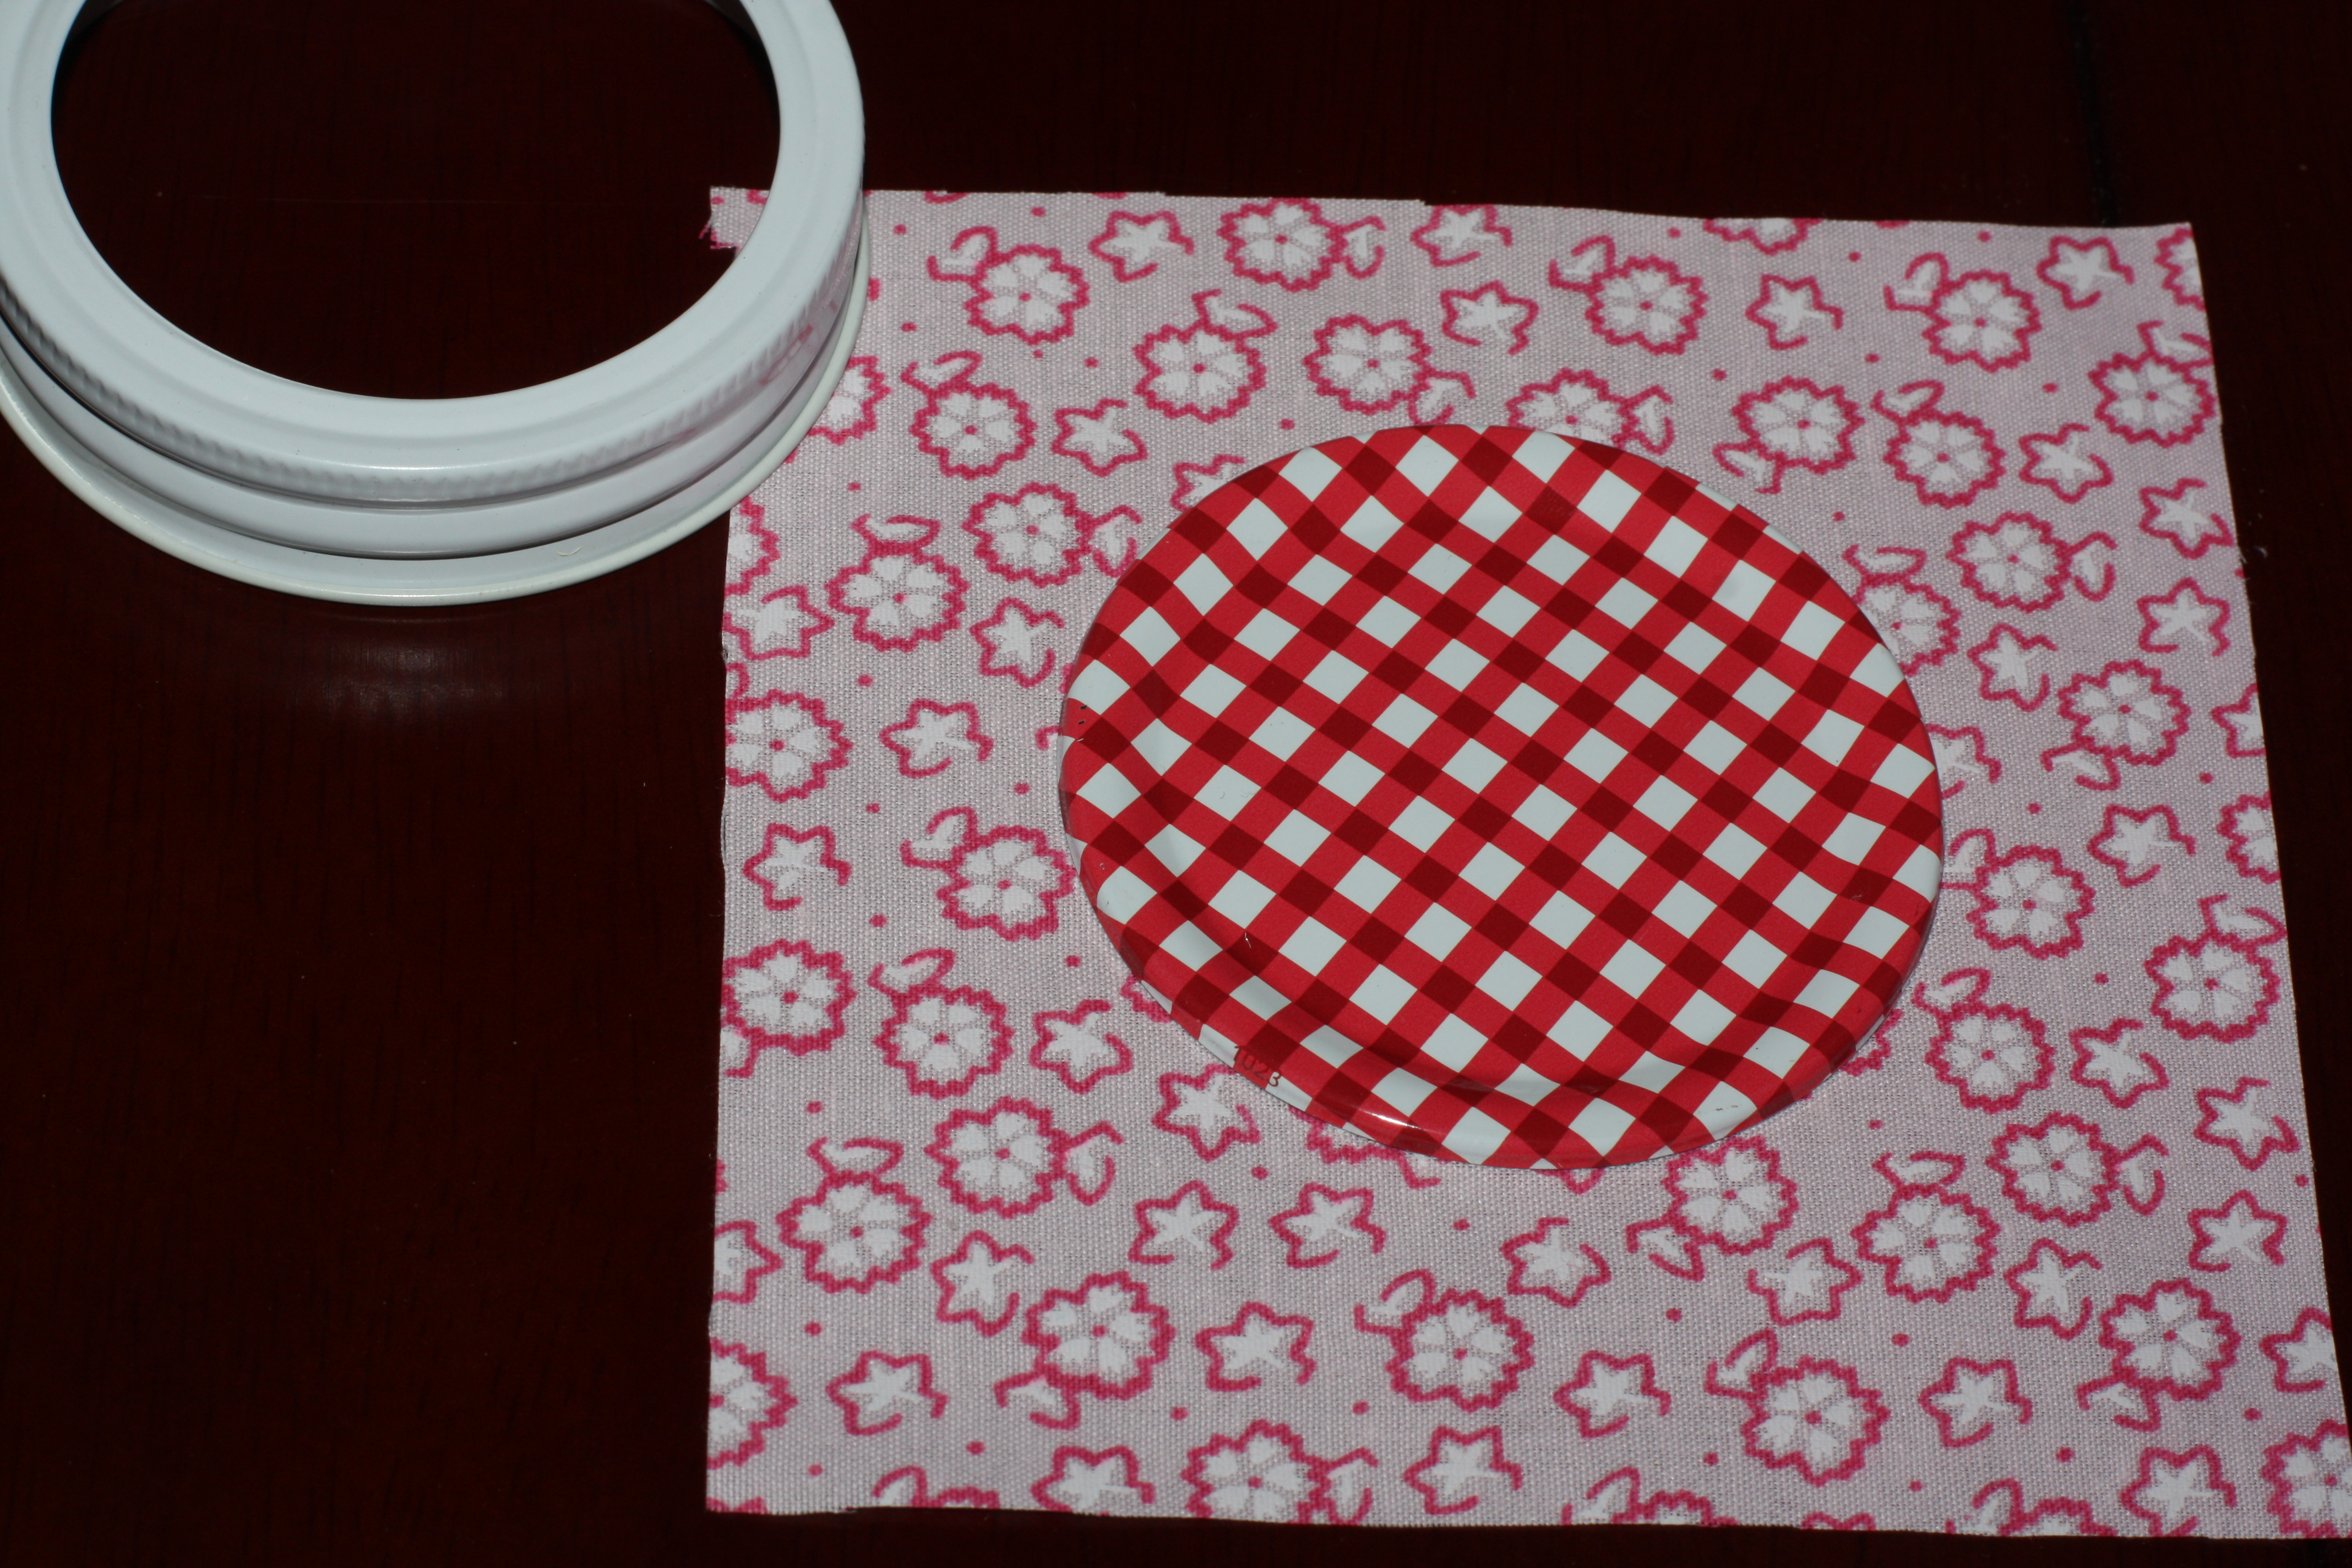
Mason jar (the lid that comes with the pasta sauce does not have the removable center so I picked up a pack of 6 lids with decorative removable centers at the store for $2)
Scrap fabric slightly larger than the lid
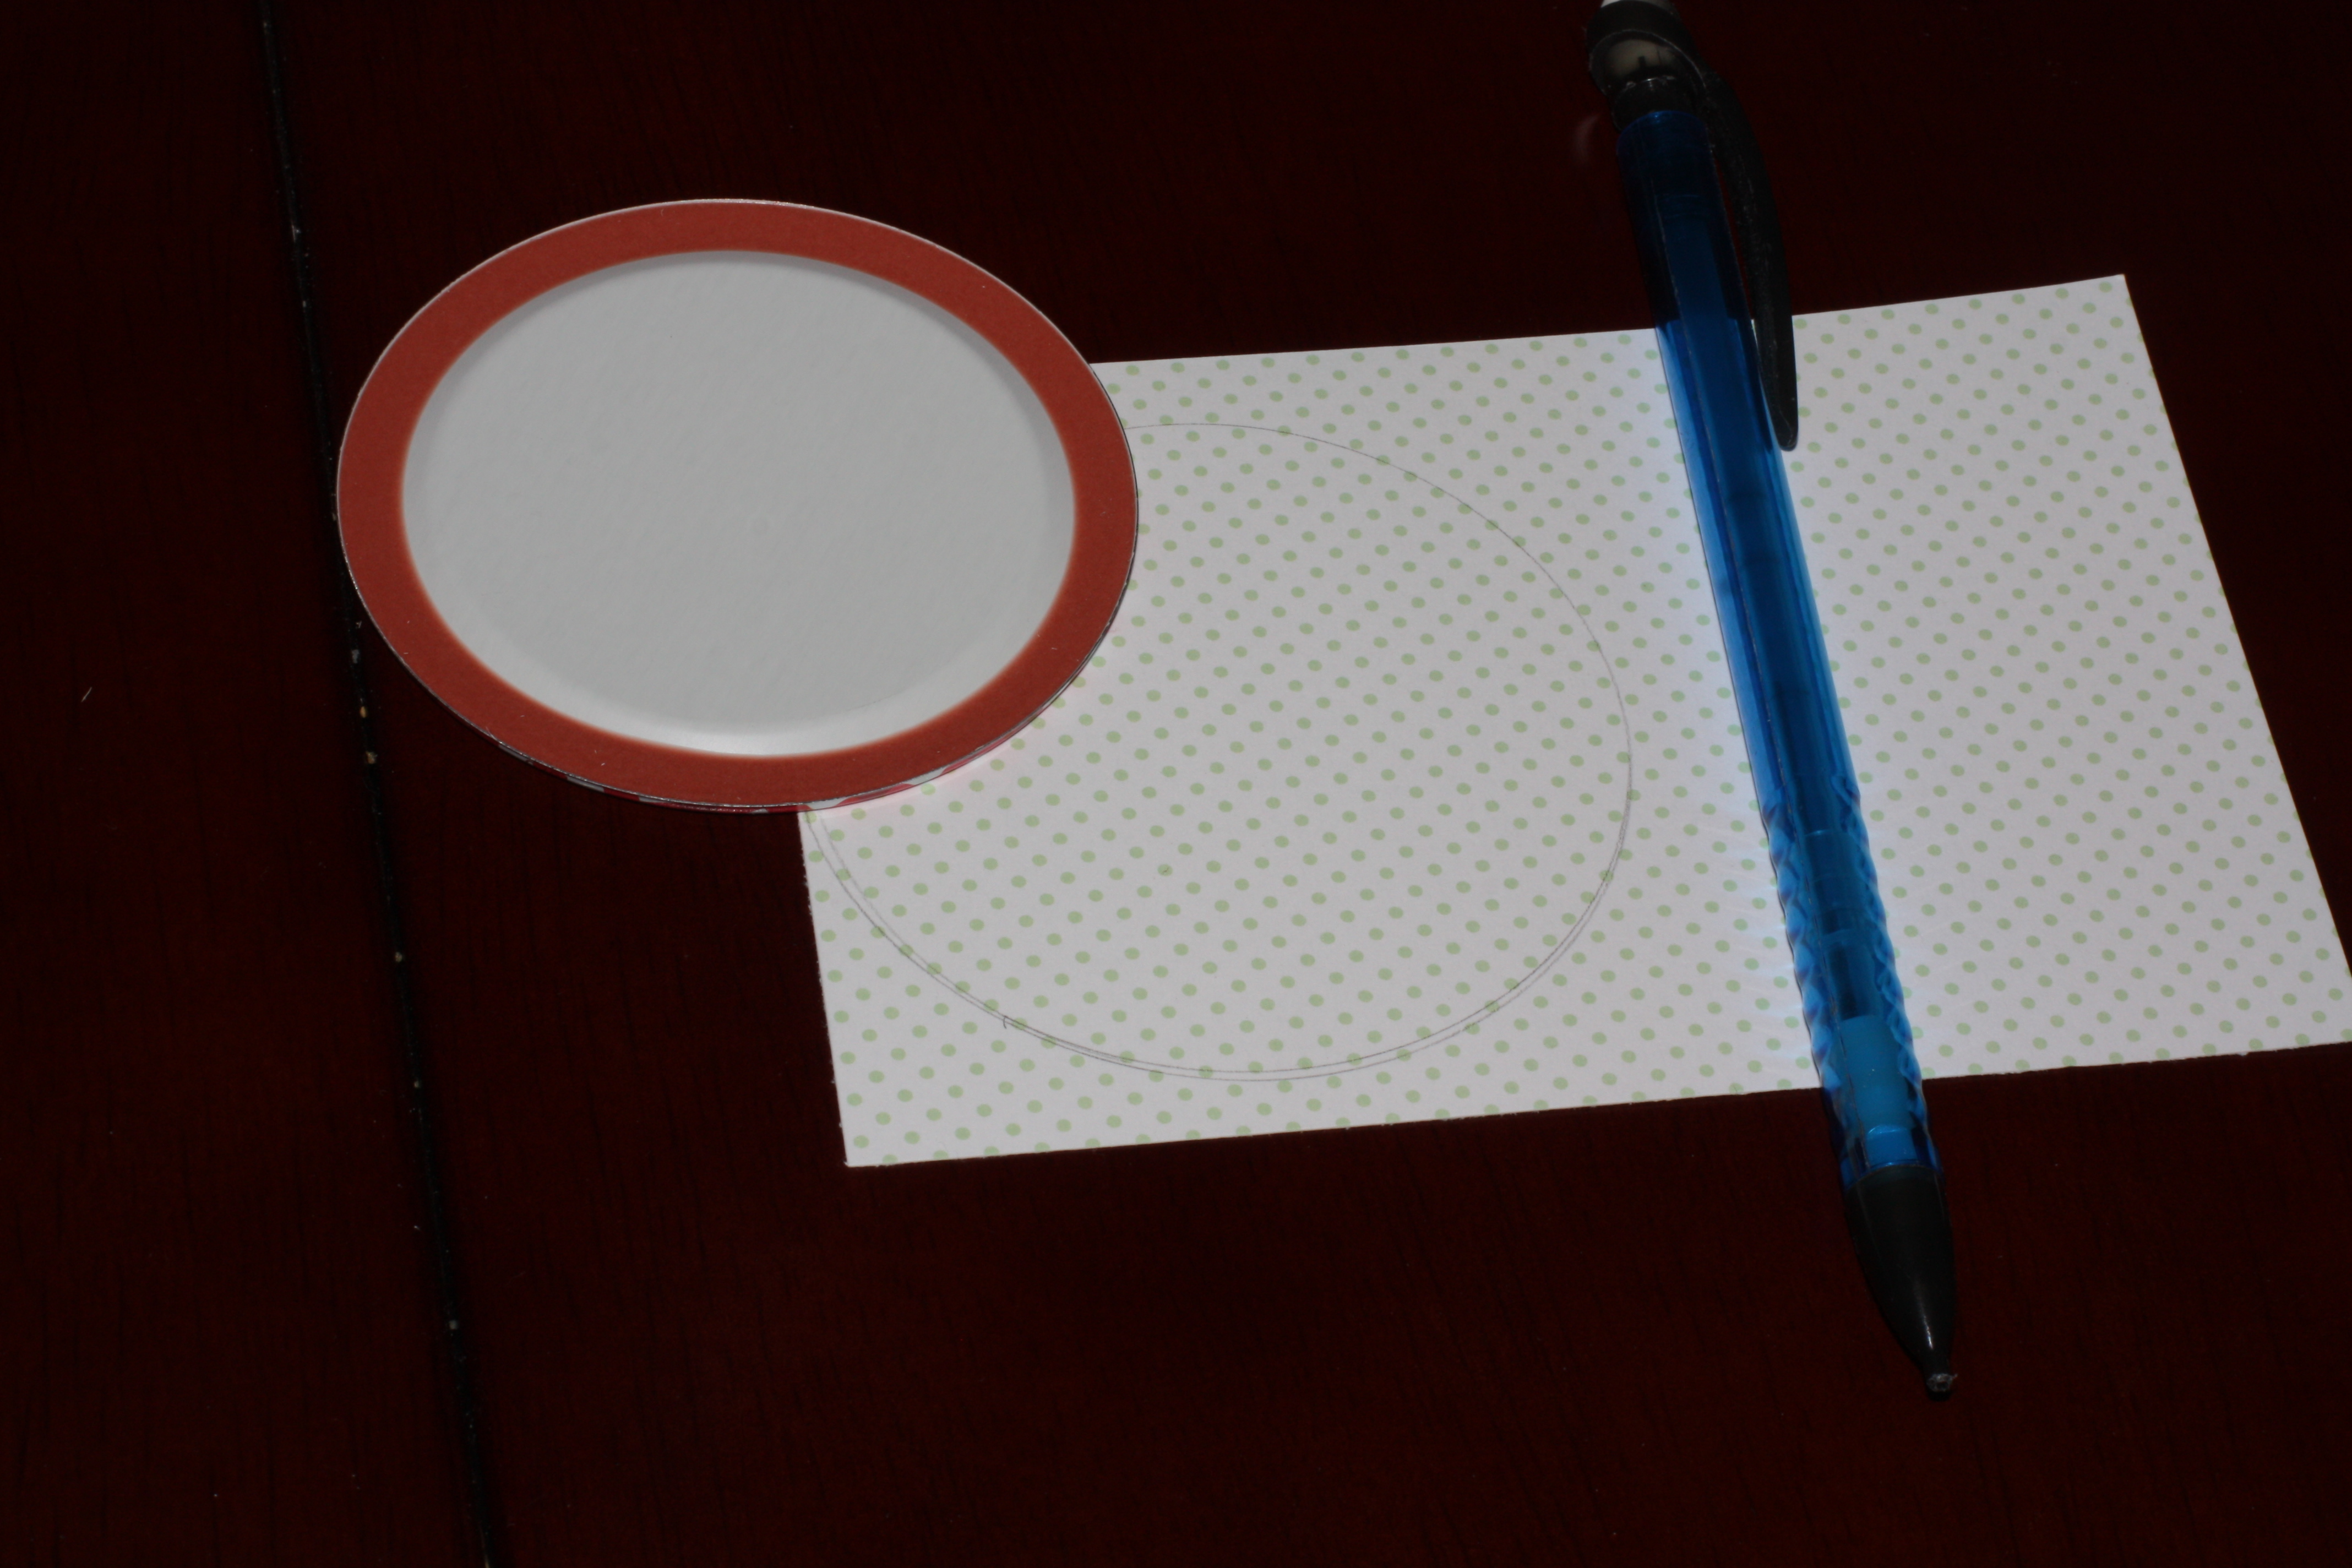
Scrap card stock paper
Fiberfill, wool, scraps of batting, cottonballs, etc. to fill pincushion
Hot glue gun and glue sticks
Pencil
Scissors

Directions:

1. Cut out a piece of fabric in a square or circle (doesn't matter too much) that is slightly larger than the inside of the lid

2. Trace and cut out a piece of card stock the same size as the lid.


3. Place the fabric right side facing down and filling on top of the band of the lid. Take the lid center and press until filling is pushed through the band and forms a pincushion on the other side.

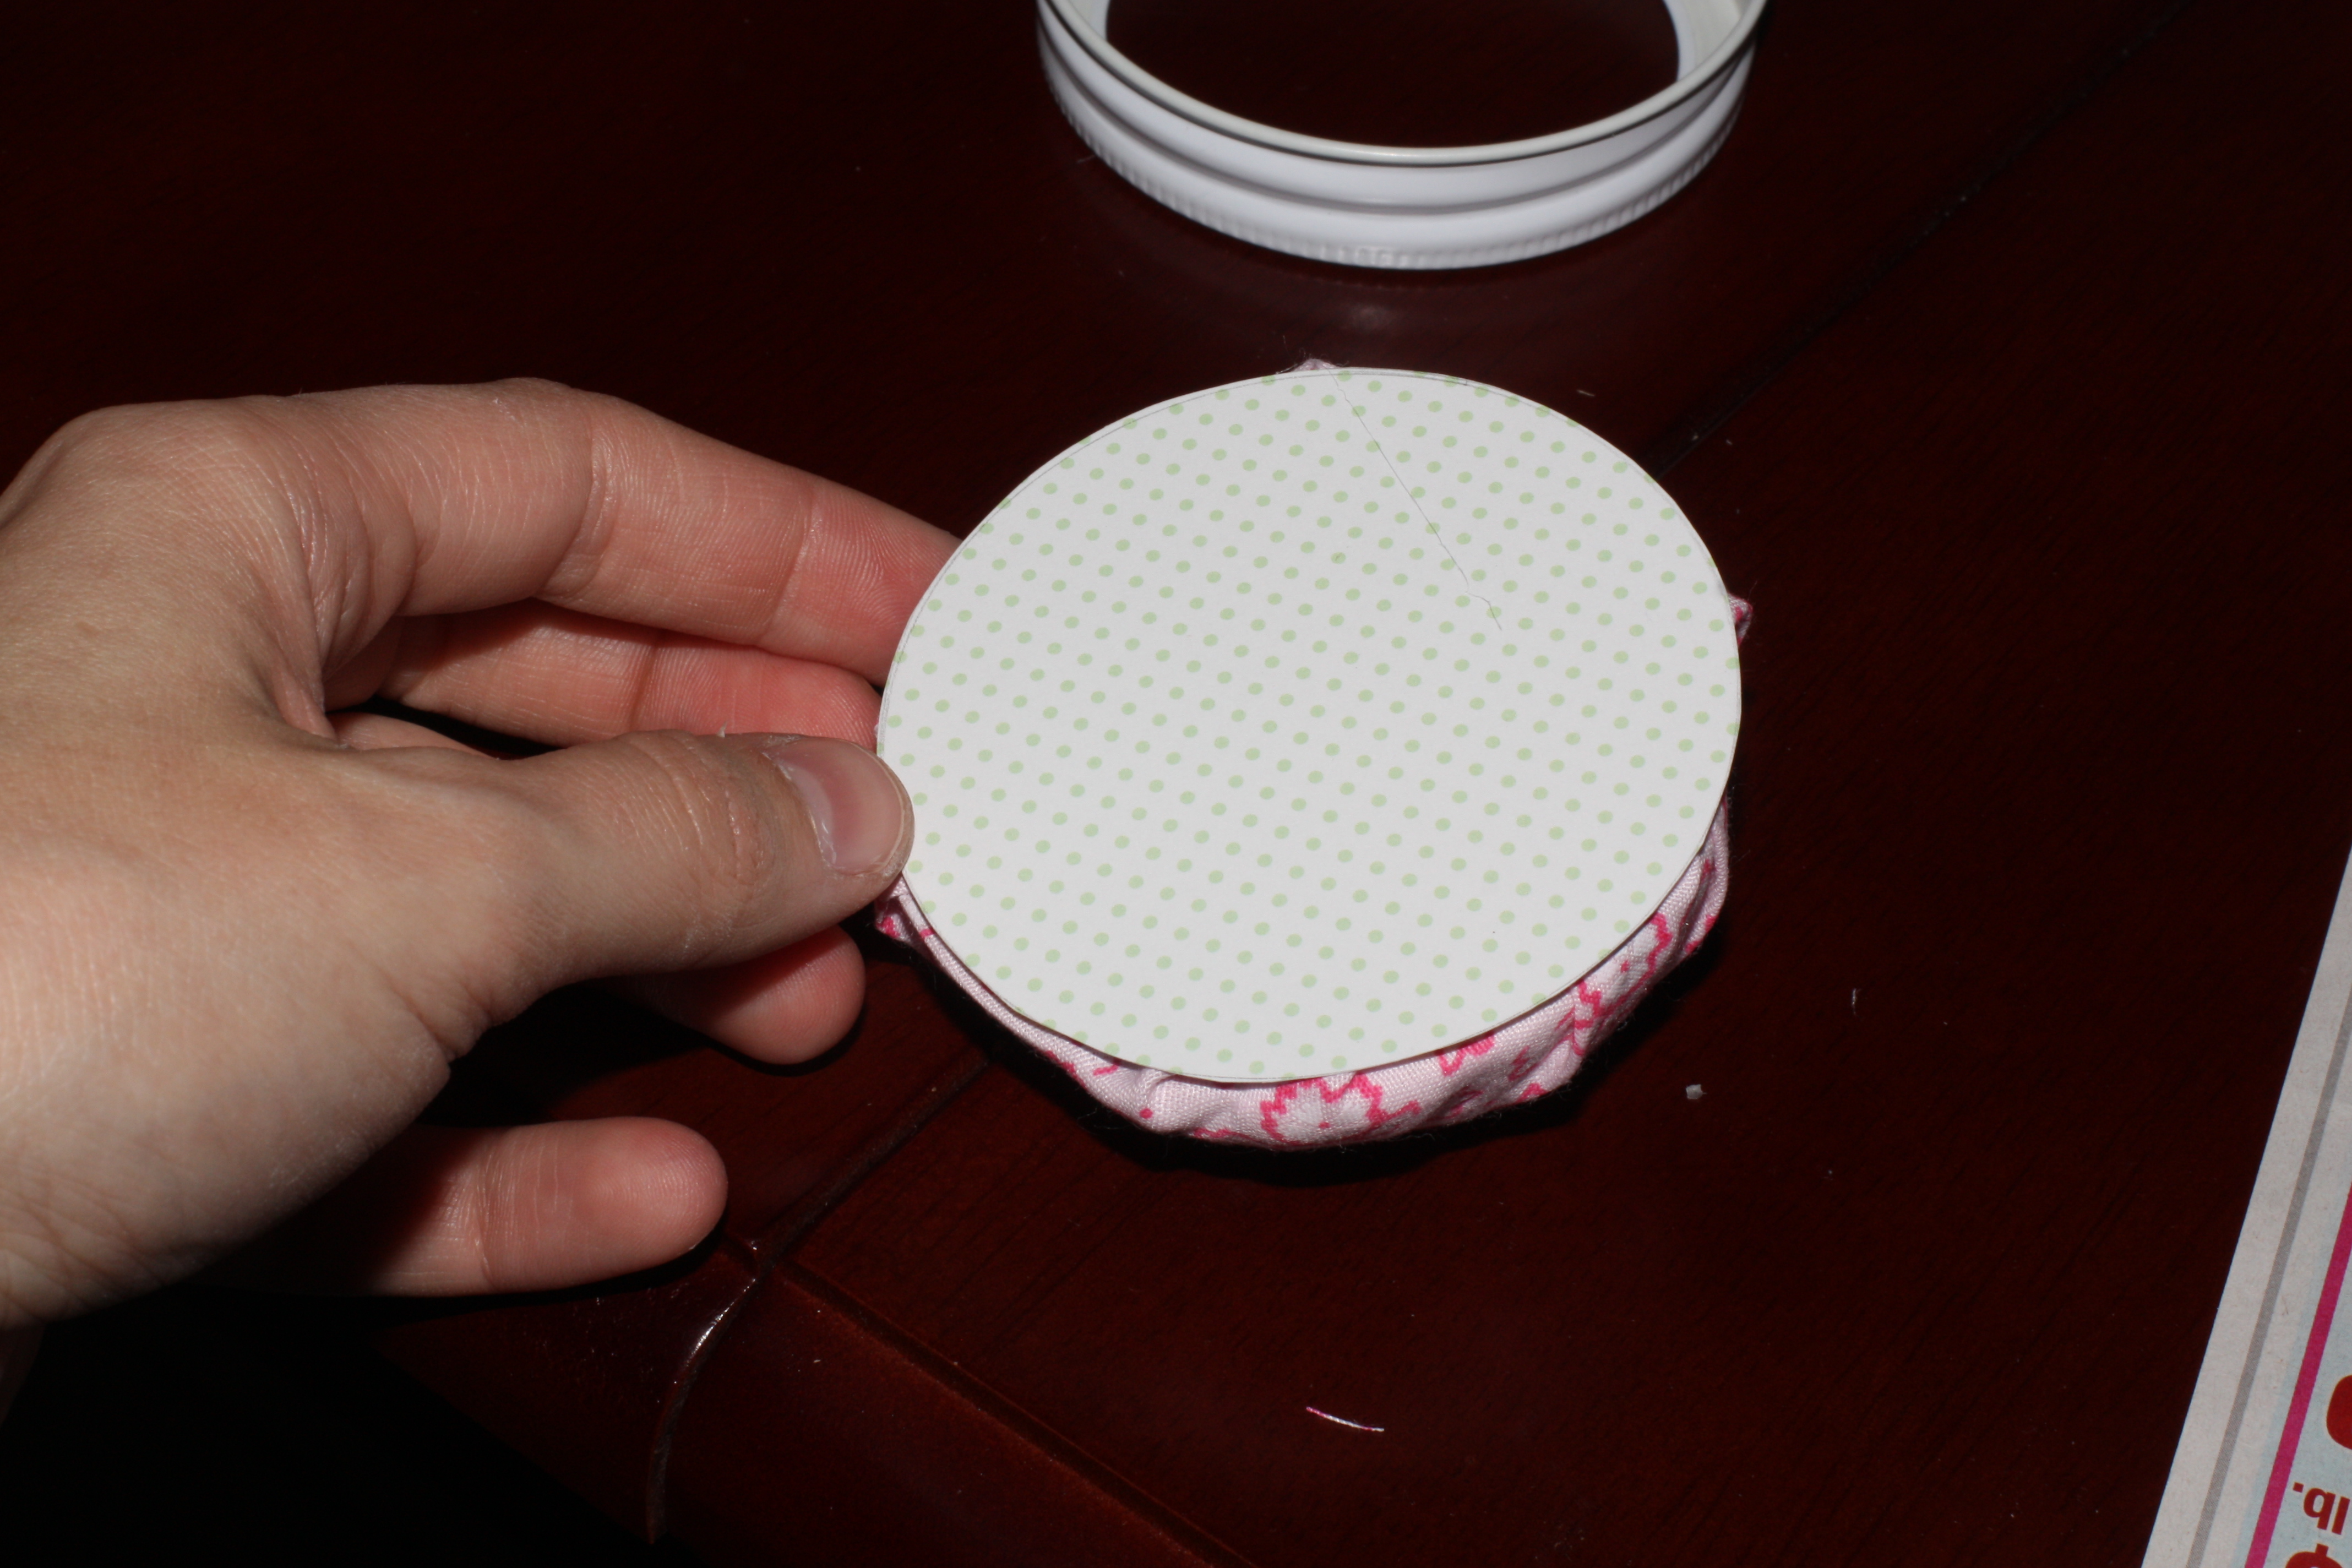
4. Trim any excess fabric and hot glue the piece of card stock over the fabric edges.

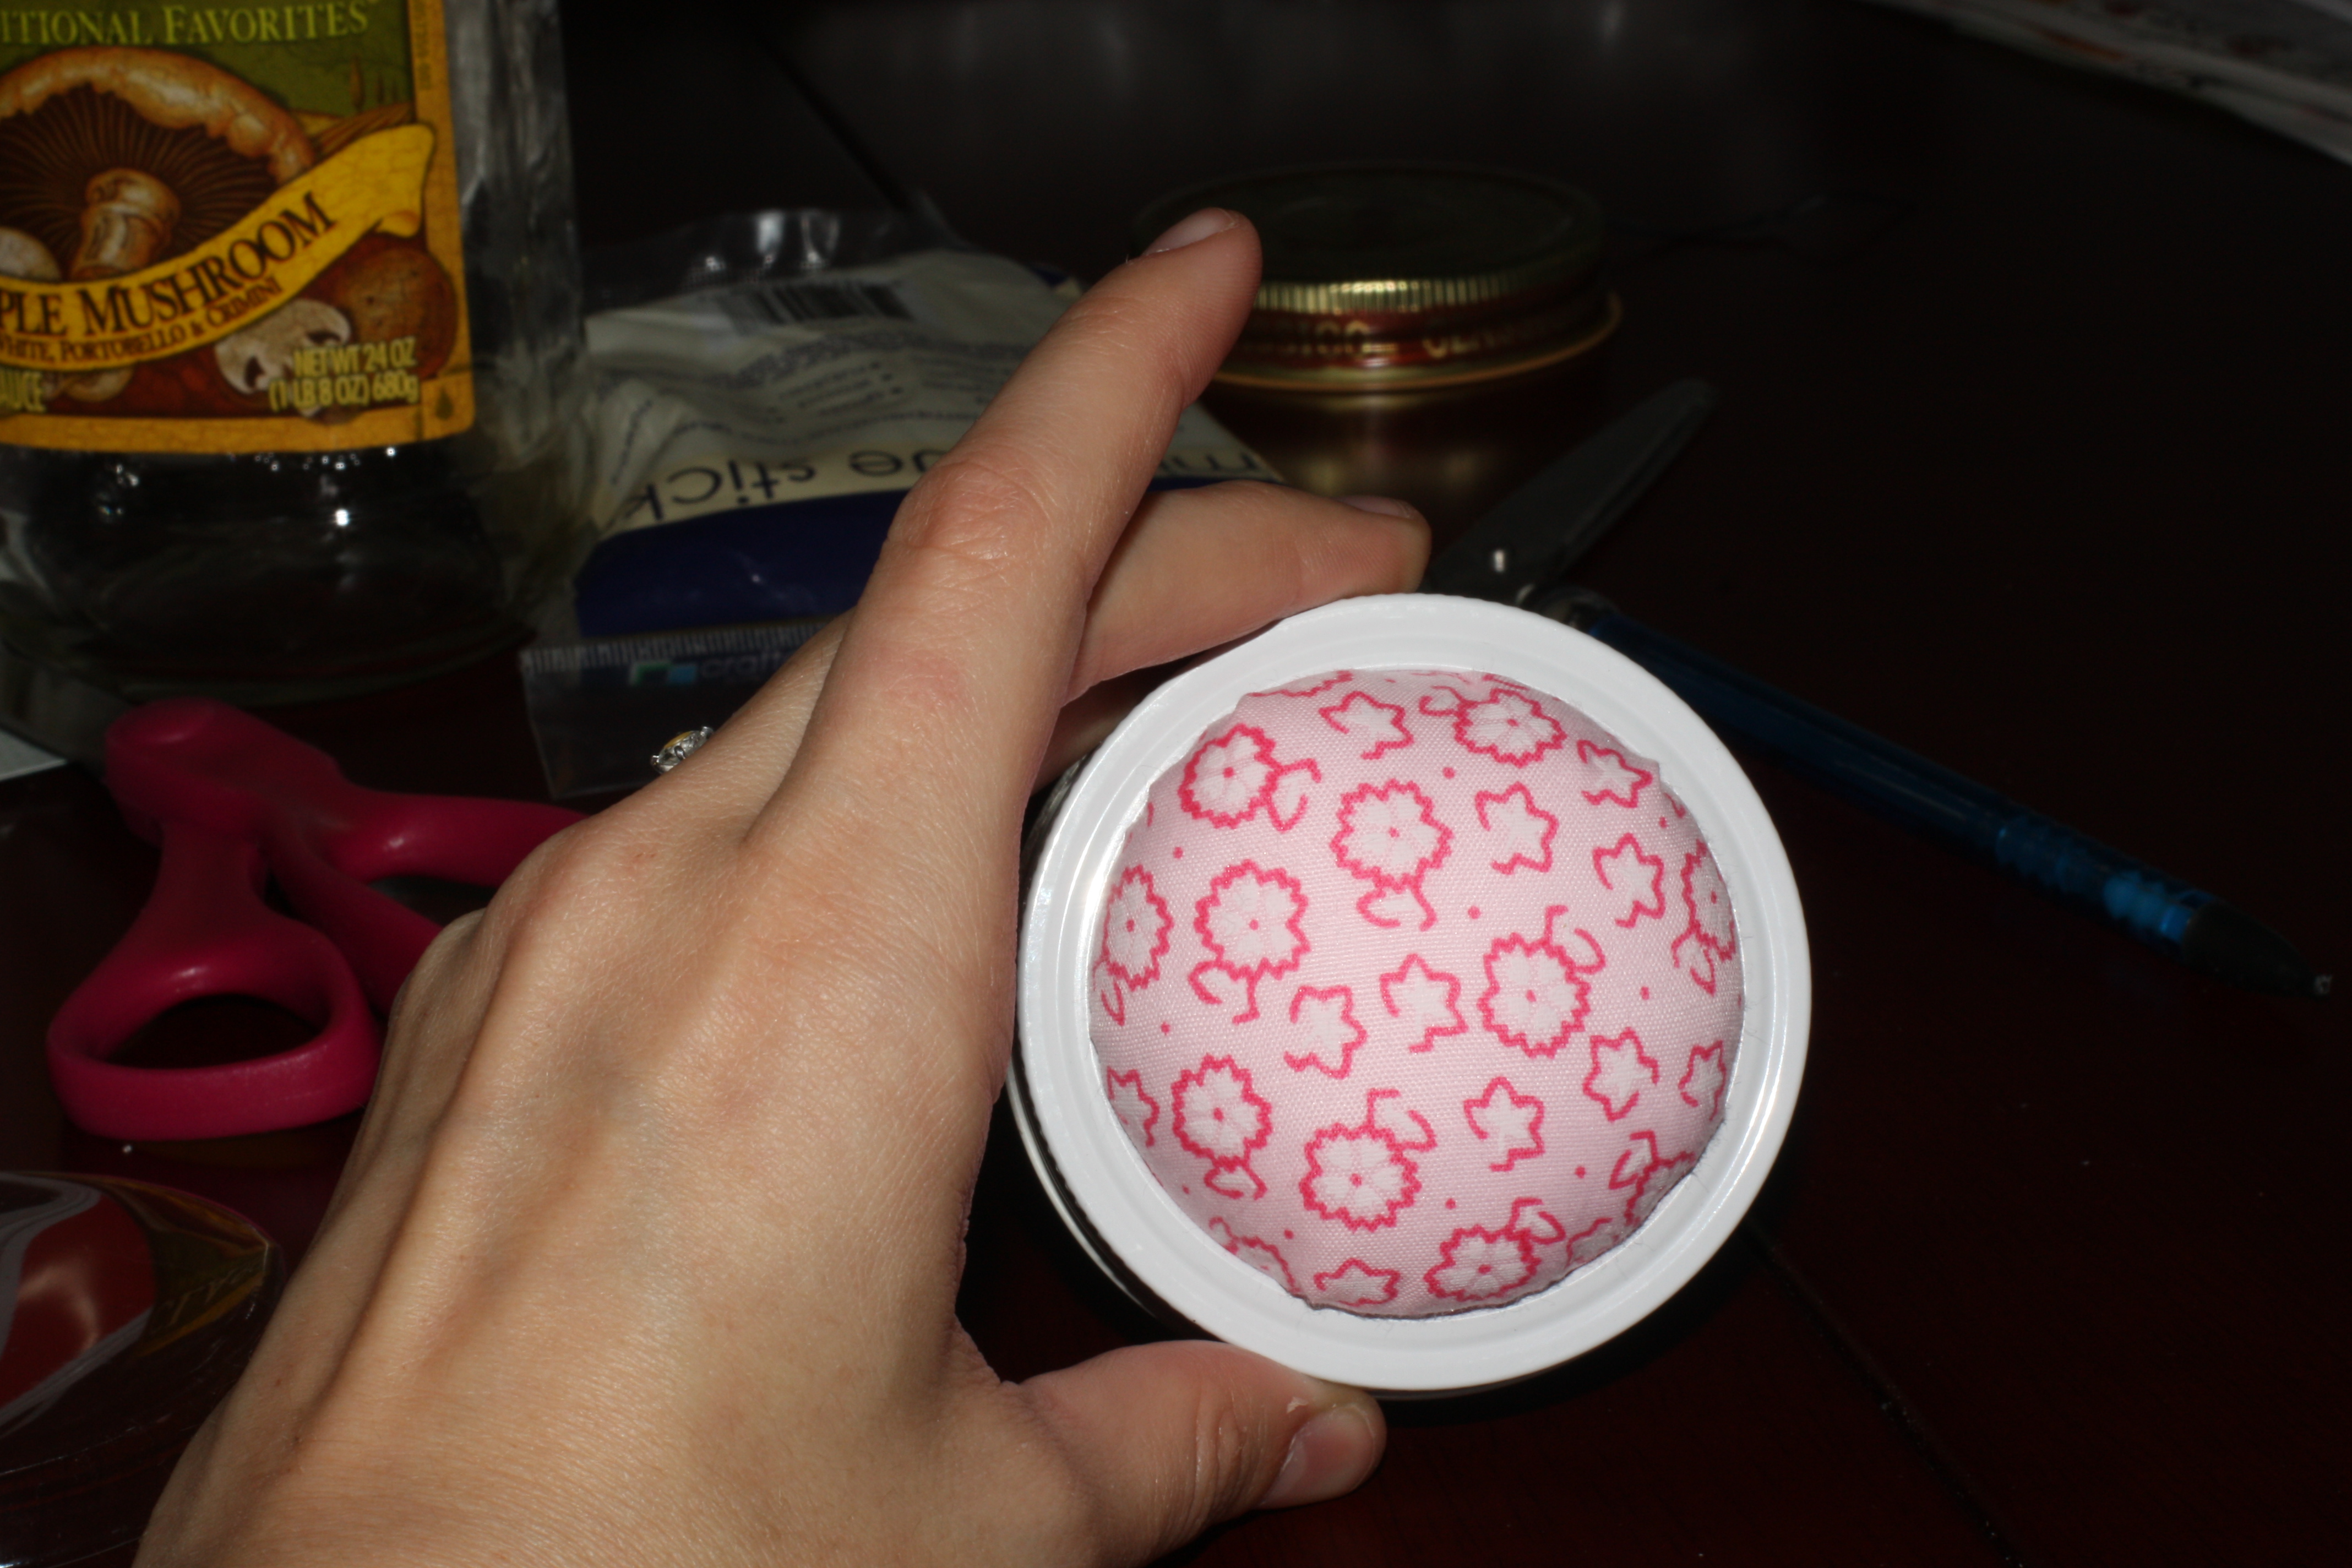
It should look something like this.
Place the lid on top of the jar and fill with your notions, office supplies, or fabric scraps!