Showing posts with label saving money. Show all posts

Saturday, August 27, 2011

Asian Ginger Dressing


Ingredients:
3 cloves garlic, minced
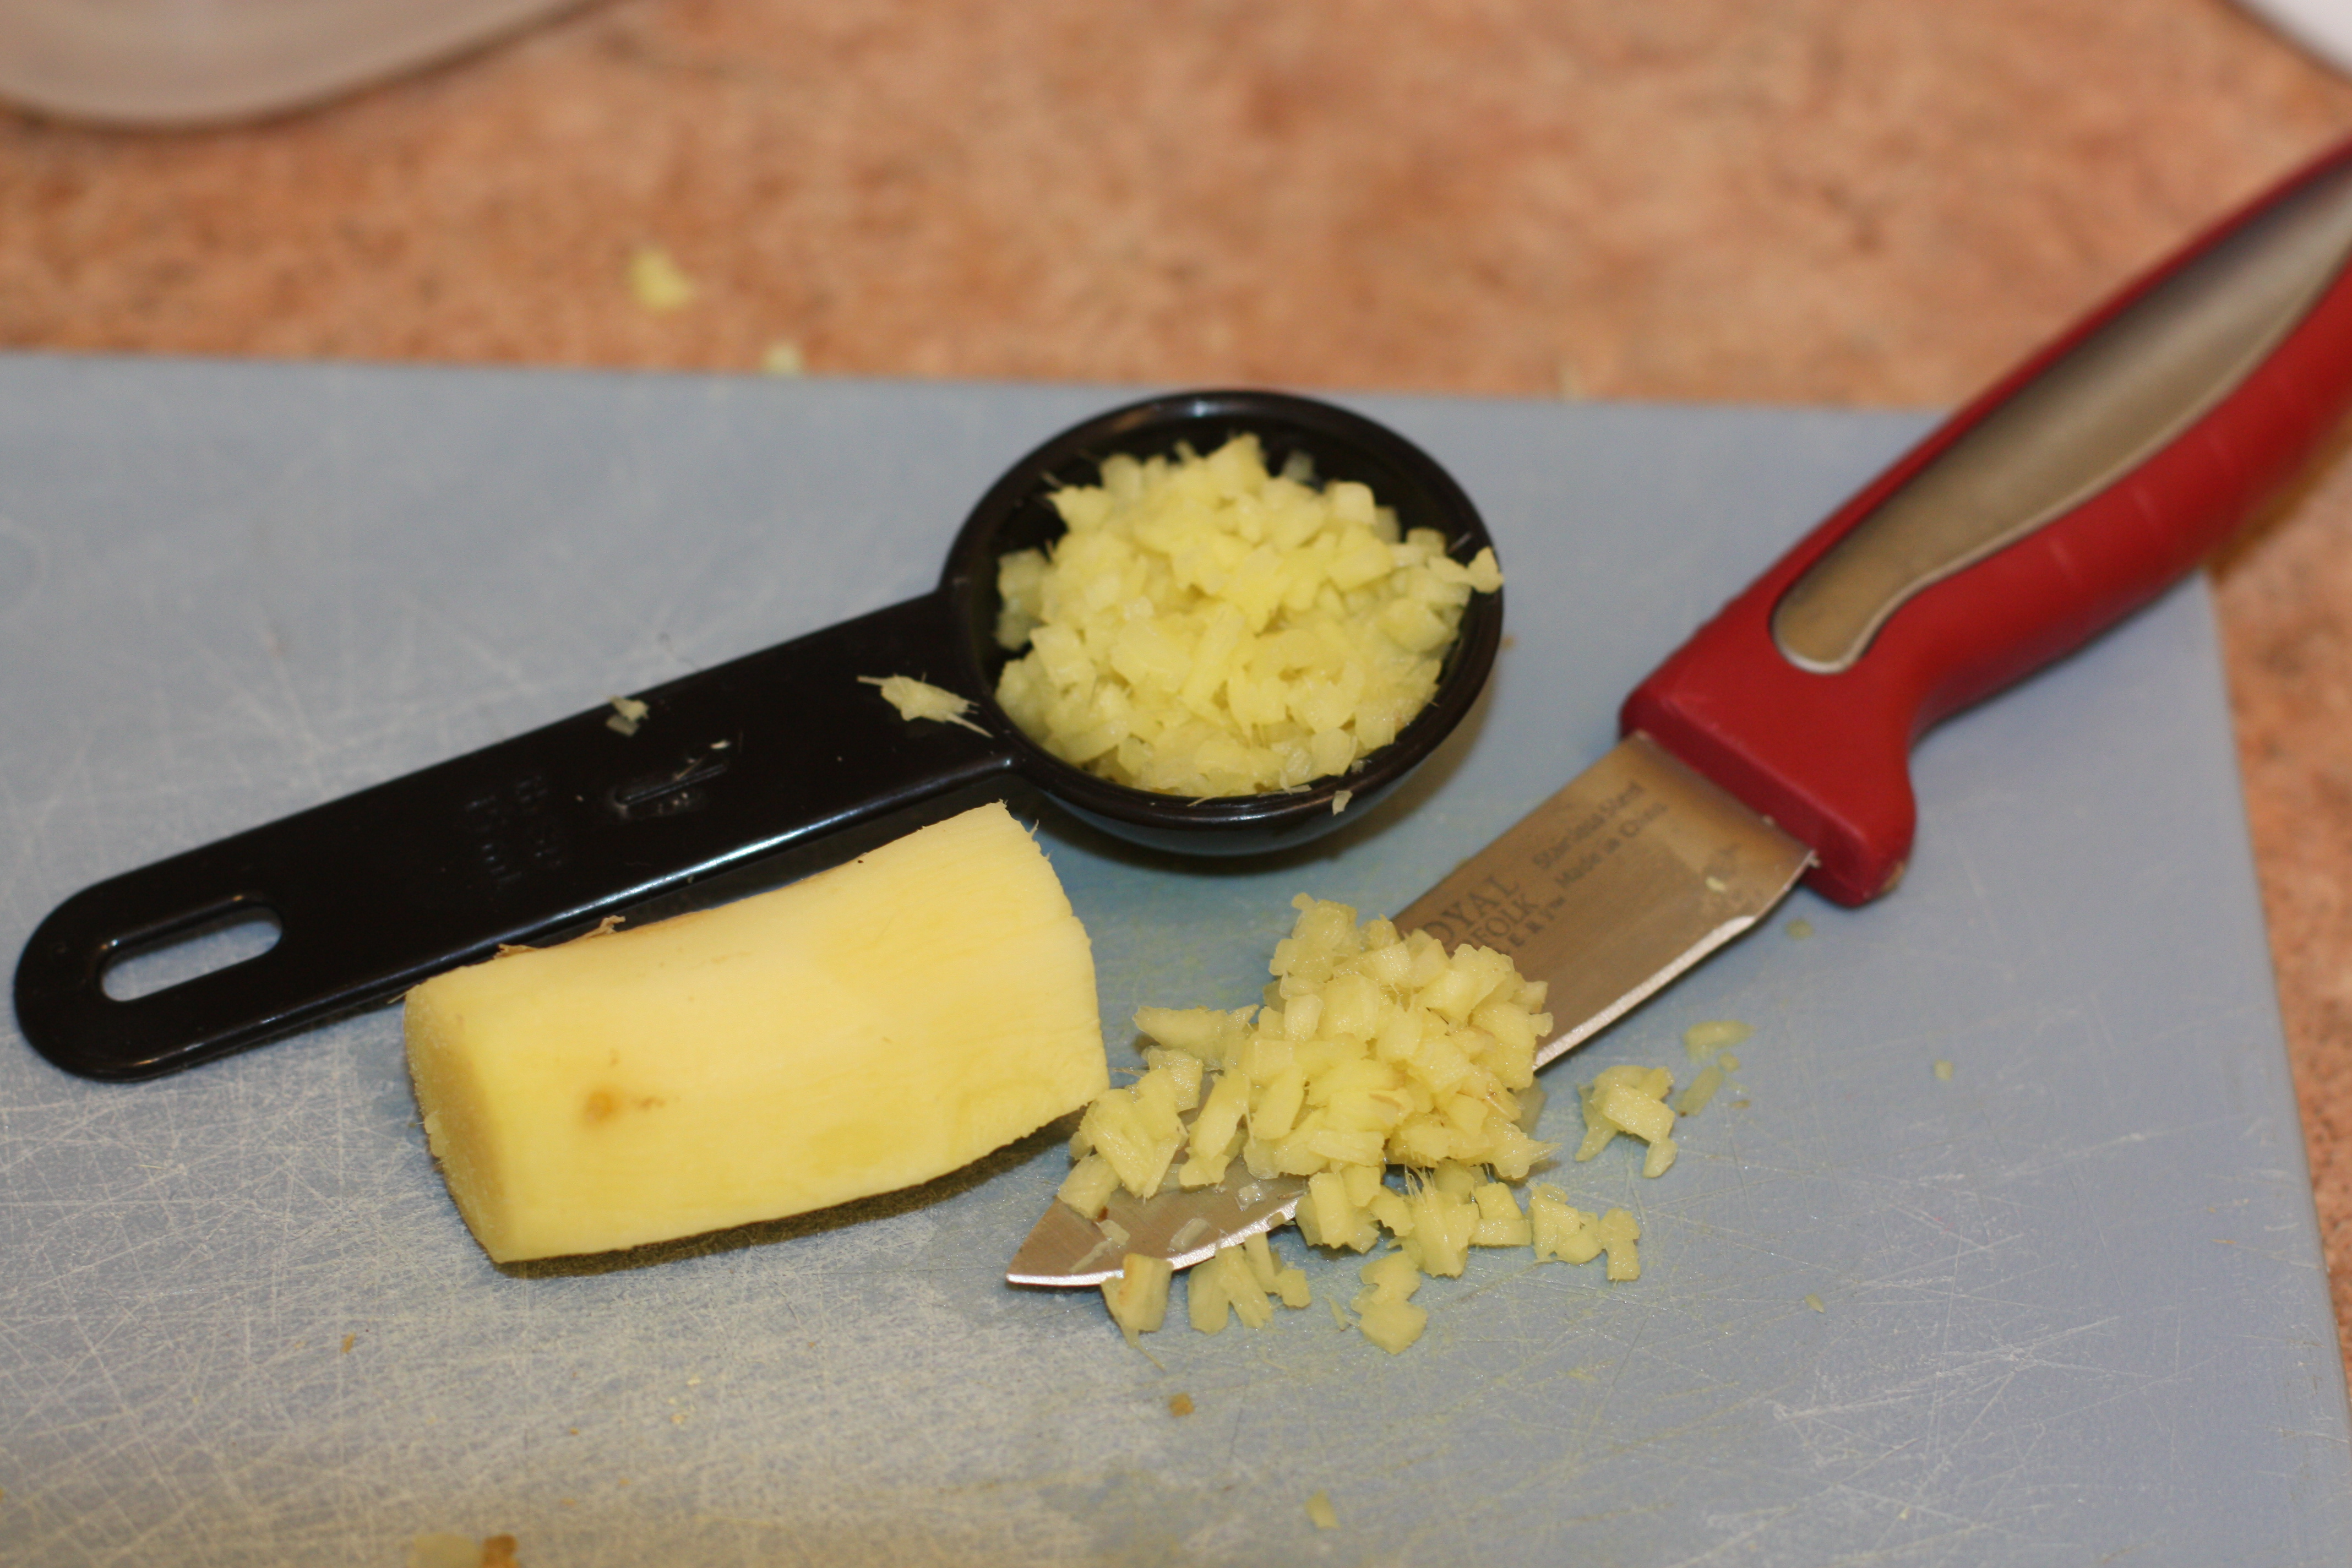
2 Tbsp minced ginger root
3/4 cup olive oil
1/3 cup rice vinegar
1/2 cup soy sauce
3 tablespoons honey
1/4 cup water

Directions:
1. Combine all ingredients into a jar or other storage container.
2. Cover container and shake well.
3. Heat dressing for 1 minute to dissolve honey.
4. Cool to use and store extra in refrigerator.

This dressing is delicious, but tastes very salty. If you're not a fan, decrease the amount of soy sauce to 1/4 cup.

Vegetable Stock


Ingredients:
2 quarts (1/2 gallon) of water
5 medium carrots
5 celery stalks
2 medium onions
3 medium potatoes
1 sweet potato
3 cloves of garlic
1 medium to large tomato
3 Tbsp olive oil
2 Tbsp fresh cilantro (or other fresh herbs)
1 tsp salt
1 tsp pepper
1 tsp dried parsley

TIP: If you want to maximize the flavor from your vegetables, cut them a little finer. The smaller the pieces the more surface area will be exposed to the water and infused into your broth.

Directions:
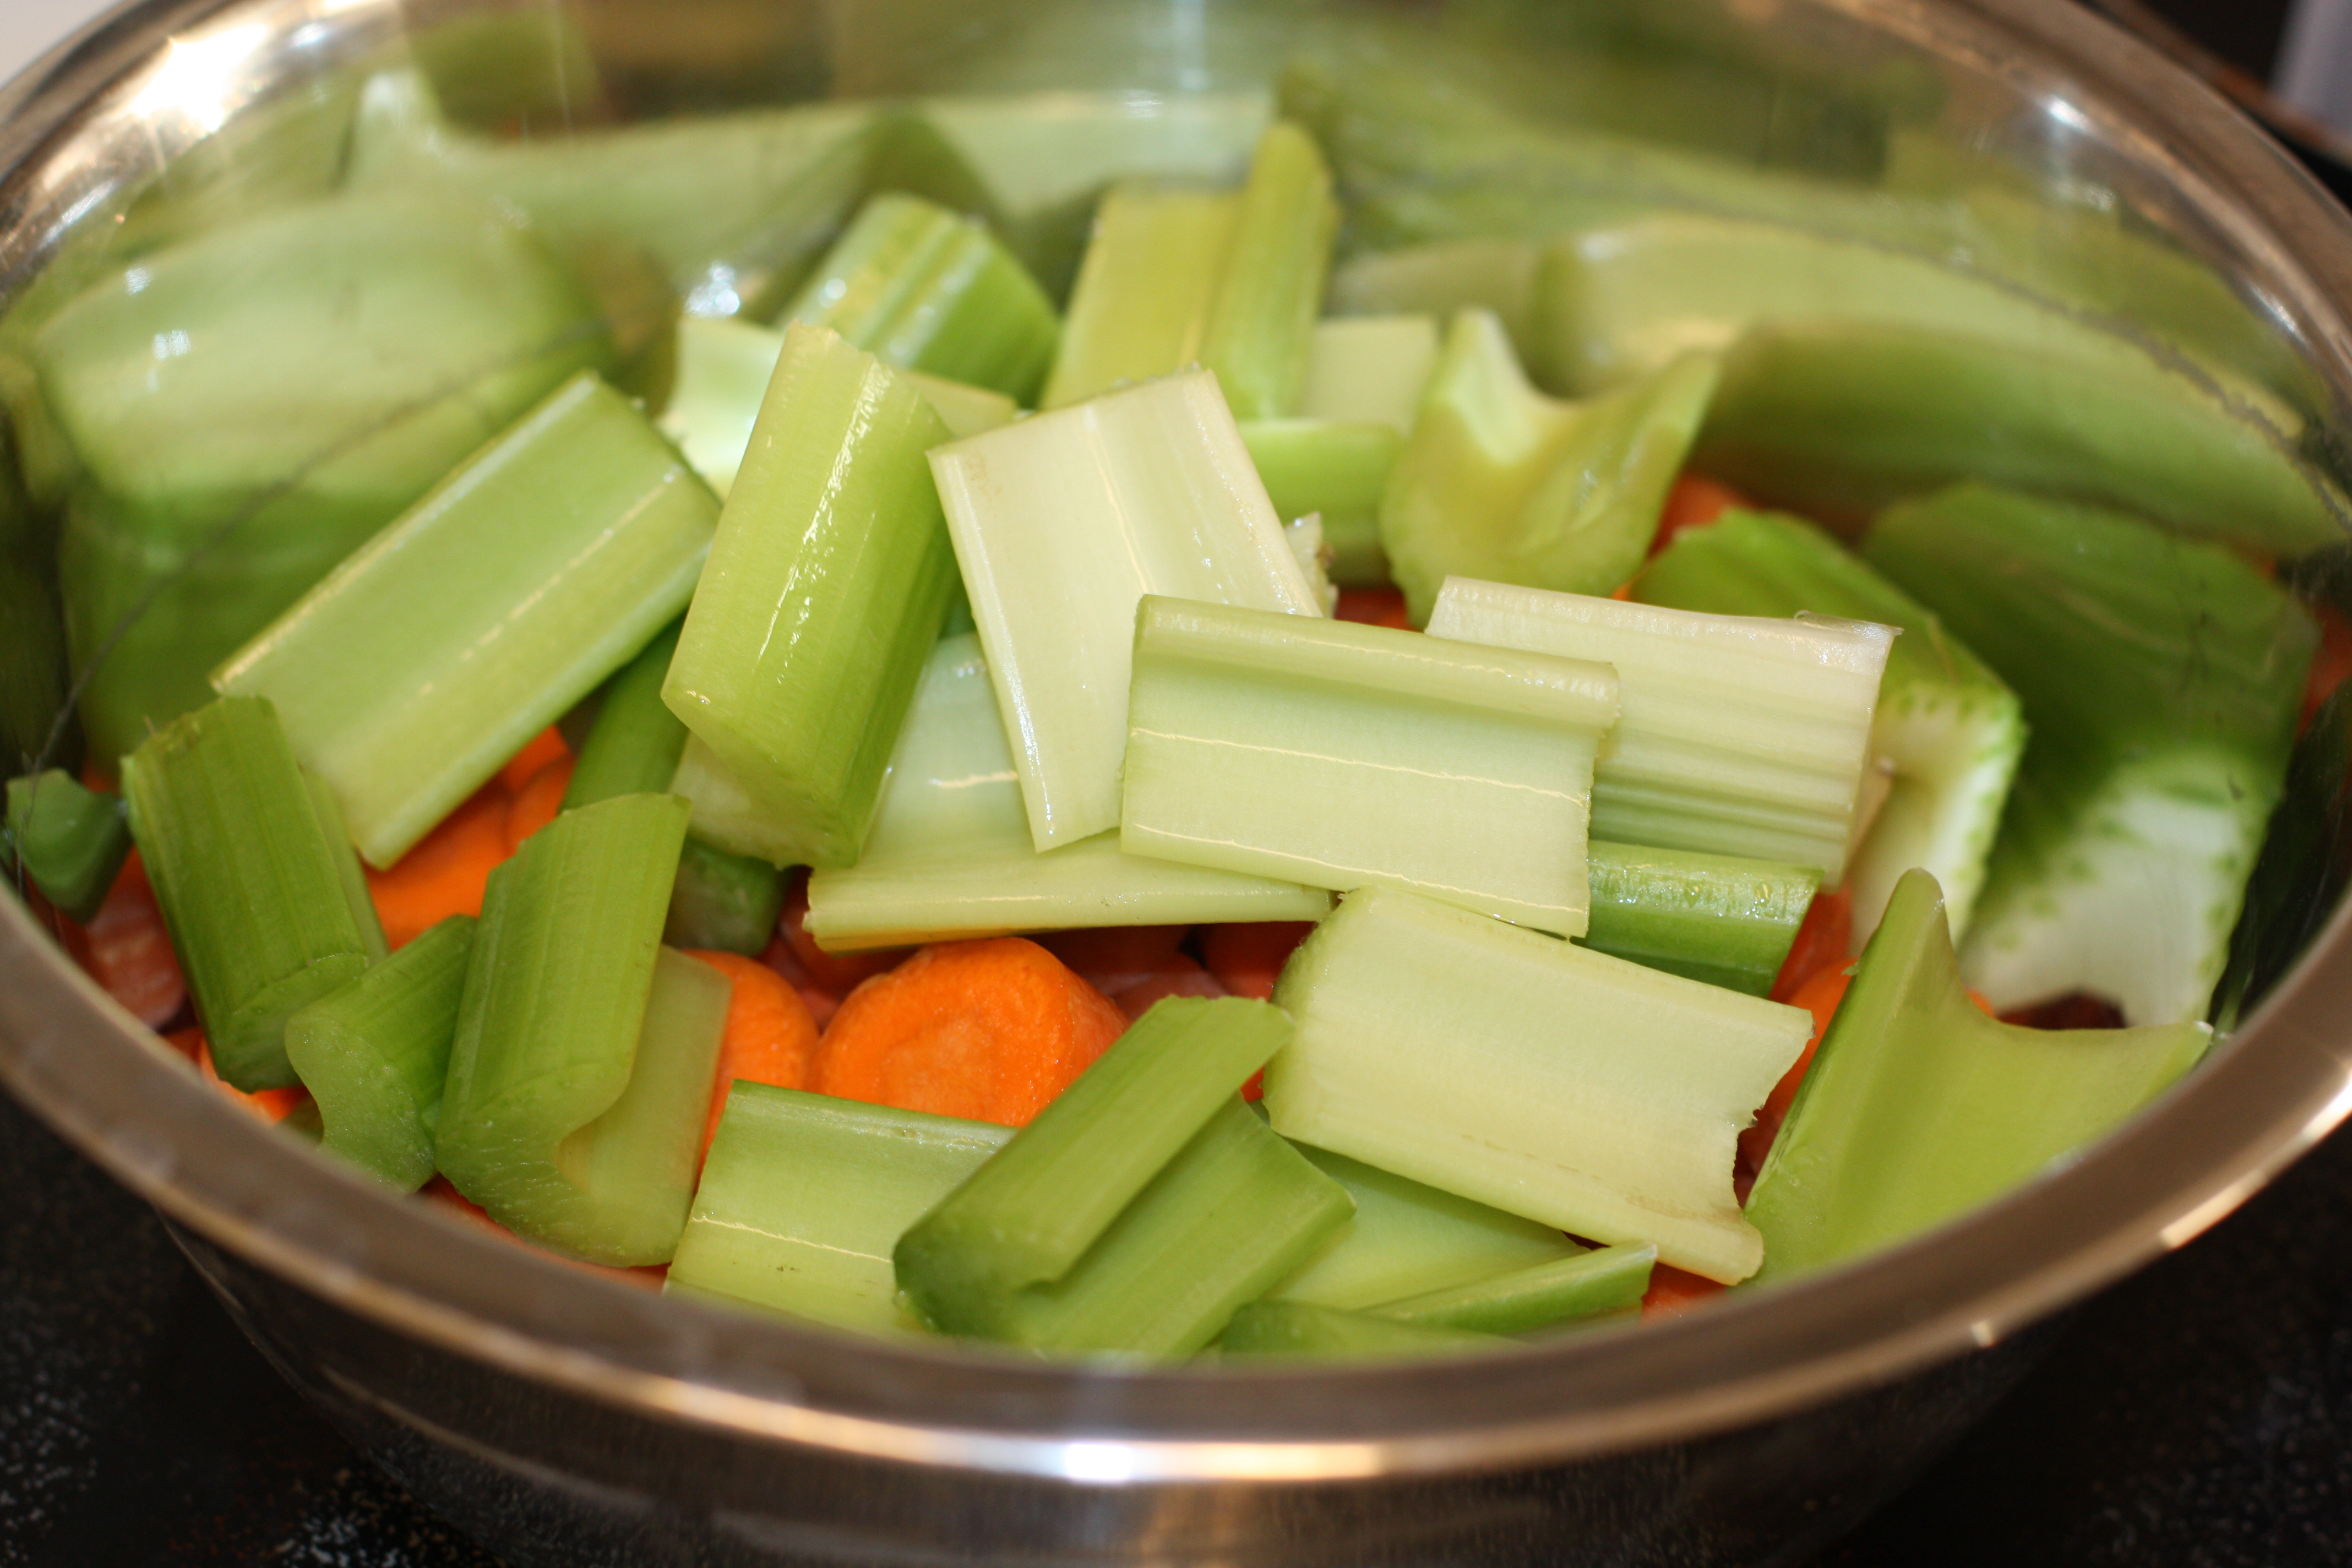
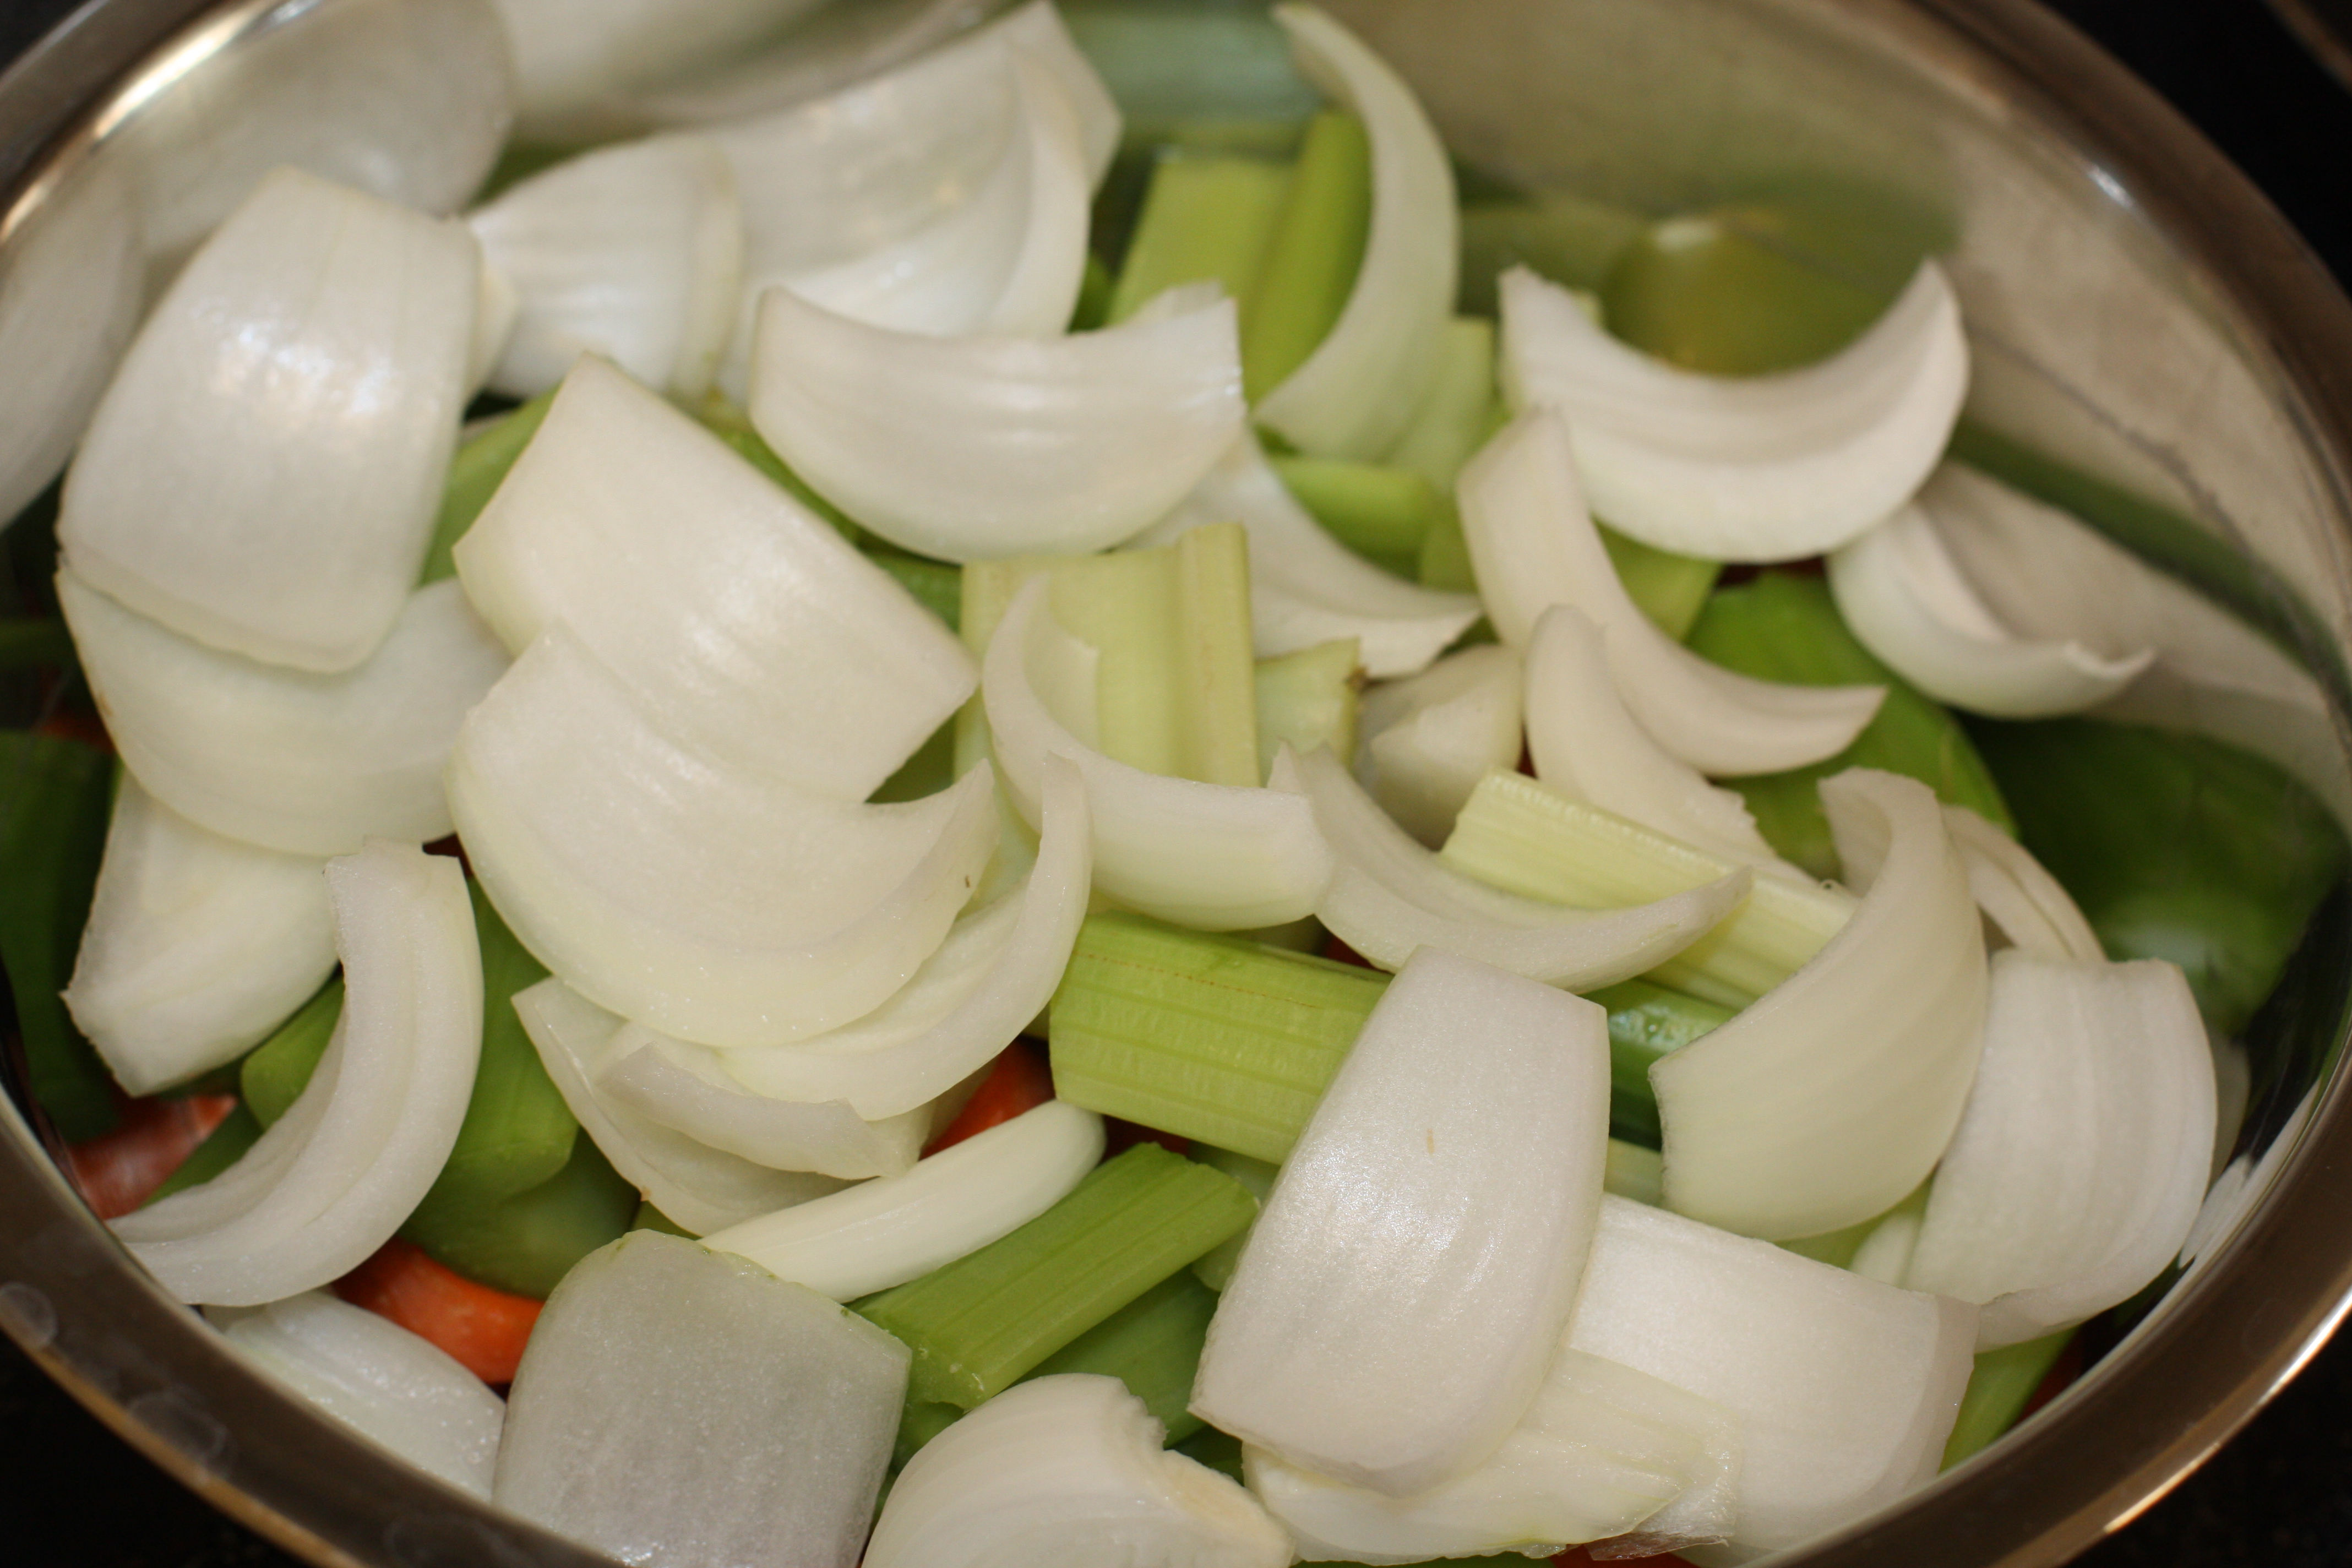
1. Chop all vegetables, placing all aromatics (carrots, onions, celery, and garlic in the same bowl).

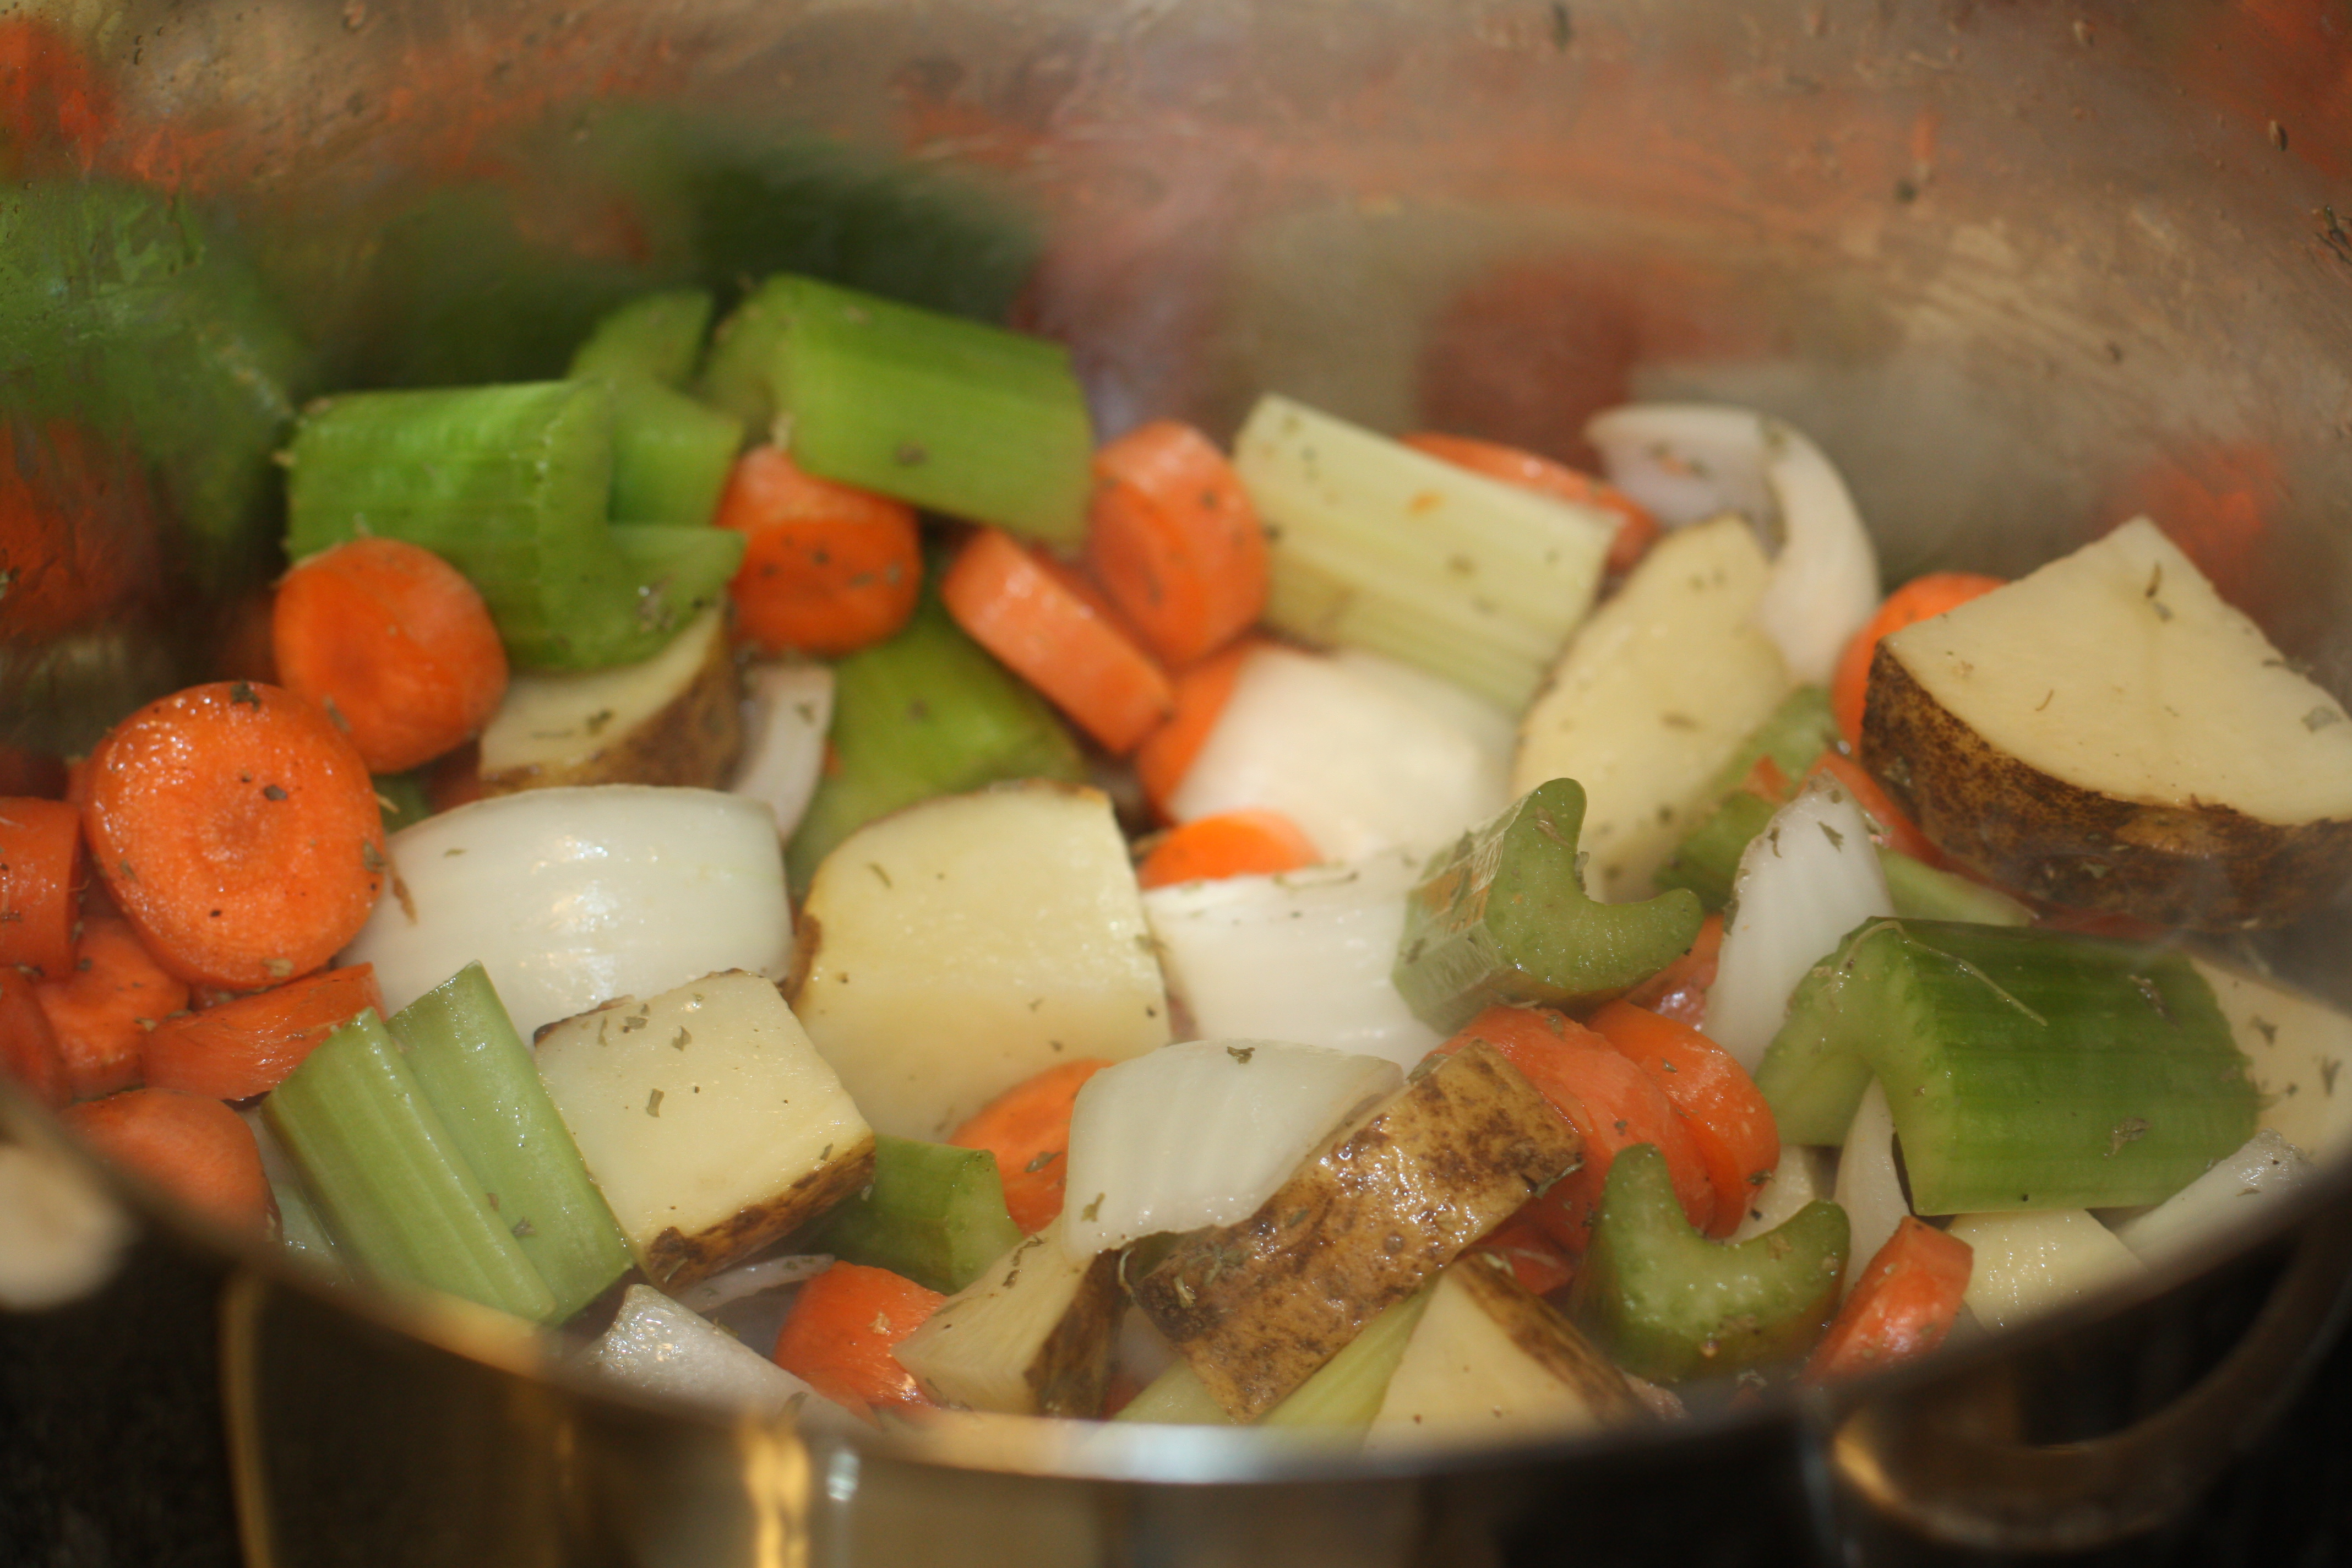
2. Coat pot with olive oil and heat at medium high. Place aromatics into the pot and sweat for a few minutes to create a strong flavor base.
3. Add the rest of the vegetables and seasonings to the pot.
3. Pour in water, cover pot, and bring to a boil.
4. Reduce heat and simmer for about 2 hours.
5. Strain the stock. Use immediately, store in refrigerator 2-3 days, or store in the freezer for a couple months.

So far I've used the broth to cook noodles, make soup, and even warmed some in a sippy cup for my son when he was sick.

Monday, August 15, 2011

DIY Magazine Holders

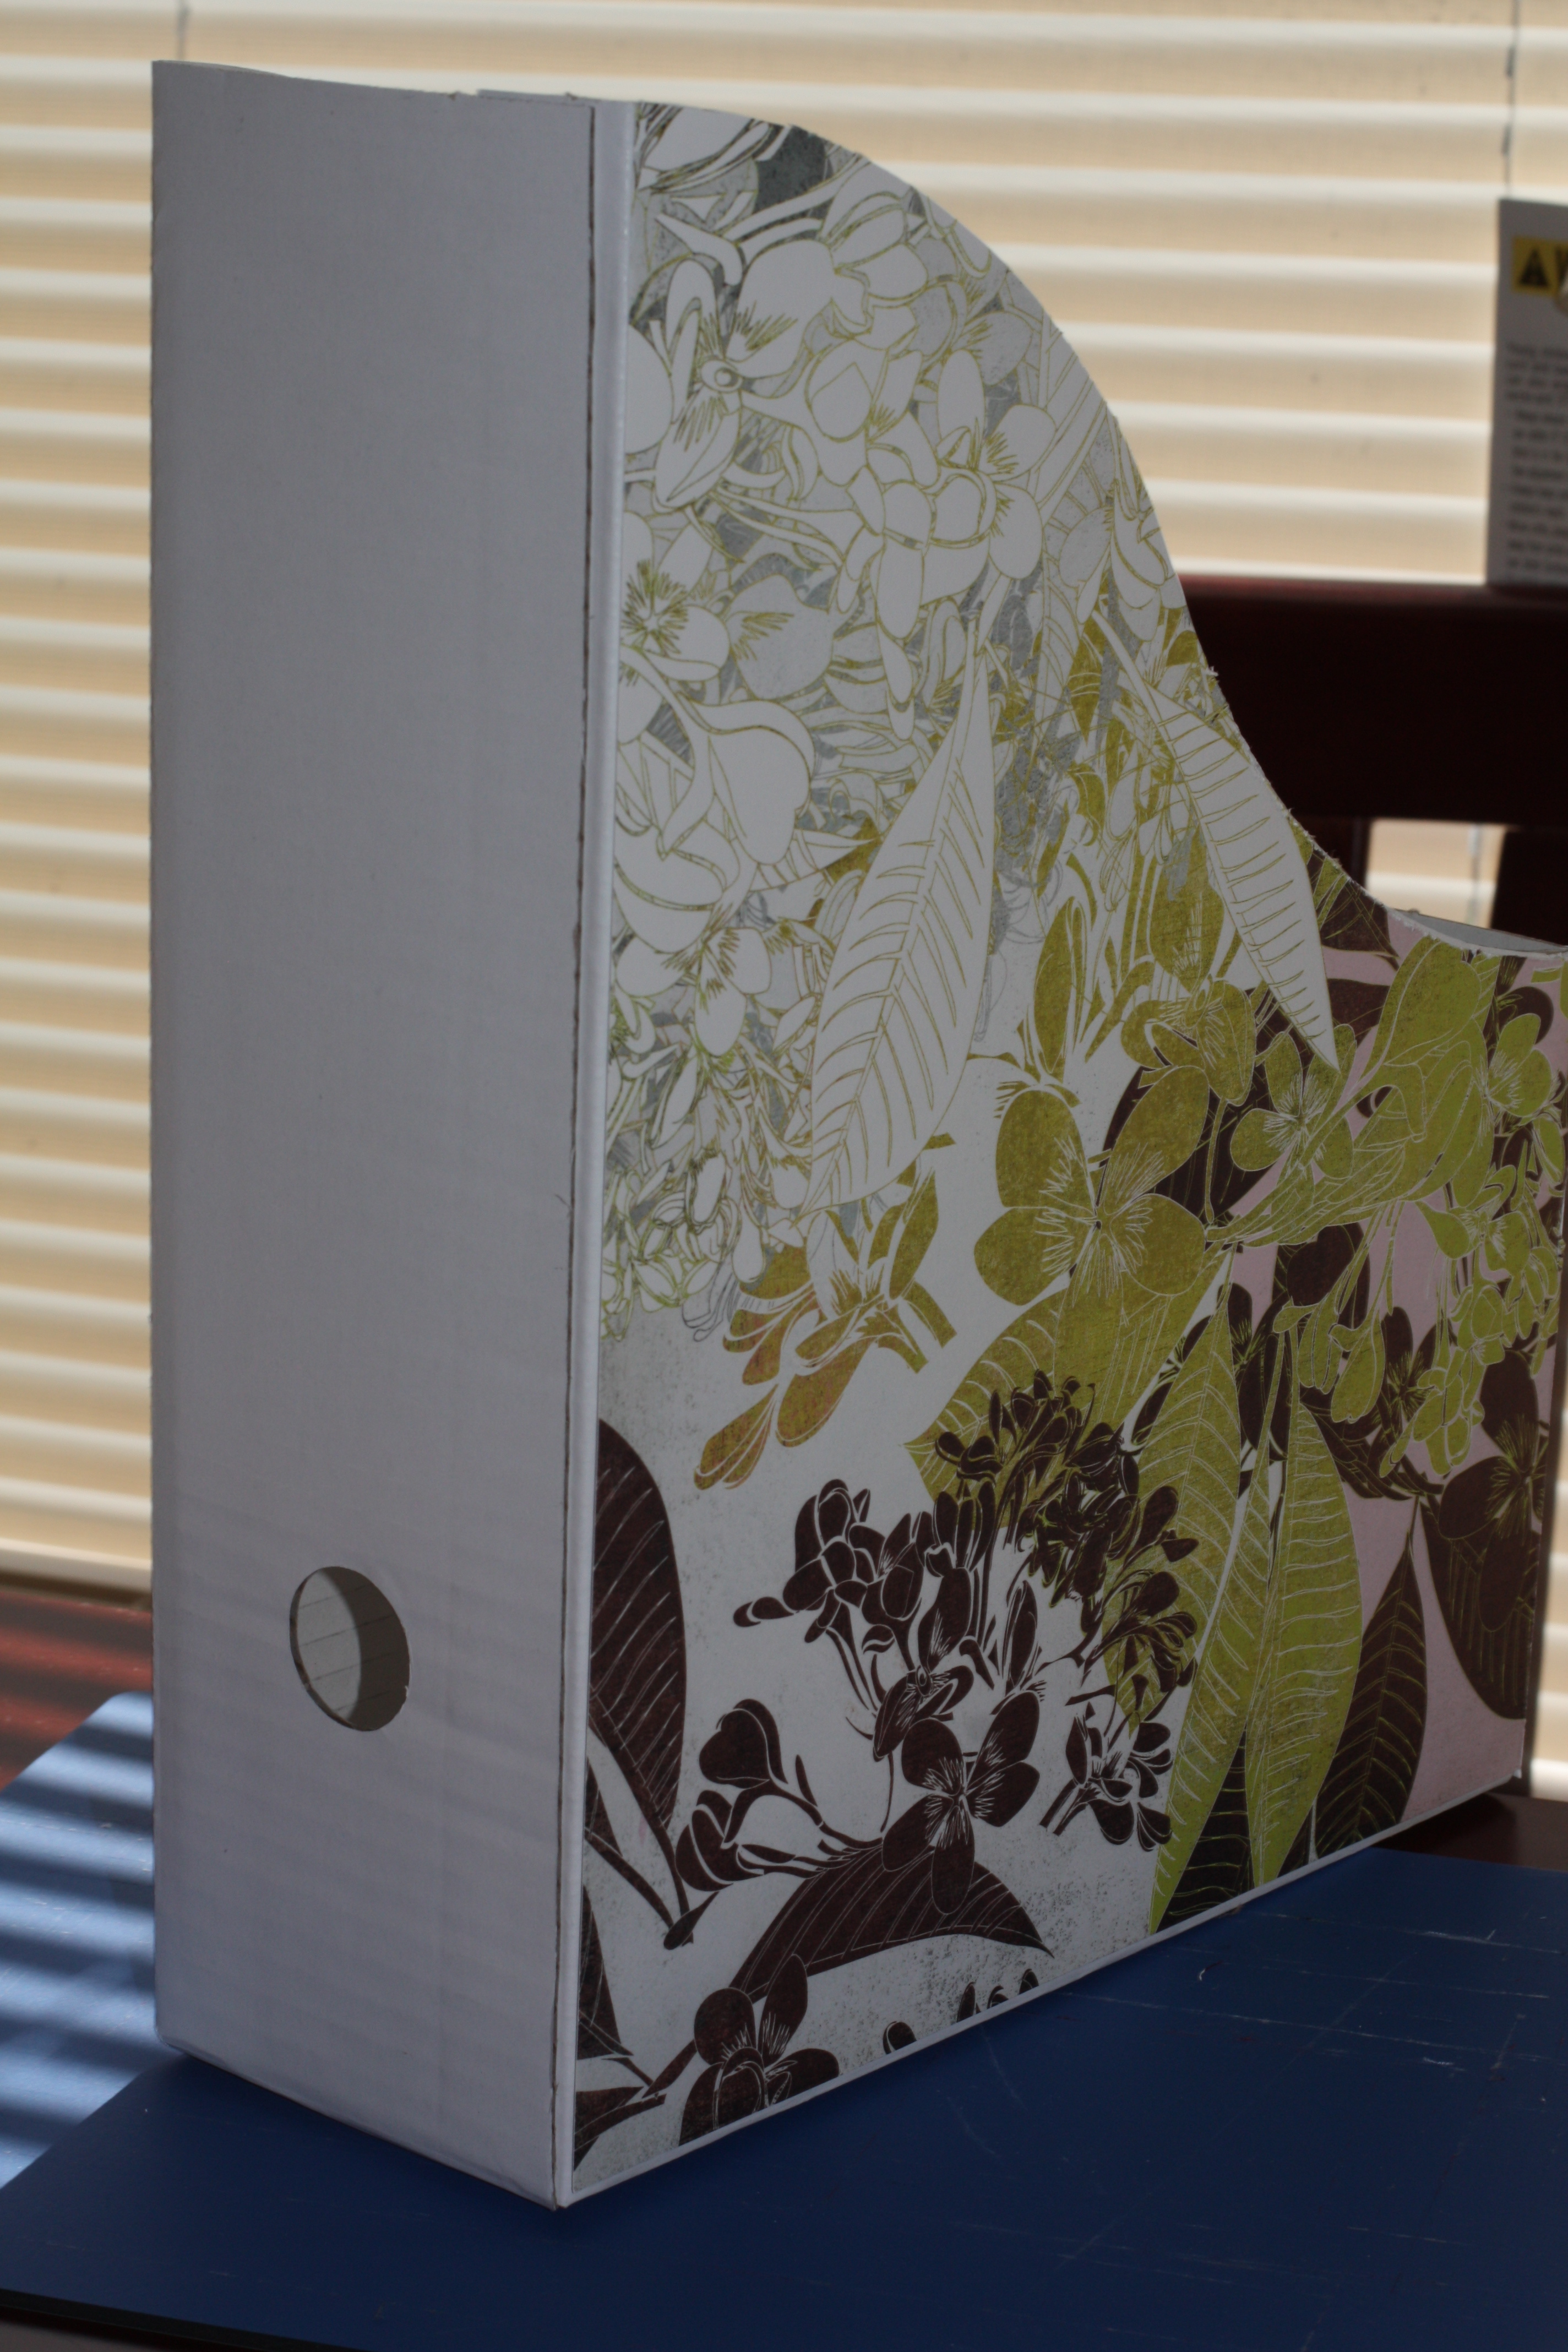
Ok, this isn't a complete DIY . . . I cheated. I found 5 plain cardboard magazine holders at Ikea for $3! I thought it was quite a steal and worth the time it would save me making 5 out of cereal or mailing boxes.


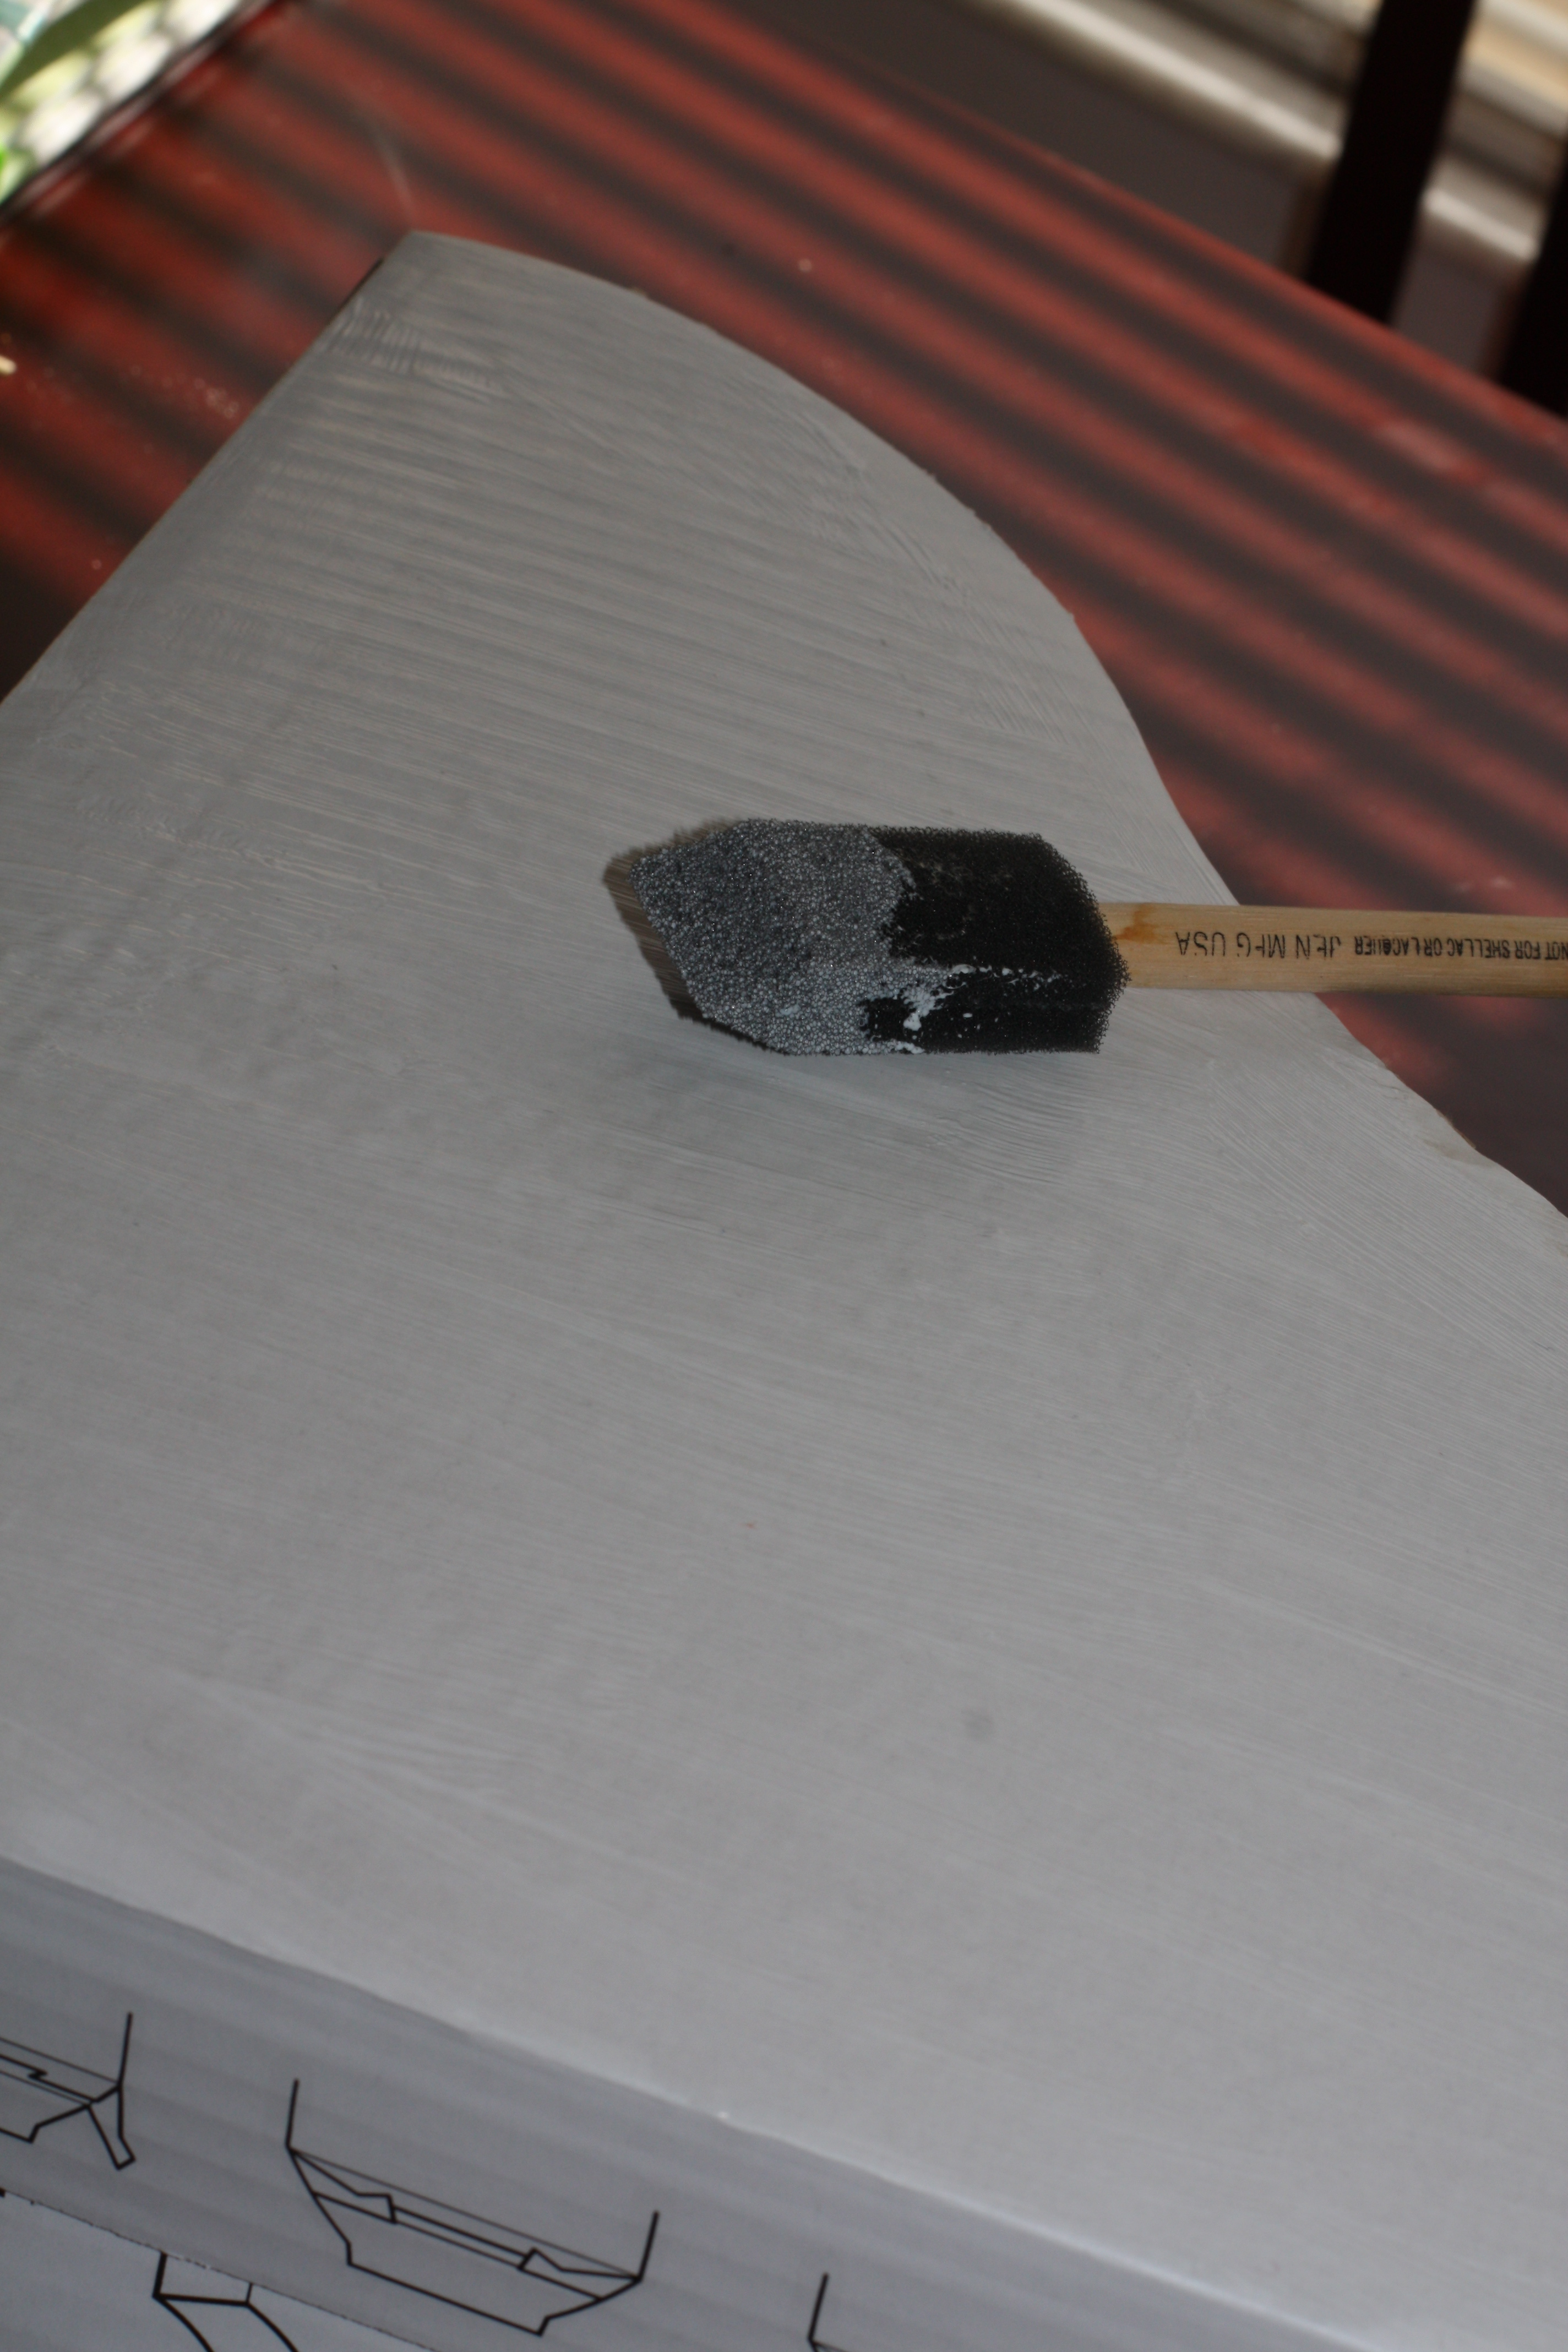
Mod Podge one side at a time and cover with the scrapbook paper or fabric, cut excess.


You can also trace each side of the magazine holder onto a piece of scrapbook paper and cut out before covering the magazine holder.

I left the back side uncovered since it will be facing the wall. You can also use fabric instead of scrapbook paper. 


Once each magazine holder is covered with paper or fabric, coat with Mod Podge.
Simple and stylish (I think).

Total Cost: $3 (If you already have paper and Mod Podge or Elmer's glue)

Thursday, August 11, 2011

Some Good Deals

Lately I've been finding some great freebies and deals so I thought I'd start sharing them.
Here are a couple I found today:

Savemore is having a deal on a teeth whitening pen from Smile Bright. Now do you or I need this? Probably not, but hey it's free. It's a $30 pen for $8, but you get a $10 credit for signing up so it ends up being free with $2 leftover. Shipping is free! The deal is here if you're interested.

At Saveology you can get a year's worth of seeds from Mike the Gardener Enterprises' for $15, retails at $31. You get 8 packs to start, then 4 packs a month for a year. Too bad I have no idea how to care for fruits and veggies or I would be all over this one. Oh well, maybe some of you could use this deal.

Another one at Saveology is a $50 gift card from TheHotelCard.com for $20. You can probably tell by the name, but just in case the gift card is good towards booking a hotel. They say there are 55,000 to choose from all over, but I'd look at the list and see if they have ones where you'll be traveling.
I'll post more deals as I find them.

Saturday, July 30, 2011

Receiving Blanket Cupcakes

My husband's co-worker and his wife just had their second child and first little girl. We wanted to congratulate them with a little gift. Now I'm definitely all about giving homemade gifts. I think it says something when someone is willing to put in the time to make something for you. And since I do believe time is sometimes money, in my mind homemade should almost always be less expensive. This project is no exception! I got this idea from Little Birdie Secrets.

Supplies:

4 Receiving Blankets
4 Clothing items, toys, or washcloths
4 Large Coffee Filters (8 if you want to double them)
4 Rubber Bands
4 12 inch pieces of ribbon (may be all one color or all different)
1 Windowed Cupcake Bakery Box

Directions:

1. Fold each receiving blanket so that it is about 3 inches wide.


2. If you are using a toy you may skip this step. If you are using clothing or a washcloth place it over a fist and fold the edges into the center. You may also lay it on a flat surface and fold the outsides inward. Be sure to make sure all elastic, buttons, or sleeves are folded to the inside to give the cupcakes a neater look.


3. Wrap the receiving blanket around the toy, washcloth, or piece of clothing starting at the highest point you would like the cupcake and wrapping around and down to create a peaked top.


4. Once the cupcake is wrapped tie it with a rubber band.


5. Place the cupcakes into coffee filters. I used 2 filters per cupcake because they are thin.


6. Tie a piece of ribbon around each cupcake. You may use one color for all the cupcakes or multiple colors. Since my cupcakes were fairly neutral colored, I wanted to add a little more color so I went with 4 different colored pieces of ribbon.


7. Place your finished cupcakes in the bakery box. The smallest box available at the store where I purchased my cupcake box was 12"x12". This was too large for 4 cupcakes so I used tape at the bottom of the coffee filters to secure the cupcakes to the box and keep them from shifting in transit. You could also make more than 4 cupcakes to fill up the box if you'd like.


Cost Breakdown:

Pack of 5 receiving blankets - $2 clearance
Onesie & short outfit (separated to make 2 cupcakes) - $1 clearance
Pair of shorts - $1 clearance
Windowed Cupcake Box - $2
All other supplies came from my crafting supplies.

Total: $6