Showing posts with label DIY. Show all posts

Friday, August 26, 2011

DIY Canvas Wall Art . . . Continued


In my last post I made a canvas for a large wall of nothingness that exists above our bed. Of course, one piece of magnificent art would not be enough to fill up the space.
I just needed to figure out the perfect pieces to make that would compliment the first.
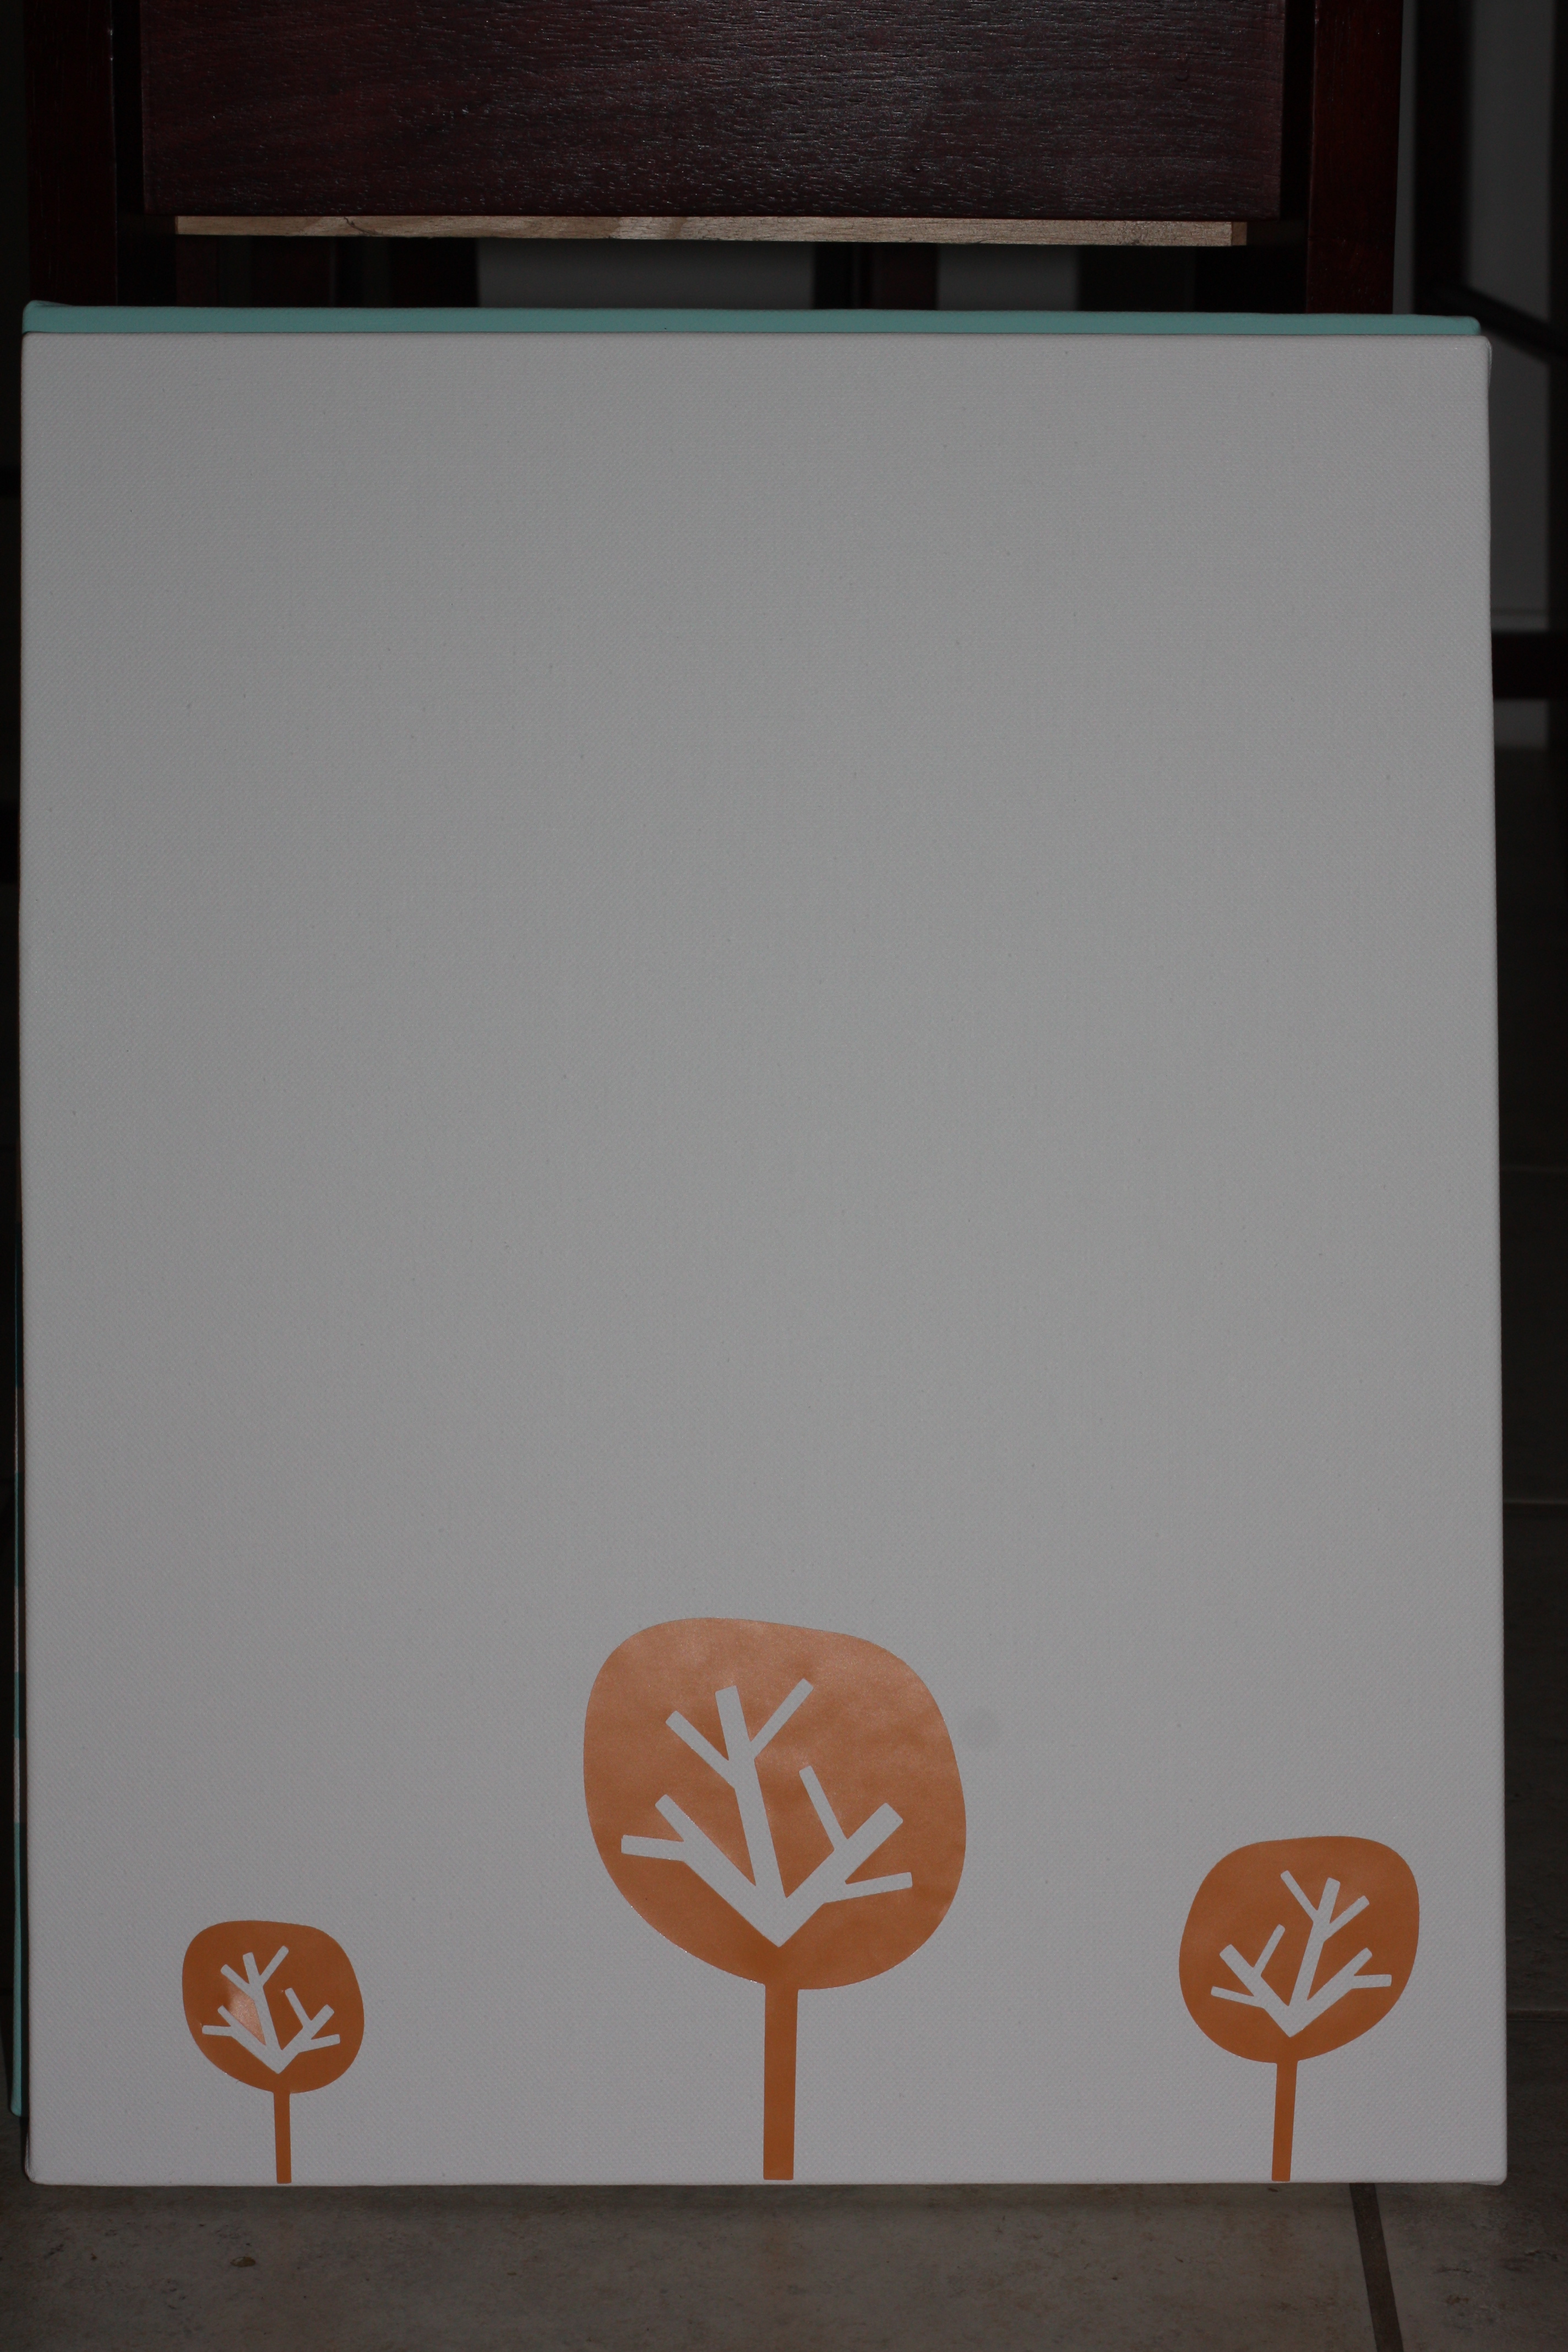
Here's what I came up with:
Figures my camera would decide this should be the photograph to gather exceptionally specific detail like the white touch ups I made, but you really can't tell when looking at it.
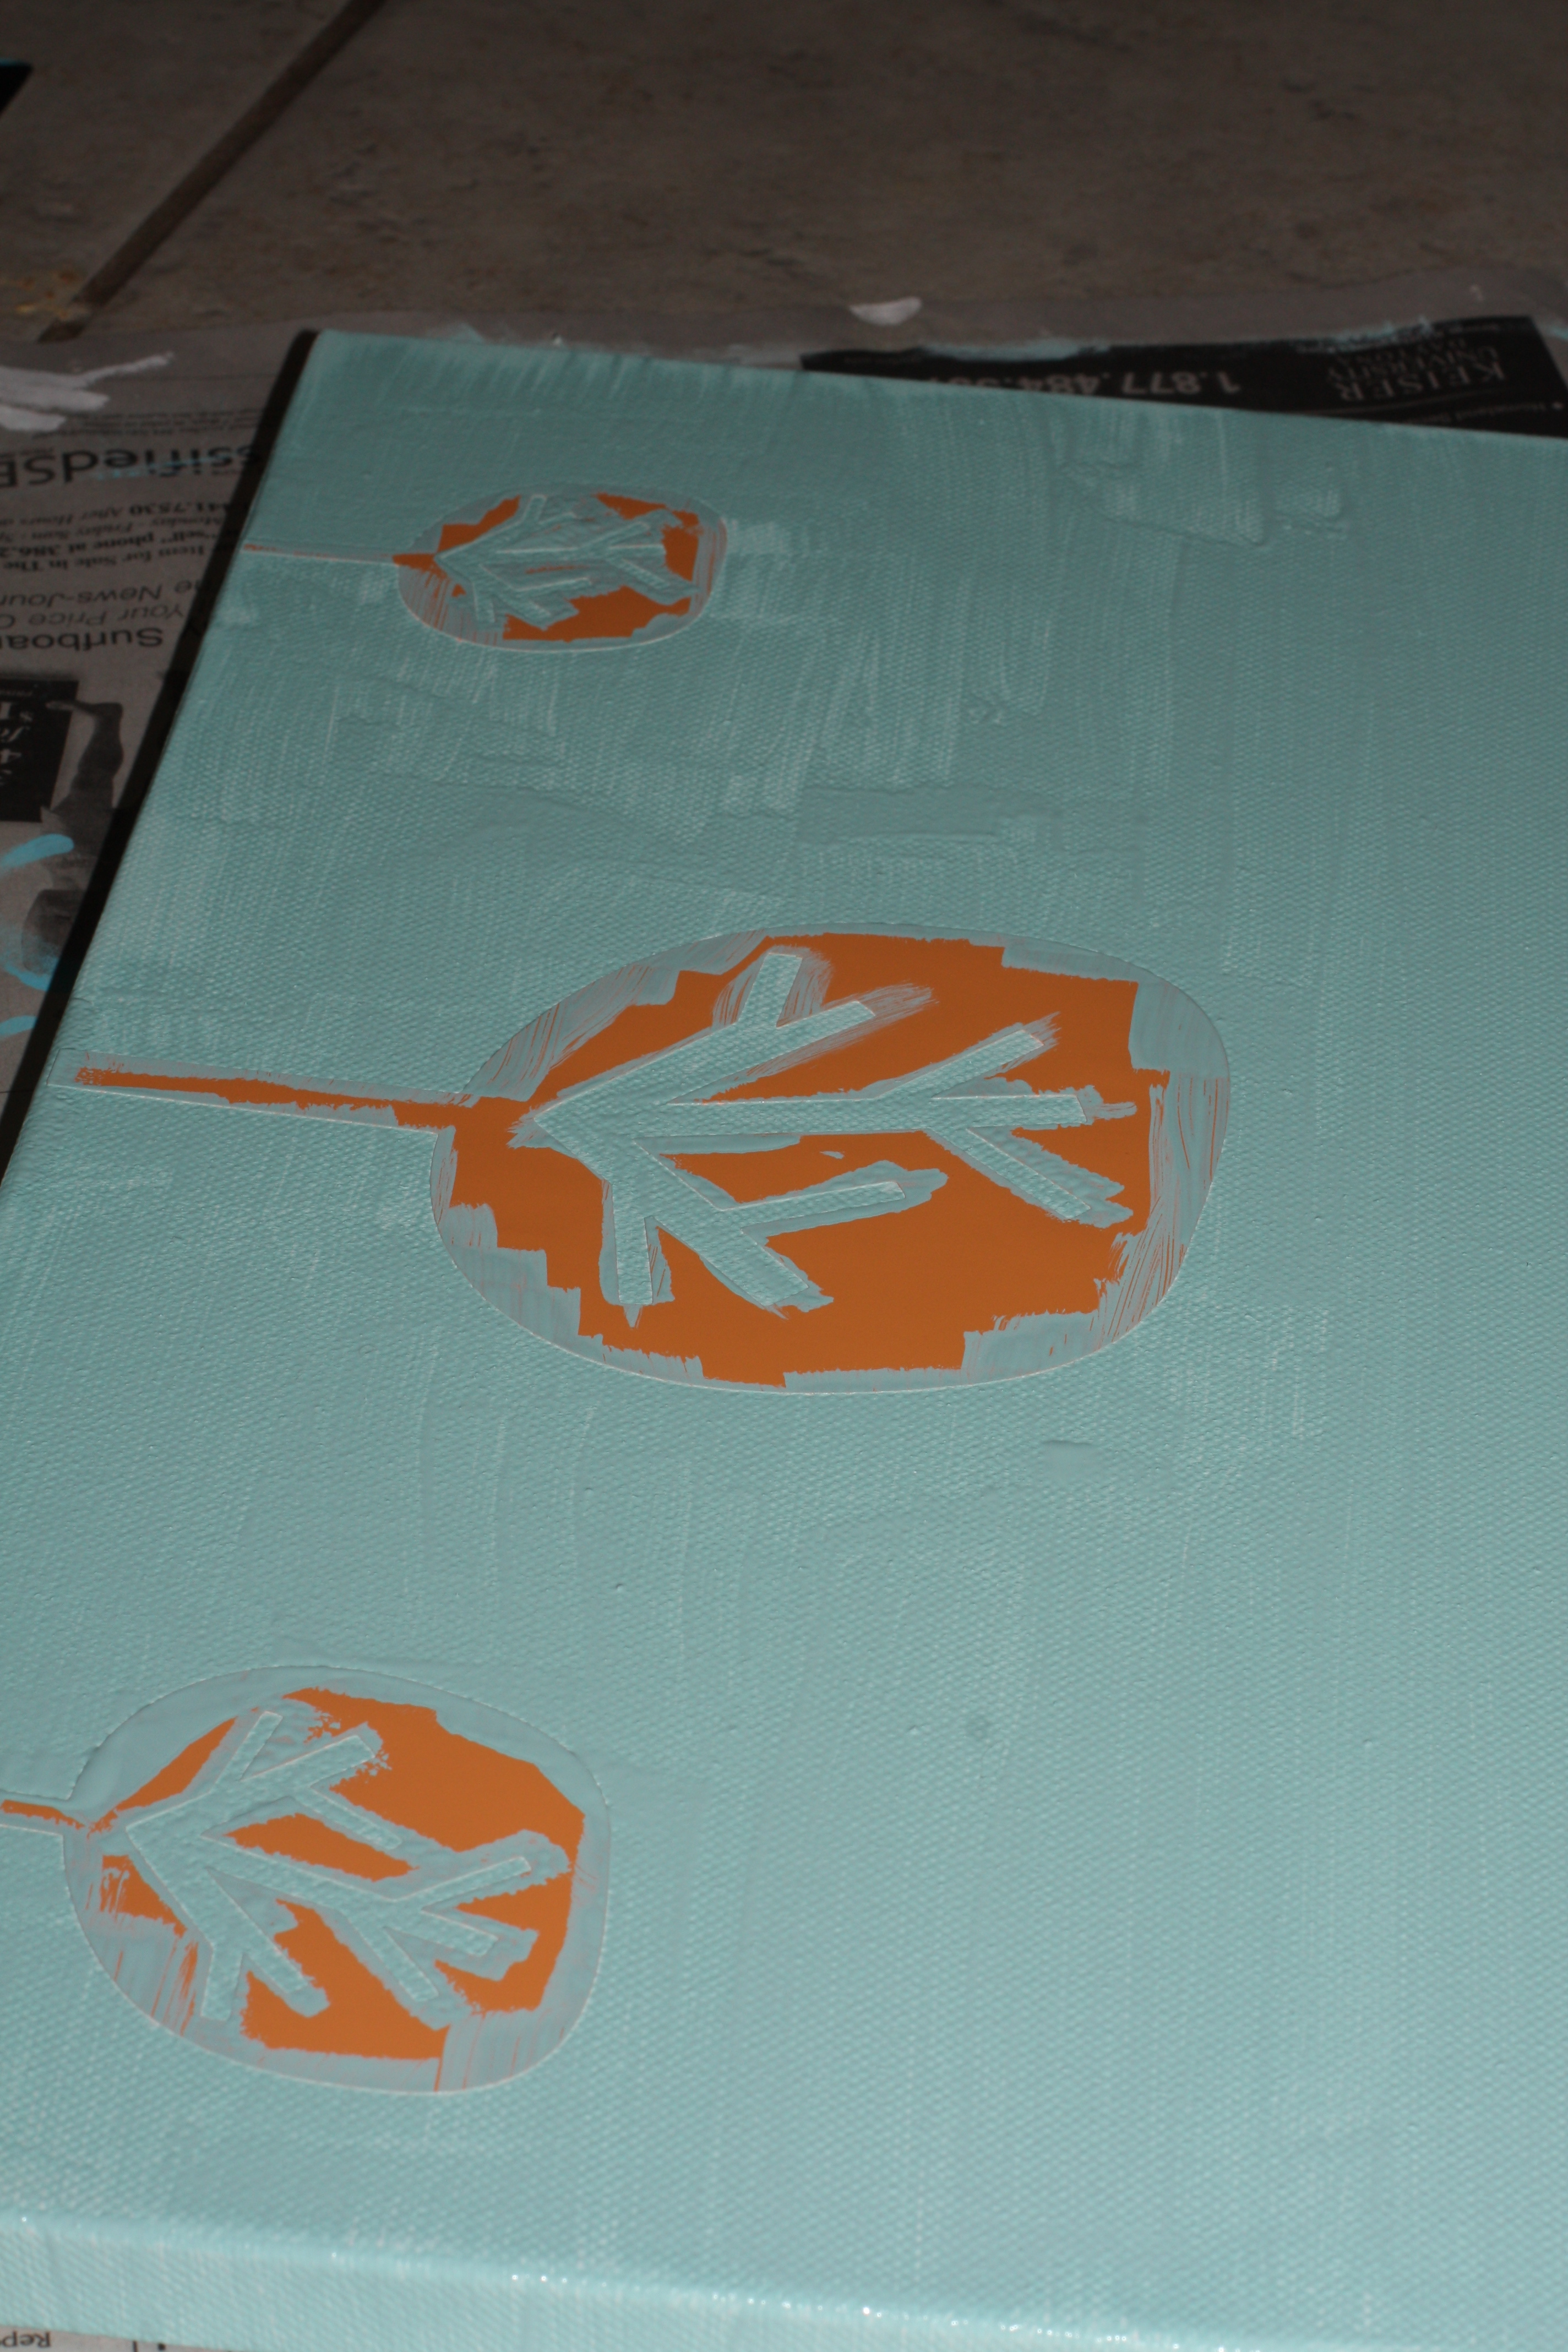
The first painting I made by placing vinyl stickers on the canvas and painting over the entire canvas. Once dry, I removed the vinyl.
The final painting in this series took me forever to decide on and the longest to make.
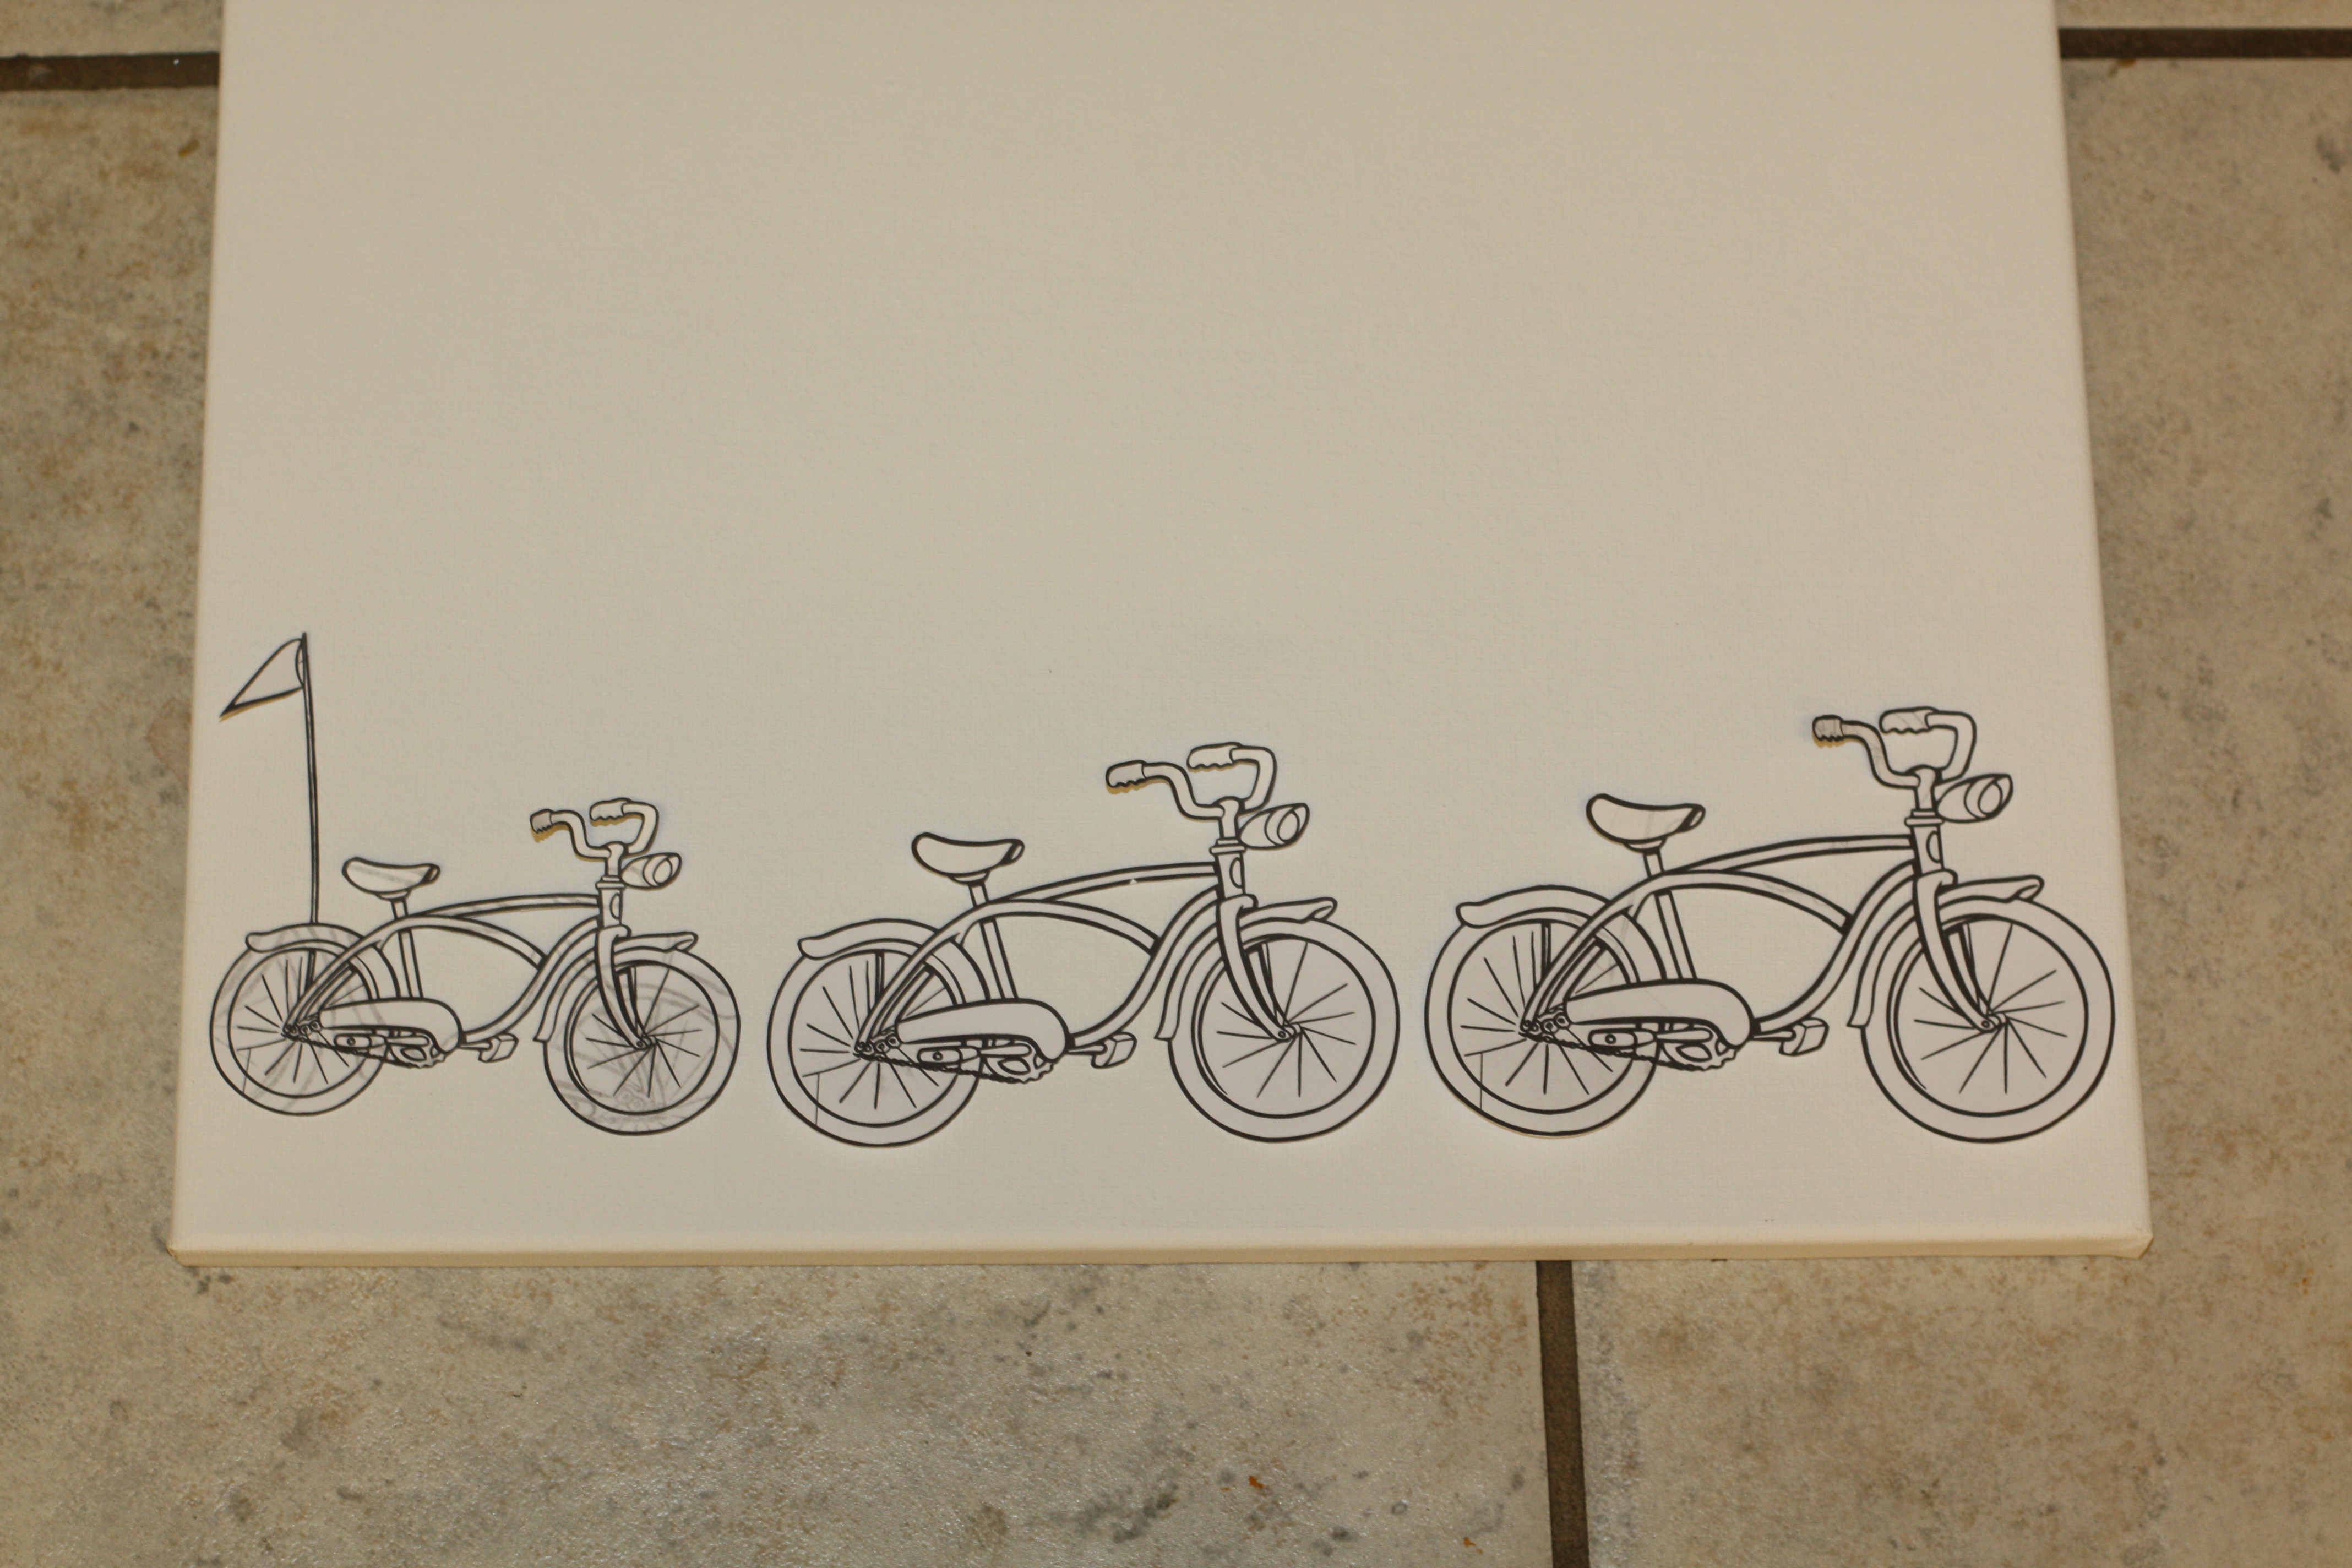
I wanted something that represented our family and since we love taking bike rides my idea was to have 3 bikes decreasing in size (papa, mama, baby bikes). Unfortunately since the canvas needed to be painted vertically to fit with the other paintings it is somewhat difficult to notice the size differences, but I still love how it turned out.
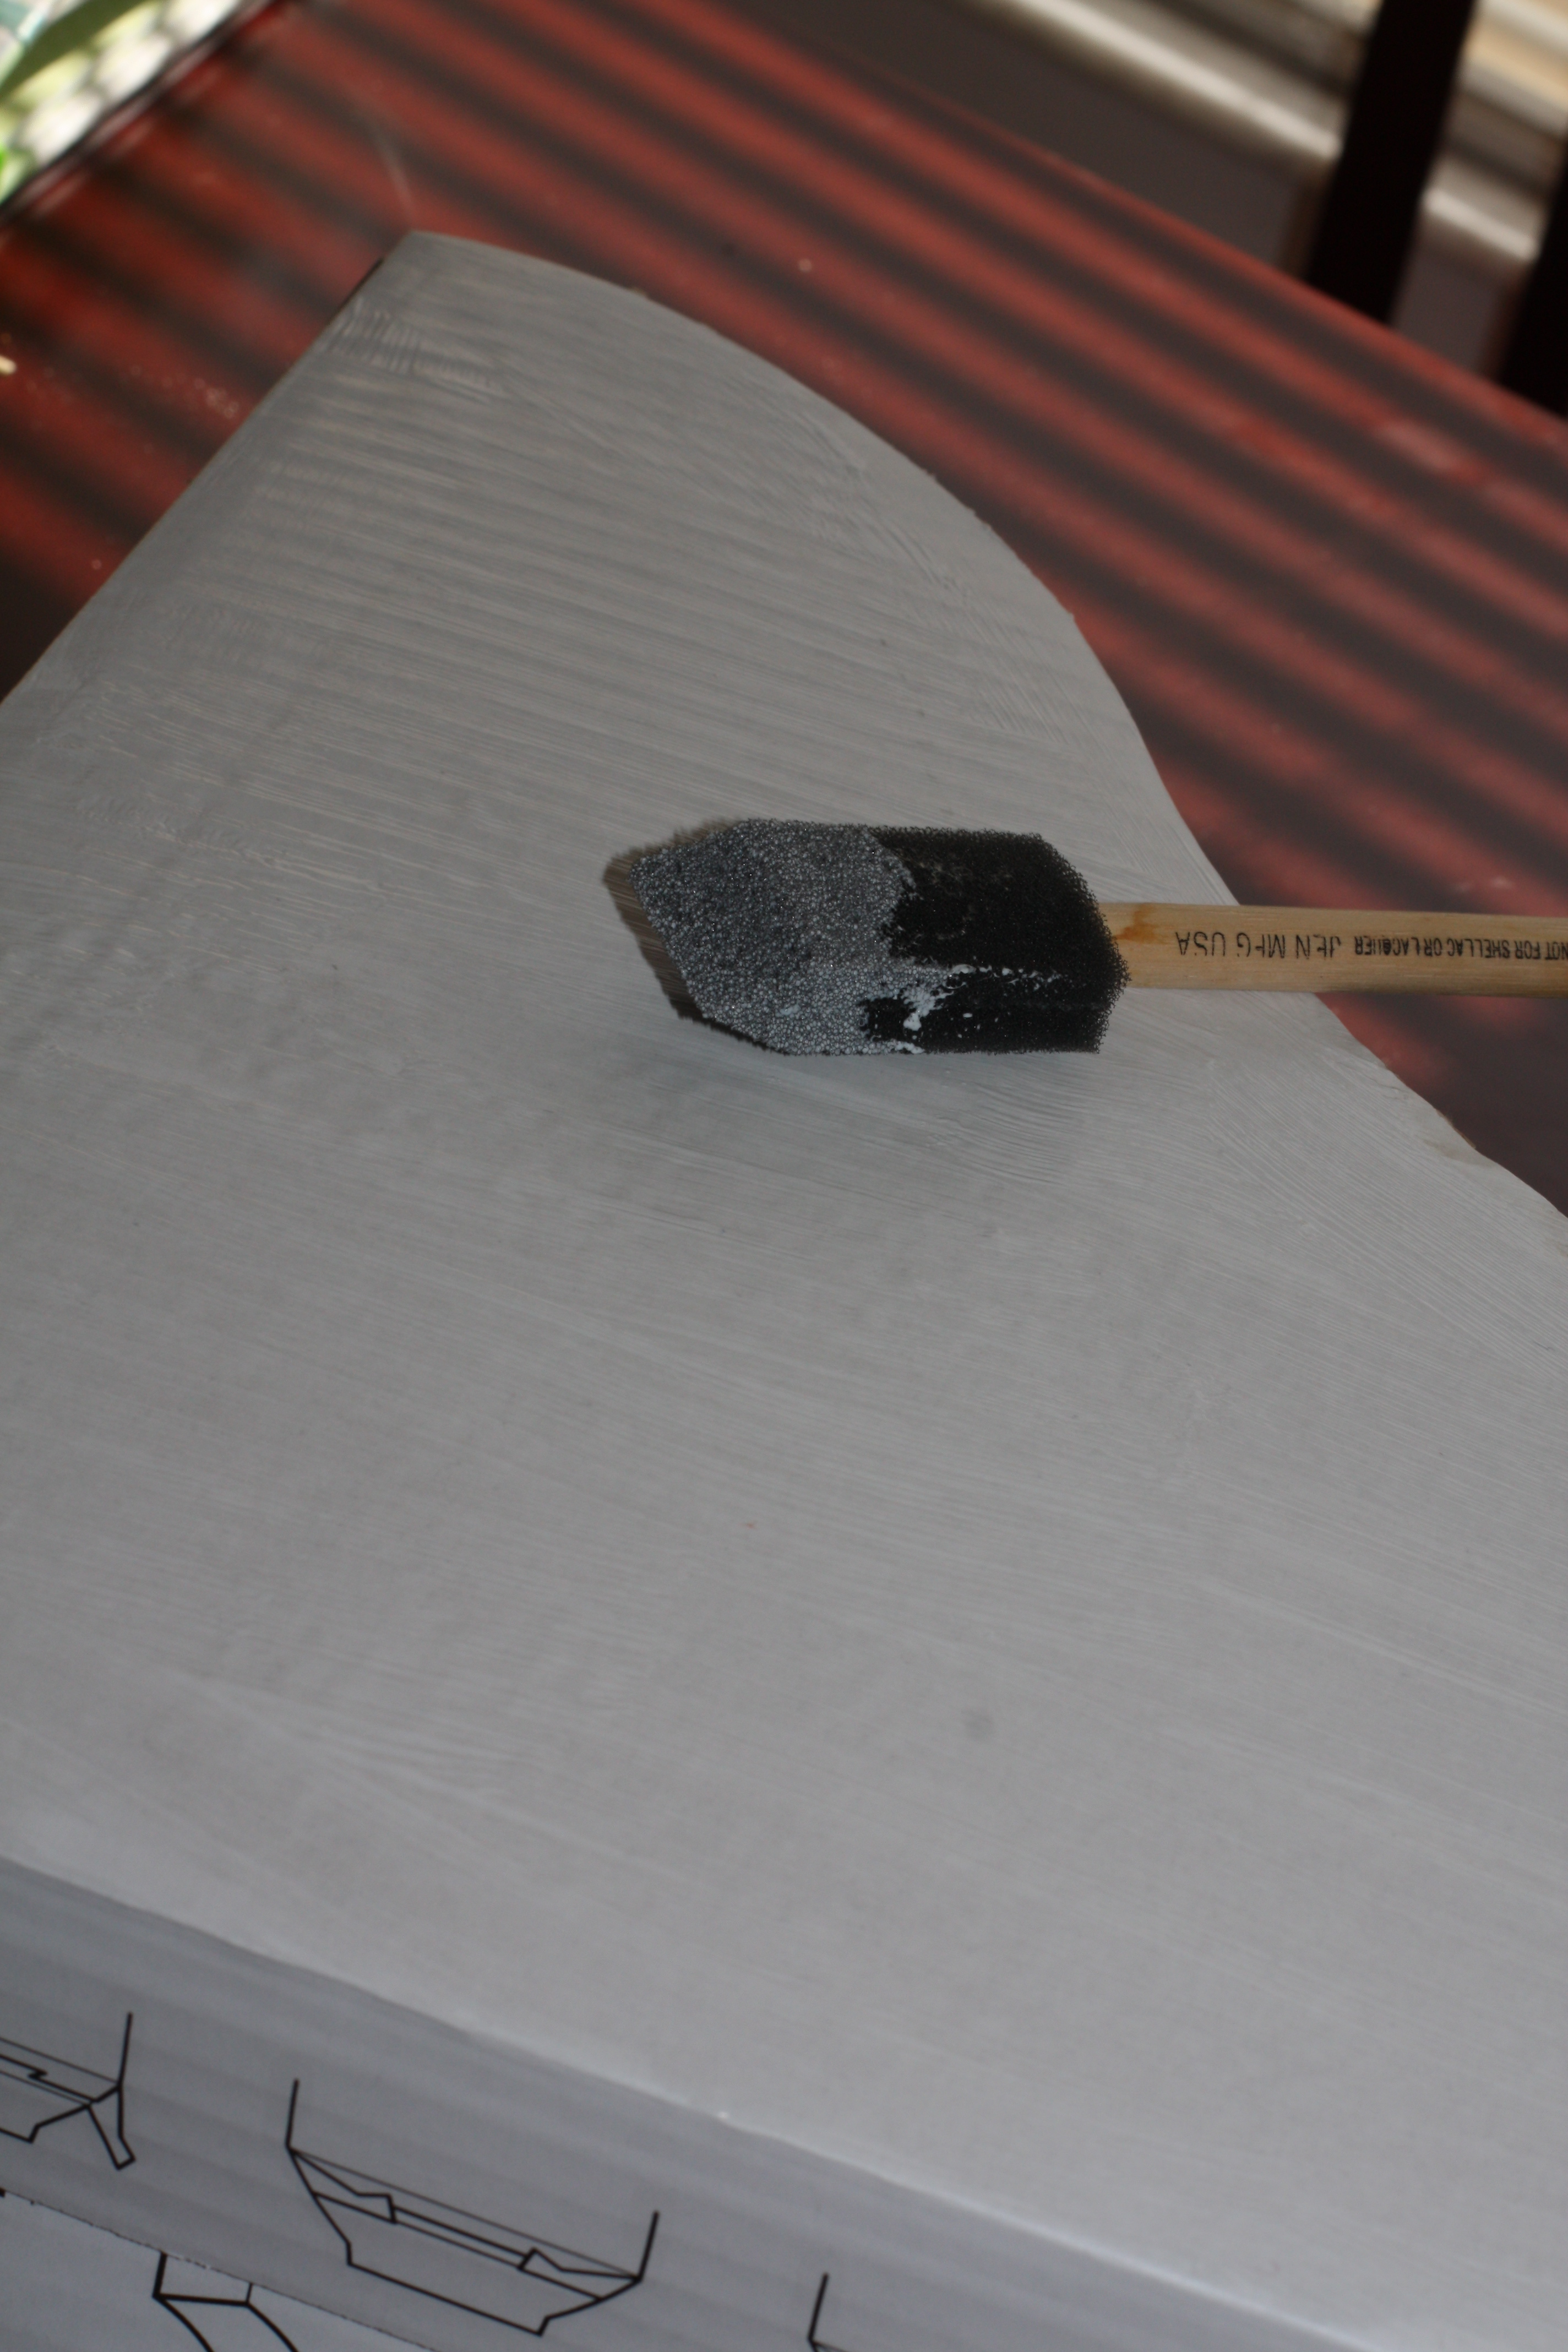
I found some clip art of a bike I like and printed it at 100%, 90%, and 75%. I then cut them out, placed them on the canvas, and painted over them.
It was messy with all the detail and I had to do a LOT of touch ups, but it was worth it I think.
These definitely fill up the space better than the wedding photograph that previously occupied this space.
Total Cost: $9
Canvas - $2.50 each x 3 = $7.50
Paint - $0.50 each x 3 = $1.50

Friday, August 19, 2011

DIY Canvas Wall Art

I saw this on BHG and posted all over pinterest and had to have my own. 
We've had this 11x14 wedding picture above our bed:


 and despite it being disproportionately small for the space we've kept it there for over 2 years.

I figured this would be the perfect project for the space. So I got to work.

I took a 16x20 canvas and placed pieces of painter's tape across in lines of varying angles. 


Then pressed the tape down with a shopping card, which I'm not sure made any difference.


Paint!


I used 2 shades of blue, but you can use more or less.


Peel the tape before it is completely dry so it doesn't pull paint off the canvas.


Just like when you paint walls using painter's tape, paint seeps underneath. Just cover with white paint.

BHG painted the entire canvas first, then covered it with white tape. I didn't realize that until after I made my painting since I just assumed how they had made it and read the directions after.

I prefer my variation anyway.

The final product, dried and touched up.


Monday, August 15, 2011

DIY Magazine Holders

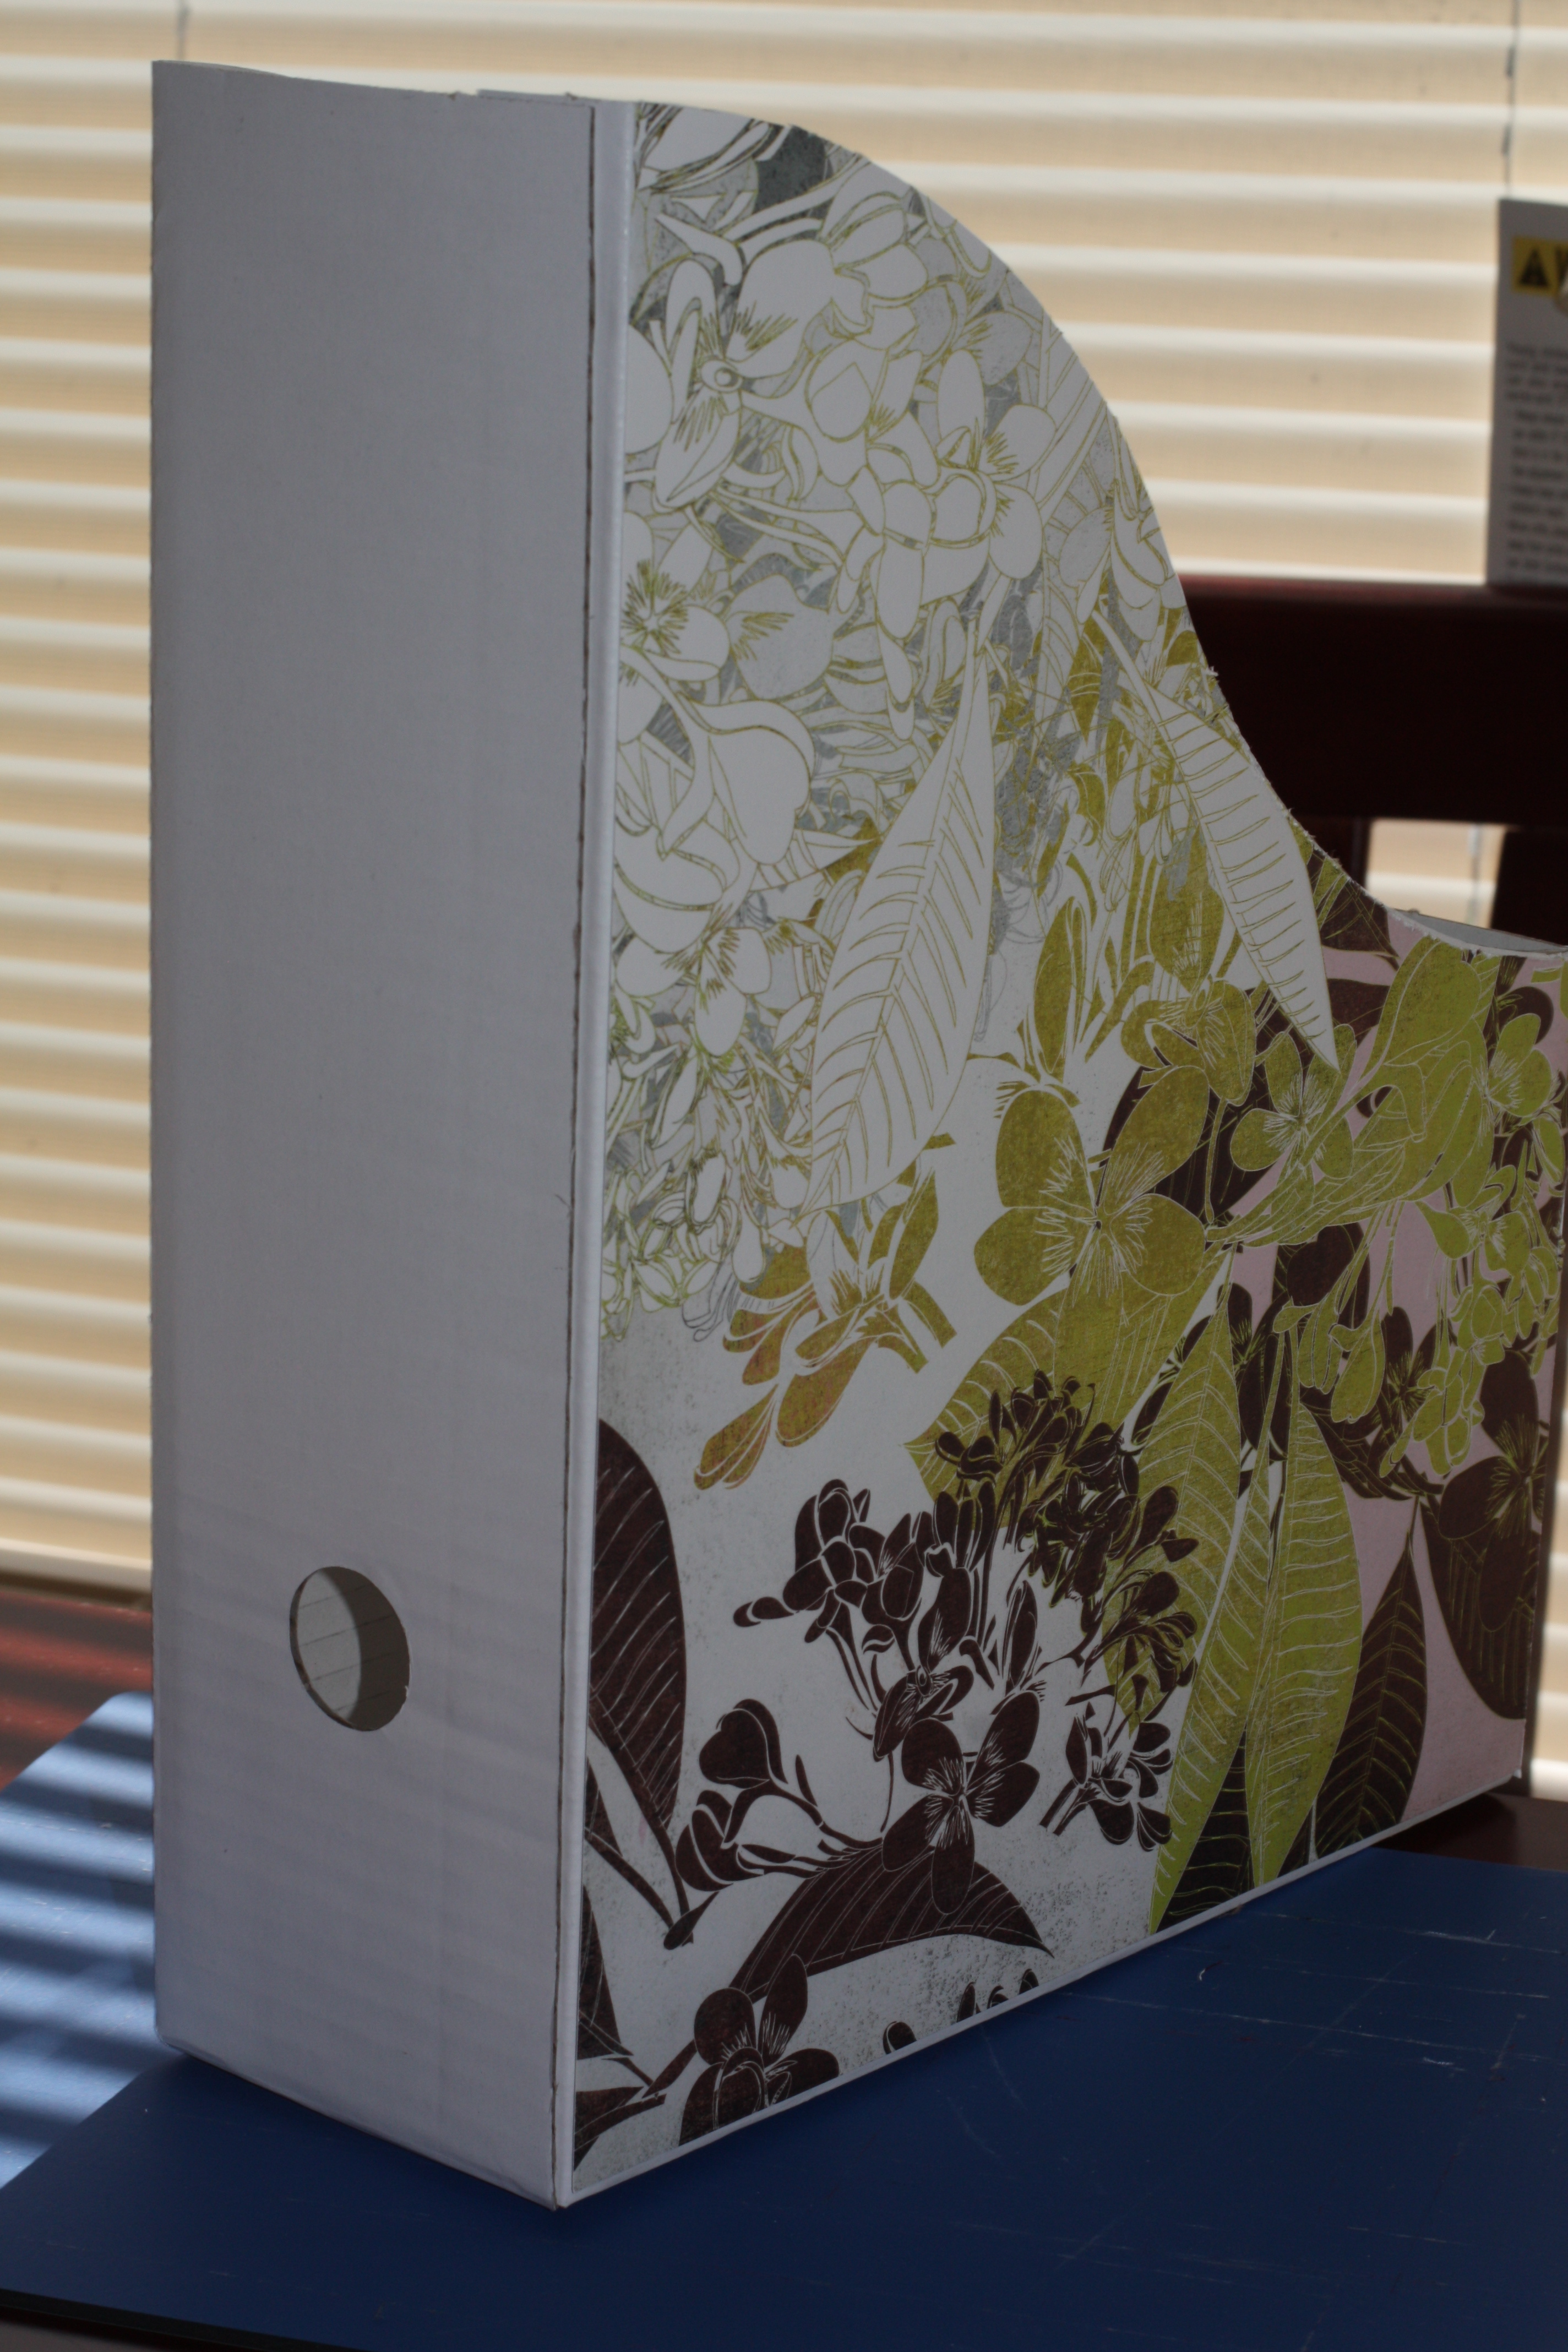
Ok, this isn't a complete DIY . . . I cheated. I found 5 plain cardboard magazine holders at Ikea for $3! I thought it was quite a steal and worth the time it would save me making 5 out of cereal or mailing boxes.


Mod Podge one side at a time and cover with the scrapbook paper or fabric, cut excess.


You can also trace each side of the magazine holder onto a piece of scrapbook paper and cut out before covering the magazine holder.

I left the back side uncovered since it will be facing the wall. You can also use fabric instead of scrapbook paper. 


Once each magazine holder is covered with paper or fabric, coat with Mod Podge.
Simple and stylish (I think).

Total Cost: $3 (If you already have paper and Mod Podge or Elmer's glue)

Tuesday, August 9, 2011

Mason Jar Pin Cushion


I've seen these everywhere and had to try them for myself. Fortunately the pasta sauce we like to use comes in mason jars!

Supplies:
Mason jar (the lid that comes with the pasta sauce does not have the removable center so I picked up a pack of 6 lids with decorative removable centers at the store for $2)
Scrap fabric slightly larger than the lid
Scrap card stock paper
Fiberfill, wool, scraps of batting, cottonballs, etc. to fill pincushion
Hot glue gun and glue sticks
Pencil
Scissors

Directions:

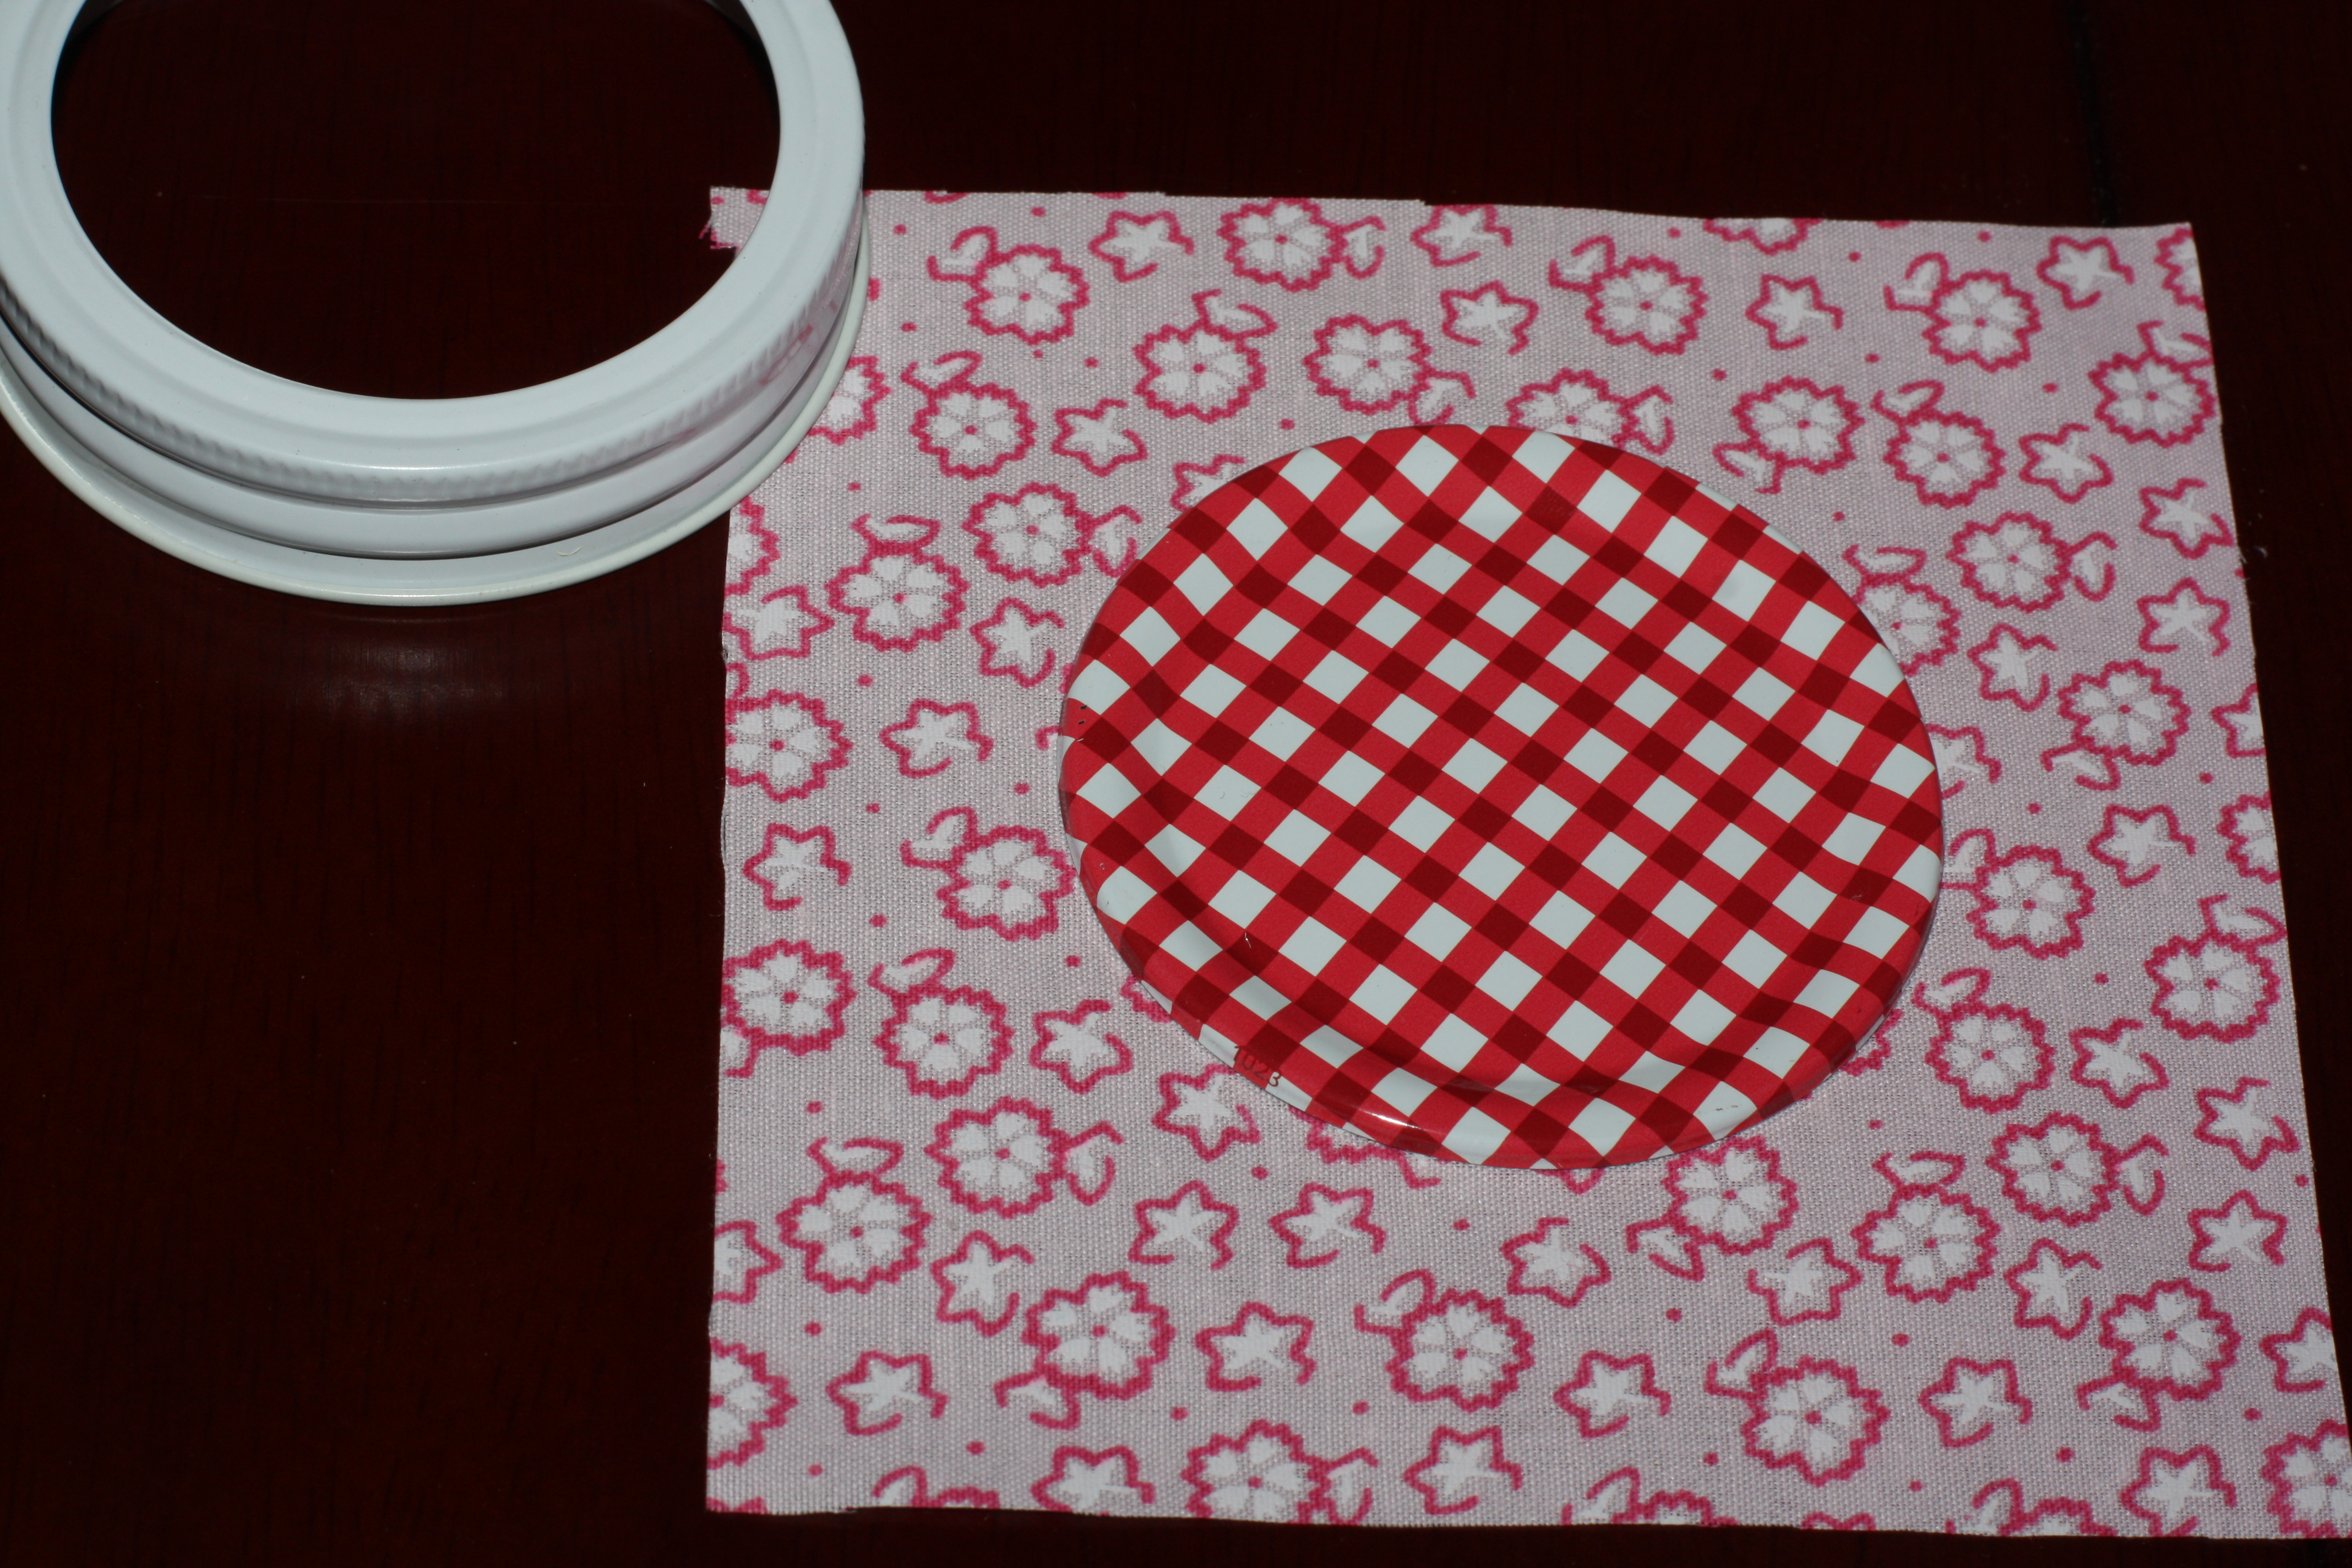
1. Cut out a piece of fabric in a square or circle (doesn't matter too much) that is slightly larger than the inside of the lid

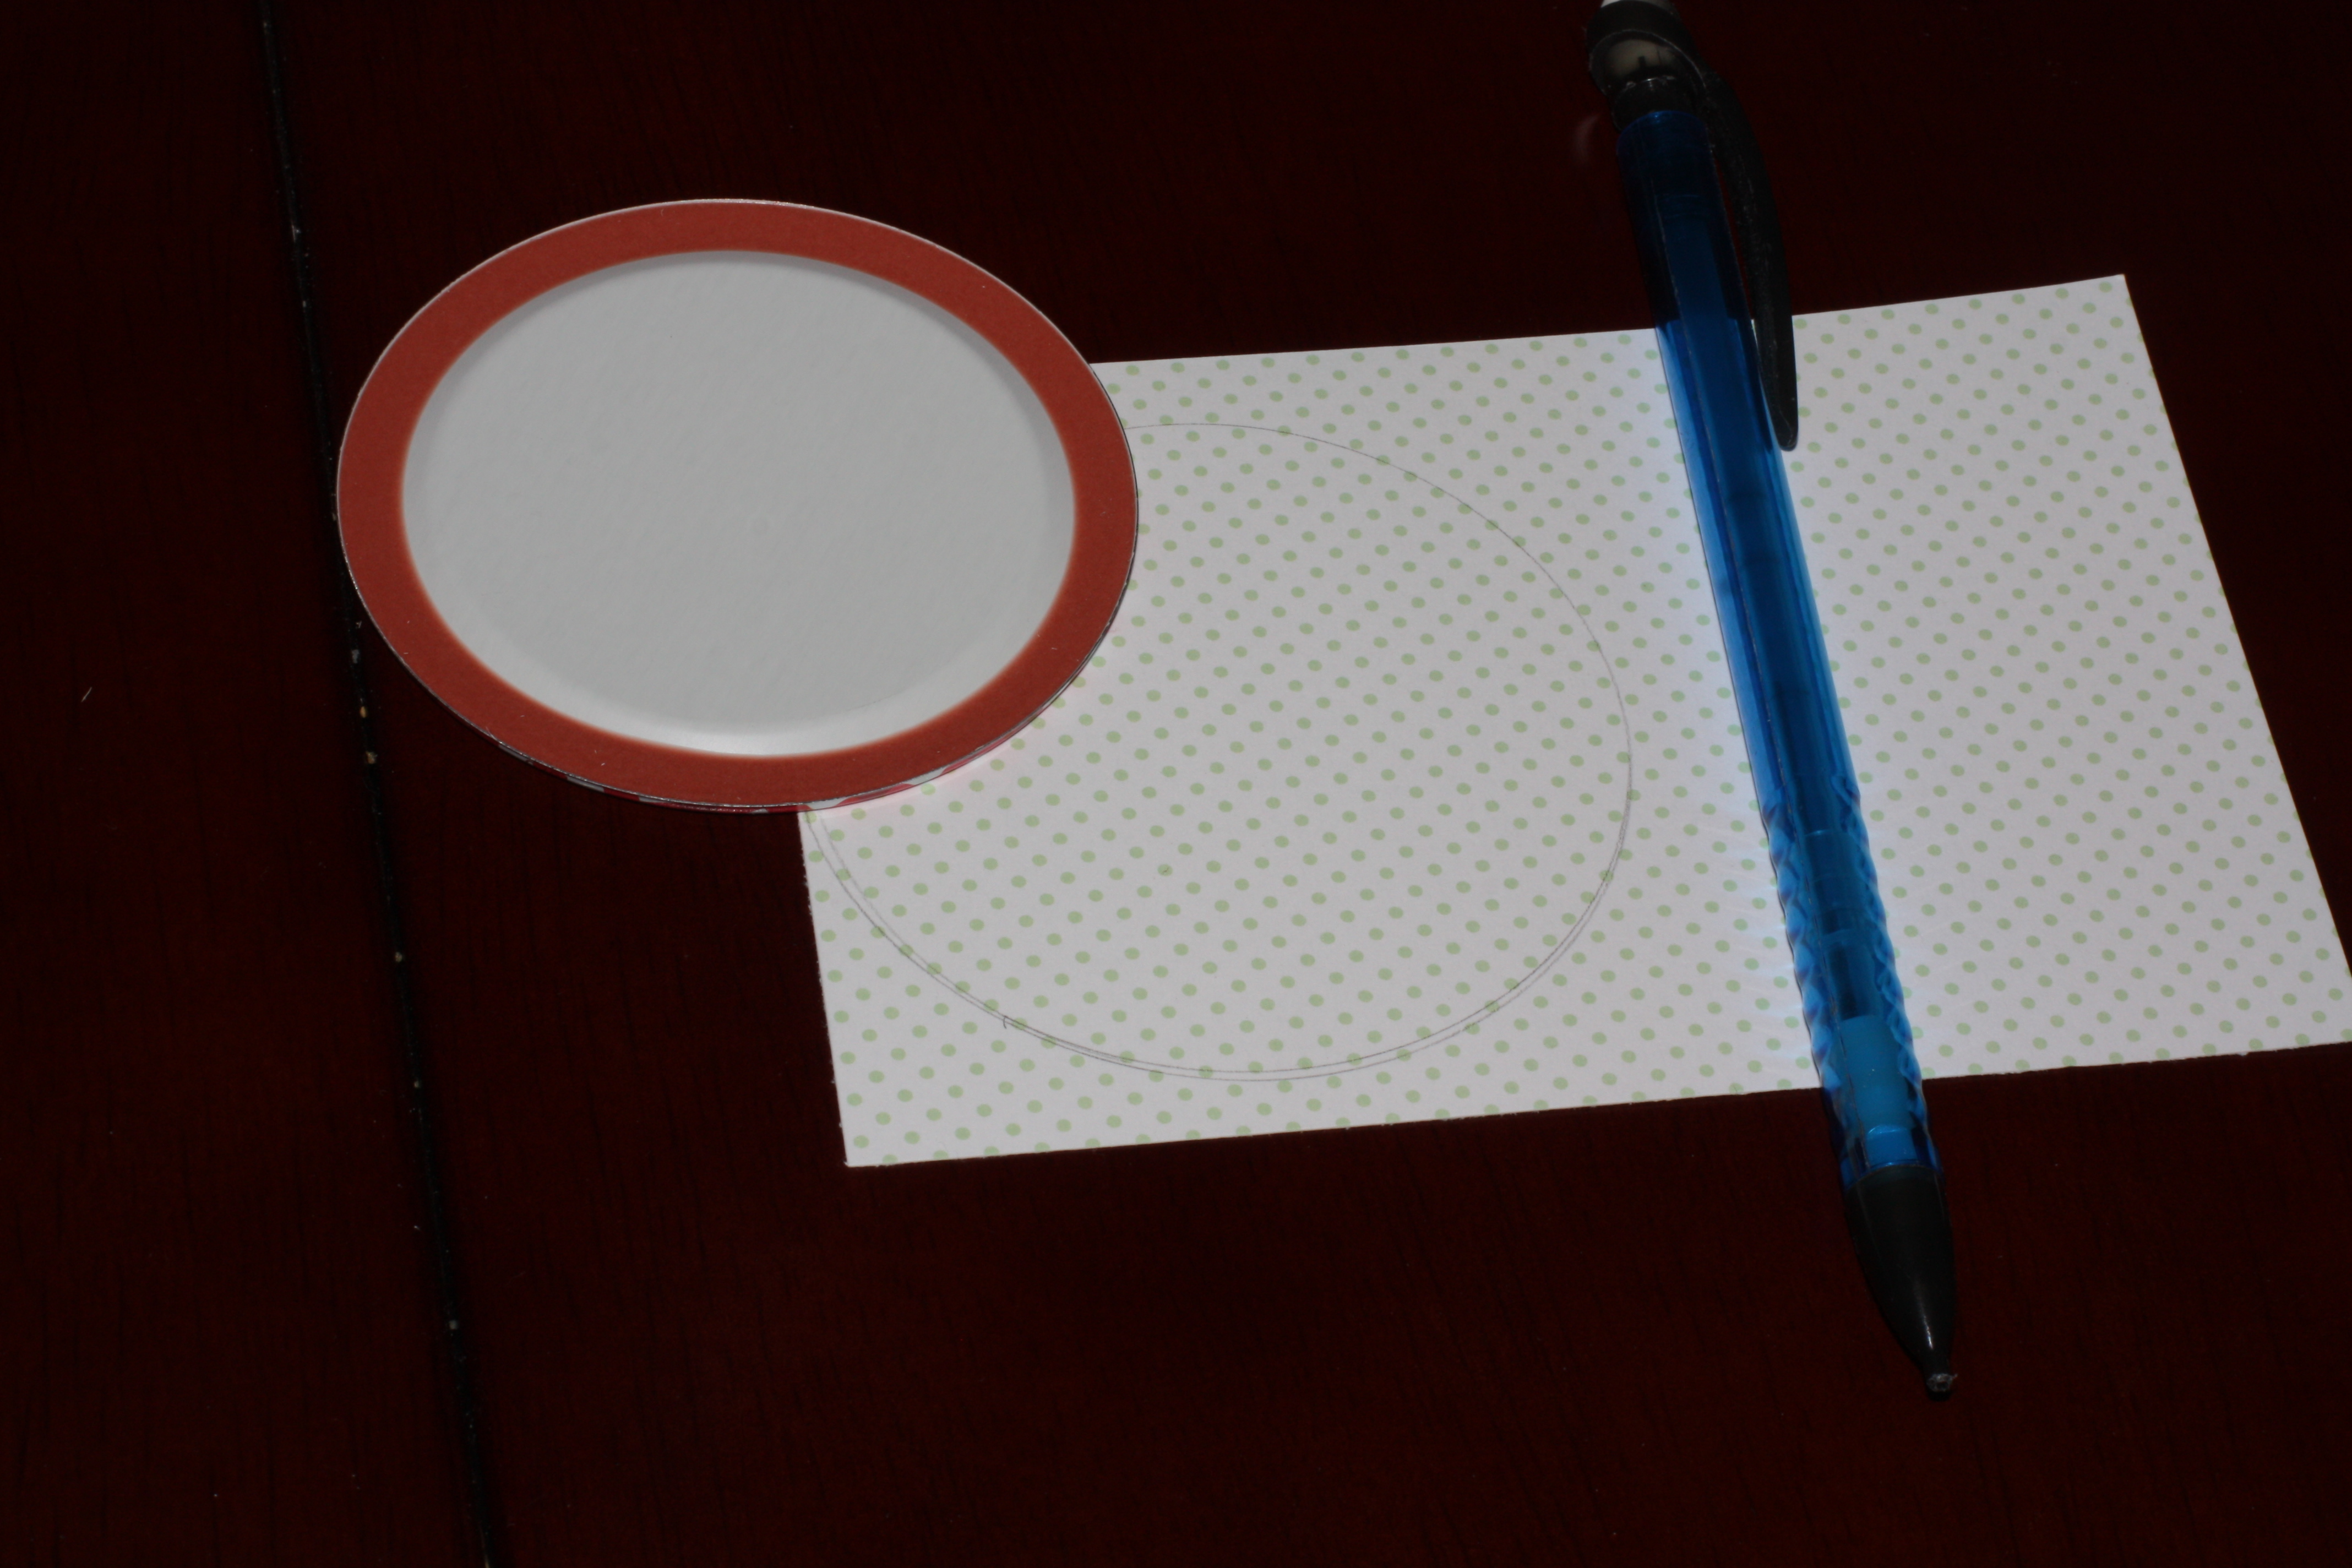
2. Trace and cut out a piece of card stock the same size as the lid.


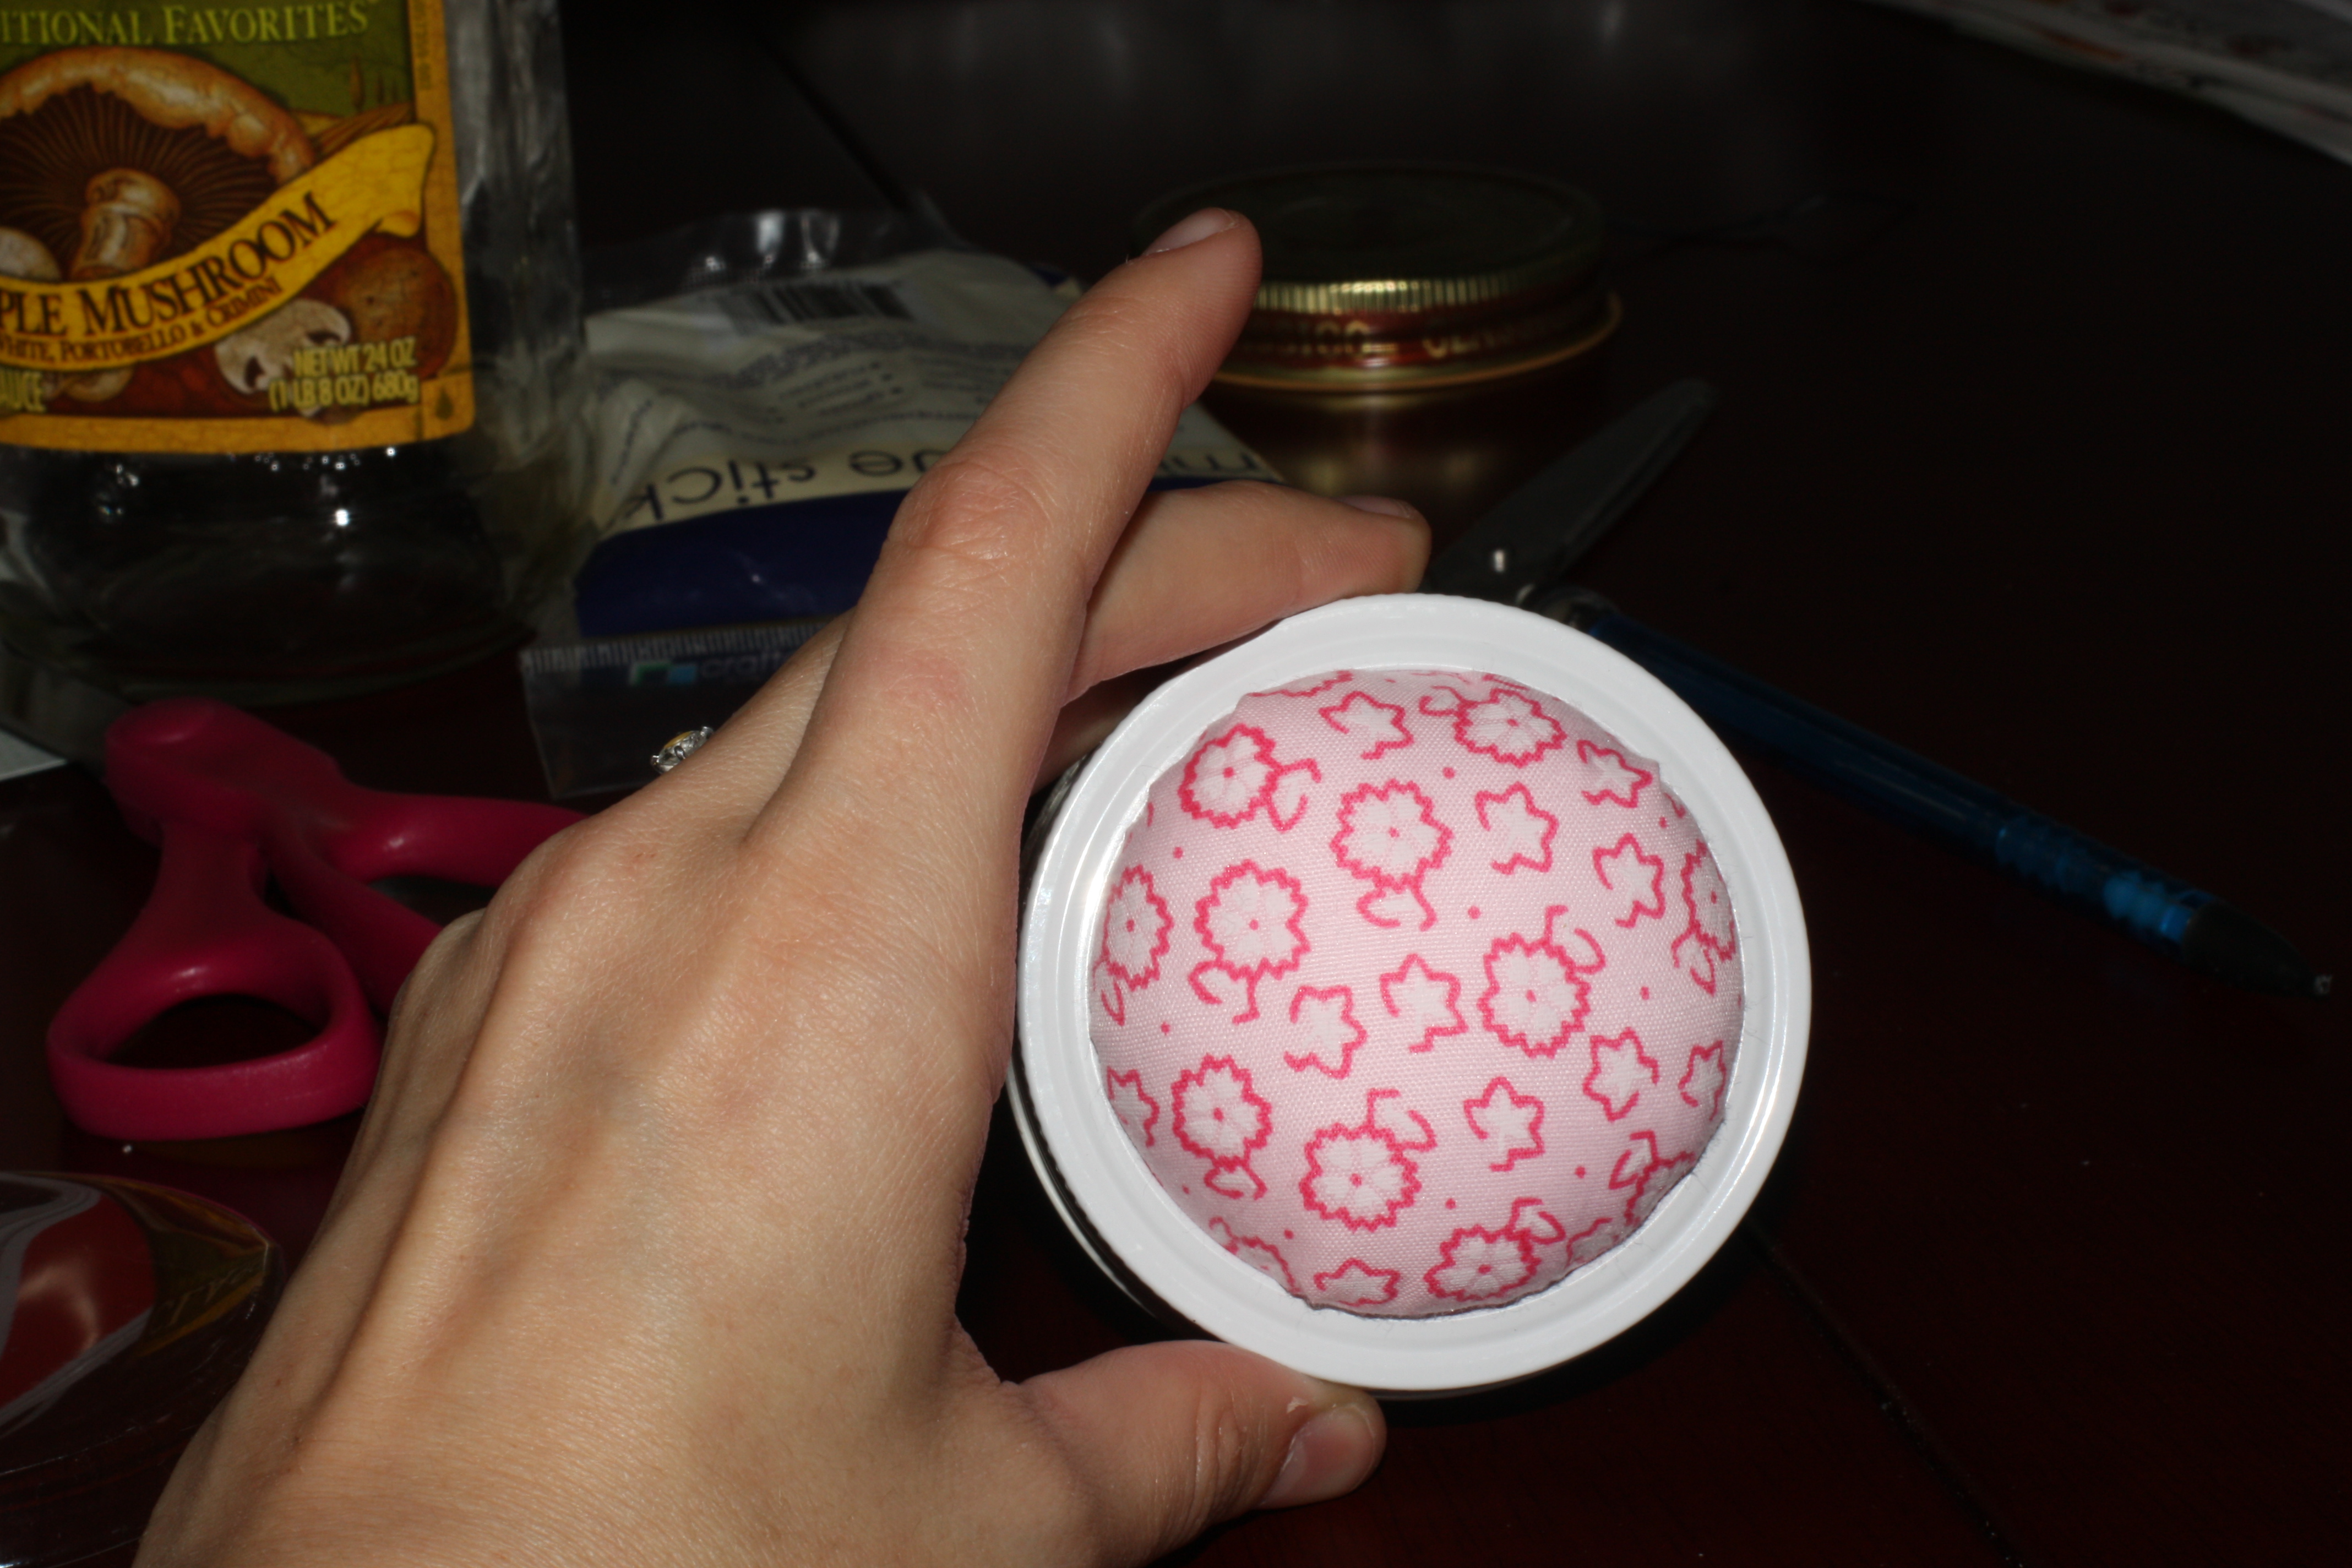
3. Place the fabric right side facing down and filling on top of the band of the lid. Take the lid center and press until filling is pushed through the band and forms a pincushion on the other side.

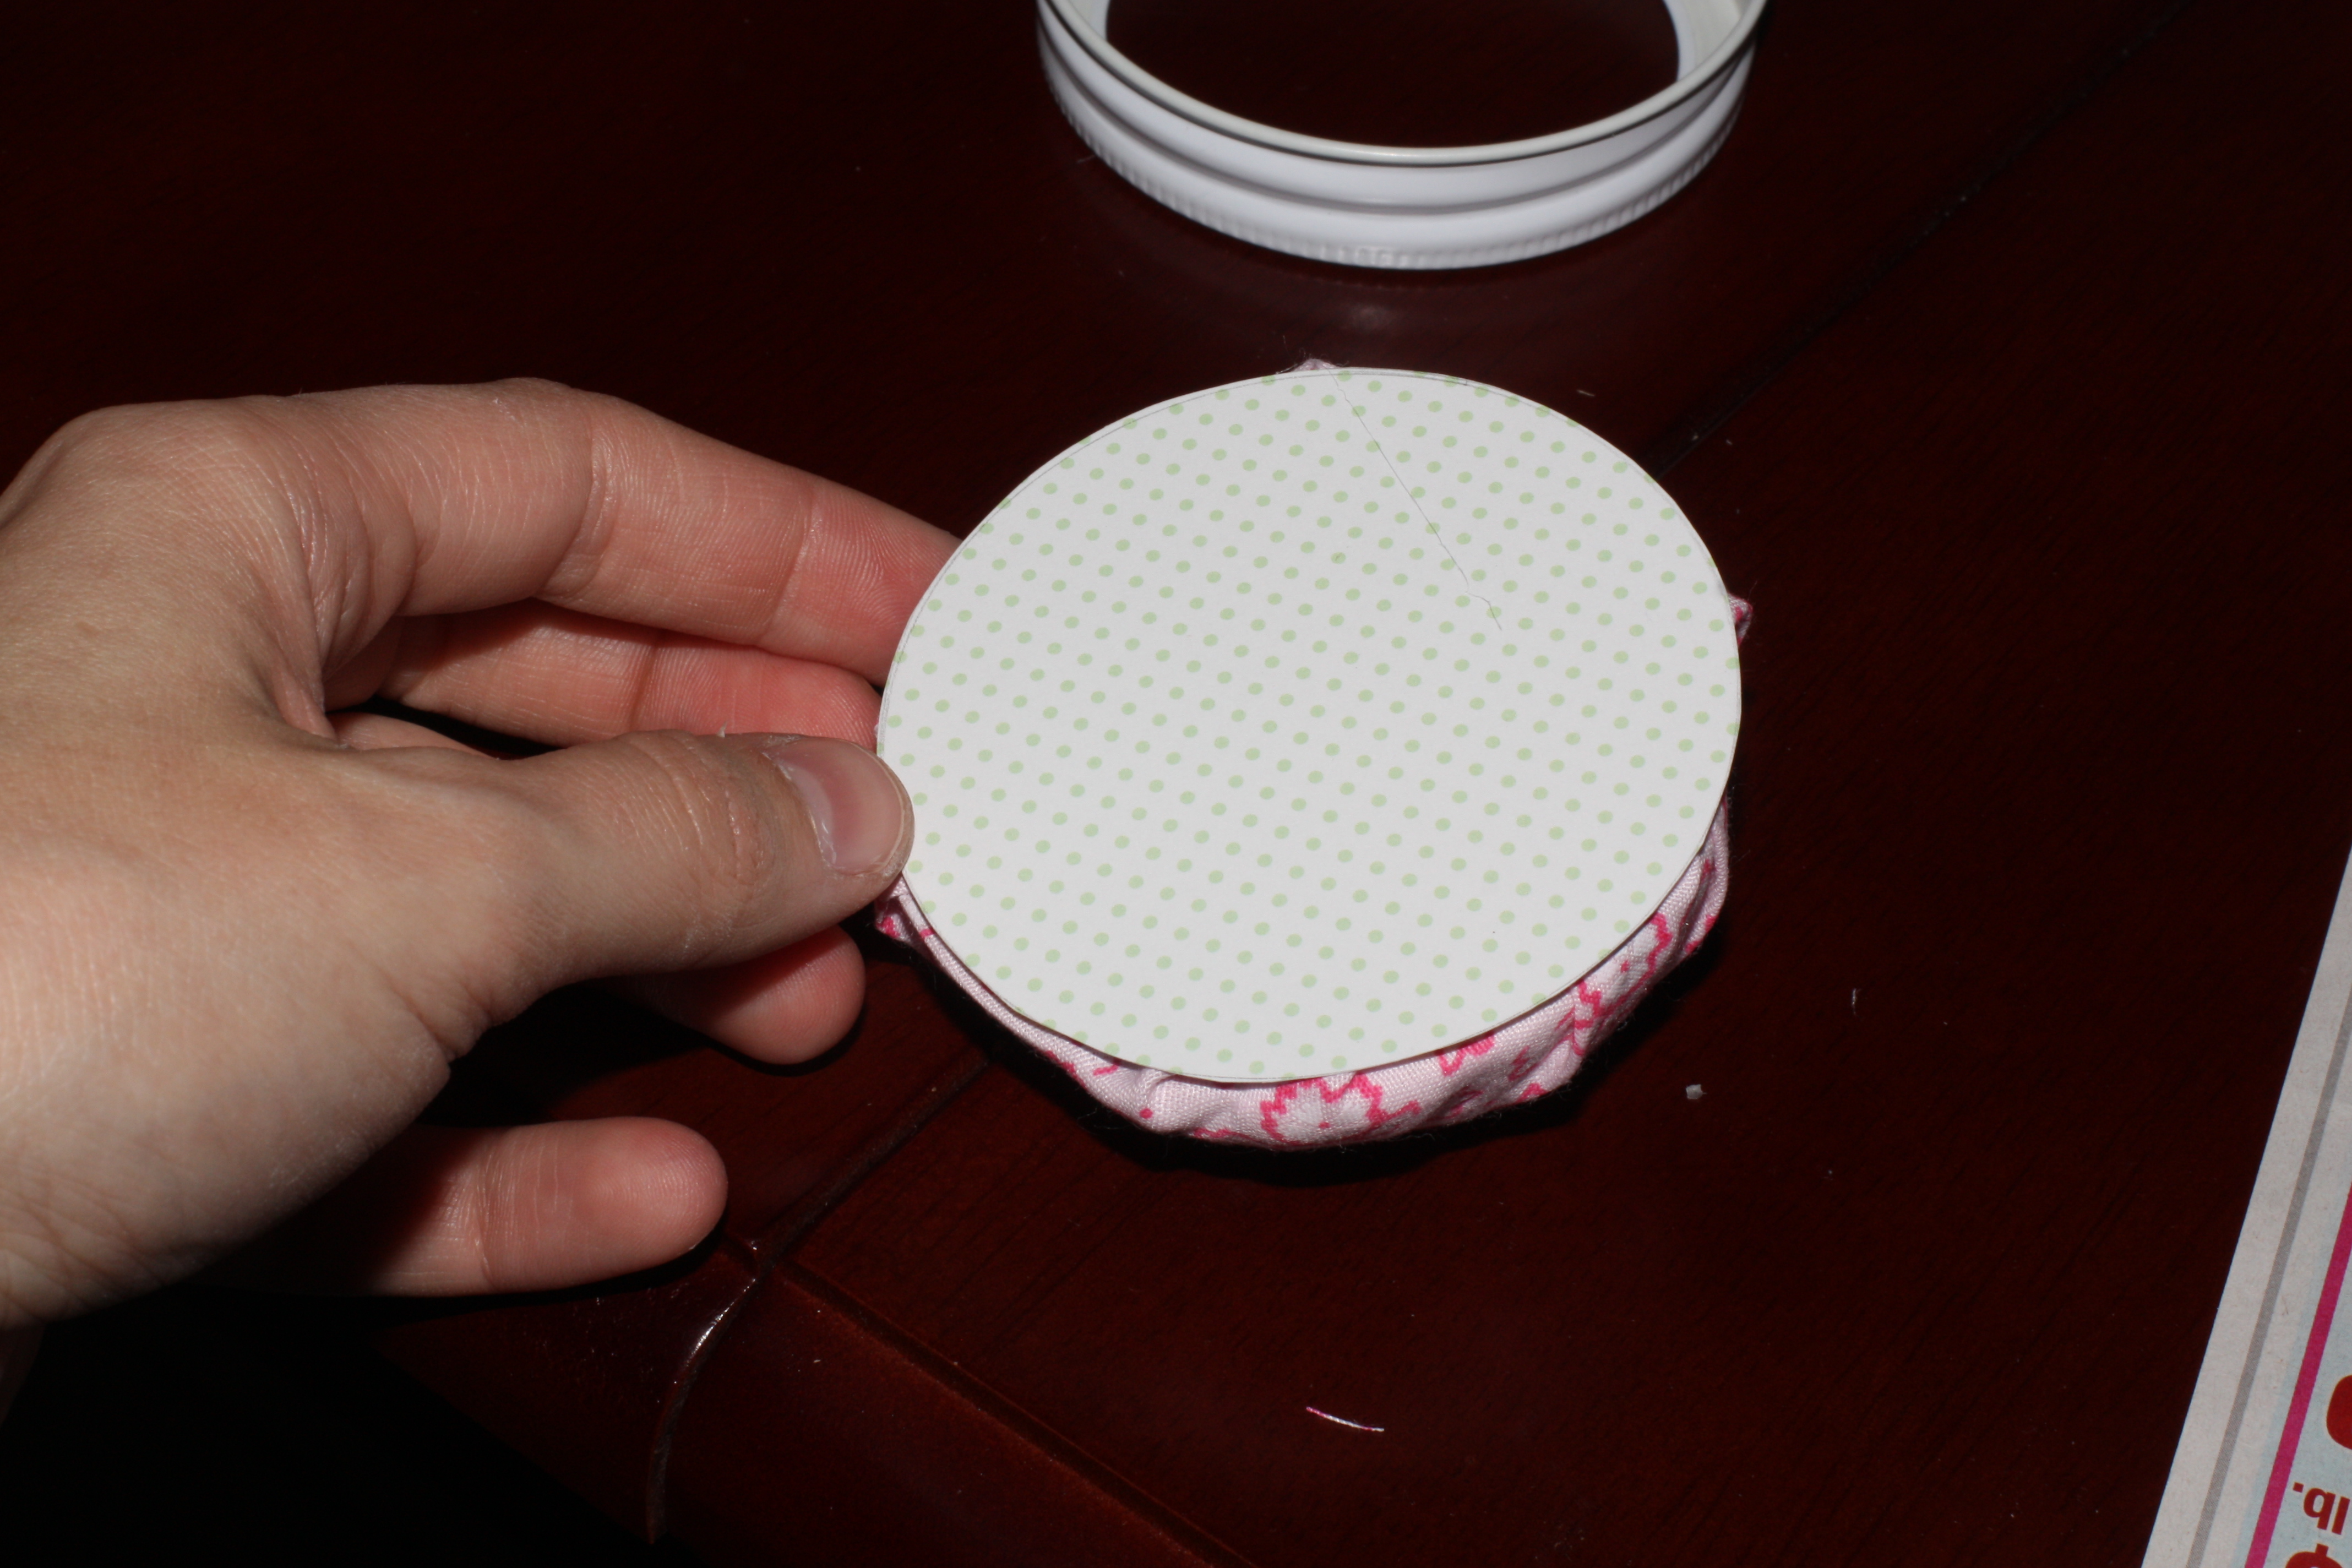
4. Trim any excess fabric and hot glue the piece of card stock over the fabric edges.

It should look something like this.
Place the lid on top of the jar and fill with your notions, office supplies, or fabric scraps!

Monday, August 8, 2011

Soft Baby Blocks

Supplies:

6 fabric squares in the same size (any size depending on how large you want the blocks). I suggest using a few different fabric types to give it a little textural interest. I like to pick 3 different prints for each block and cut 2 squares from each print. It works well to use one solid, one pattern, and one with pictures or characters on it, but that all really depends on your personal taste. You can also do all 6 sides in the same or all different prints.

fiber-fill or other soft filling

sewing supplies (sewing machine, needle, and thread)


To make the block:

- You want to start by figuring out how you want your blocks arranged. Do this by laying them in a lower case "t", 4 lined up, the extra 2 on either side of the 2nd square.
-Sew 2 squares from the row of 4 together on just one side, making sure the front sides of the fabric are facing each other. Repeat this until you have all 4 blocks connected.
-Use the same technique to sew the other 2 squares to the sides of the 2nd square in the row of 4 blocks.
-Time to make the block 3-D. I like to begin with the cross  part of the "t". So using the picture above I would sew the blocks with lions on them to the pattern on  the left. That is my preference, you can start sewing in any order.
-When you get to the last side (the one that would complete your block), only sew it about 1/2 or 3/4 the way  depending on how large you need the opening to be to stuff the block.
- Cut the edges so the end points with be sharper.
- Turn the block inside out (TIP: Use a pencil to push out the edges to make them more pointed).
- Fill the block with your stuffing of choice
(TIP: Add a bell, tissue paper, or rattle to the inside so when baby shakes them they make noise)
- When the block is stuffed, hand sew the opening closed
I made a set of these for a birthday party back in April. It was cowboy themed, but would you believe I searched the entire fabric section of our craft store and could not find a single cowboy themed print? Luckily I happened to come across a cowboy hat iron-on application that did the job. I stuffed one of the blocks with a bell that I made sure was quiet enough not to be obnoxious to mom and dad. I wanted one to rattle, but most of my ideas involved using food, which I did not want to do. I ended up using little lightweight maze party favors that came in a pack of 6 at our dollar store. My son loved the one with the maze in it.

Sunday, August 7, 2011

Menu Holder

Our fridge was being swallowed by menus and coupons so I decided we needed somewhere to put them . . .

1. Cut an empty cereal box in half at an angle so the front is shorter than the back or level so the back and front are at the same height, depending on your preference.
 2. Trace all sides onto the back of scrapbook paper or card stock.
 3. Cut along the lines of the traced pieces.
 4. Mod Podge one side of the cereal box at a time and place the matching piece of scrapbook paper or card stock on the cereal box.
 5. Mod Podge all sides once the paper has been placed onto the cereal box.
 6. Attach a magnet to the back of the menu holder.
 7. Place menus inside and hang on your fridge.

Saturday, July 30, 2011

Receiving Blanket Cupcakes

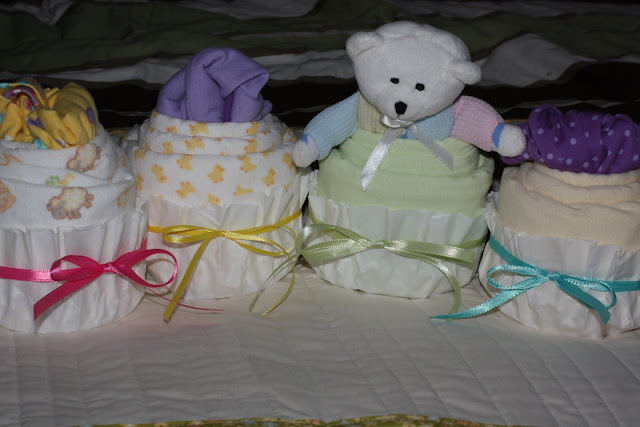
My husband's co-worker and his wife just had their second child and first little girl. We wanted to congratulate them with a little gift. Now I'm definitely all about giving homemade gifts. I think it says something when someone is willing to put in the time to make something for you. And since I do believe time is sometimes money, in my mind homemade should almost always be less expensive. This project is no exception! I got this idea from Little Birdie Secrets.

Supplies:

4 Receiving Blankets
4 Clothing items, toys, or washcloths
4 Large Coffee Filters (8 if you want to double them)
4 Rubber Bands
4 12 inch pieces of ribbon (may be all one color or all different)
1 Windowed Cupcake Bakery Box

Directions:

1. Fold each receiving blanket so that it is about 3 inches wide.


2. If you are using a toy you may skip this step. If you are using clothing or a washcloth place it over a fist and fold the edges into the center. You may also lay it on a flat surface and fold the outsides inward. Be sure to make sure all elastic, buttons, or sleeves are folded to the inside to give the cupcakes a neater look.


3. Wrap the receiving blanket around the toy, washcloth, or piece of clothing starting at the highest point you would like the cupcake and wrapping around and down to create a peaked top.


4. Once the cupcake is wrapped tie it with a rubber band.


5. Place the cupcakes into coffee filters. I used 2 filters per cupcake because they are thin.


6. Tie a piece of ribbon around each cupcake. You may use one color for all the cupcakes or multiple colors. Since my cupcakes were fairly neutral colored, I wanted to add a little more color so I went with 4 different colored pieces of ribbon.


7. Place your finished cupcakes in the bakery box. The smallest box available at the store where I purchased my cupcake box was 12"x12". This was too large for 4 cupcakes so I used tape at the bottom of the coffee filters to secure the cupcakes to the box and keep them from shifting in transit. You could also make more than 4 cupcakes to fill up the box if you'd like.


Cost Breakdown:

Pack of 5 receiving blankets - $2 clearance
Onesie & short outfit (separated to make 2 cupcakes) - $1 clearance
Pair of shorts - $1 clearance
Windowed Cupcake Box - $2
All other supplies came from my crafting supplies.

Total: $6