Showing posts with label baby. Show all posts

Friday, August 12, 2011

Totsy Deal and Feeding Baby


Have you heard of Totsy? It's fabulous! If you haven't you should go over and have a look. They have extremely cute things for kids and parents at reasonable prices. It's somewhat complicated to explain, but they have sales that only last for a certain number of days. It is hit or miss depending on the day. If you want to look at the deals to see if there's anything you needgo here. I think they make you put in an email address before you can see what they have, but I can't remember.
Now normally I wouldn't be telling you about Totsy, except that I found another deal that makes it even better!
BuyWithMe is like Groupon, but not nearly as popular as you can tell since you've probably never heard of it. For the next couple days they have a $30 voucher to Totsy for $15. And if you have never been to Totsy and are signing up for the first time you get free shipping!
Gosh I sound like I'm being sponsored by them. I just get so excited about good deals. Yesterday they had the Trunki discounted so you could get that and some of the Trunki stickers with the $30 and free shipping. They also had the cutest baby girl outfits for $6. Since I do not have a little girl I figured I should probably refrain, but it was hard. Today of course there are different deals.

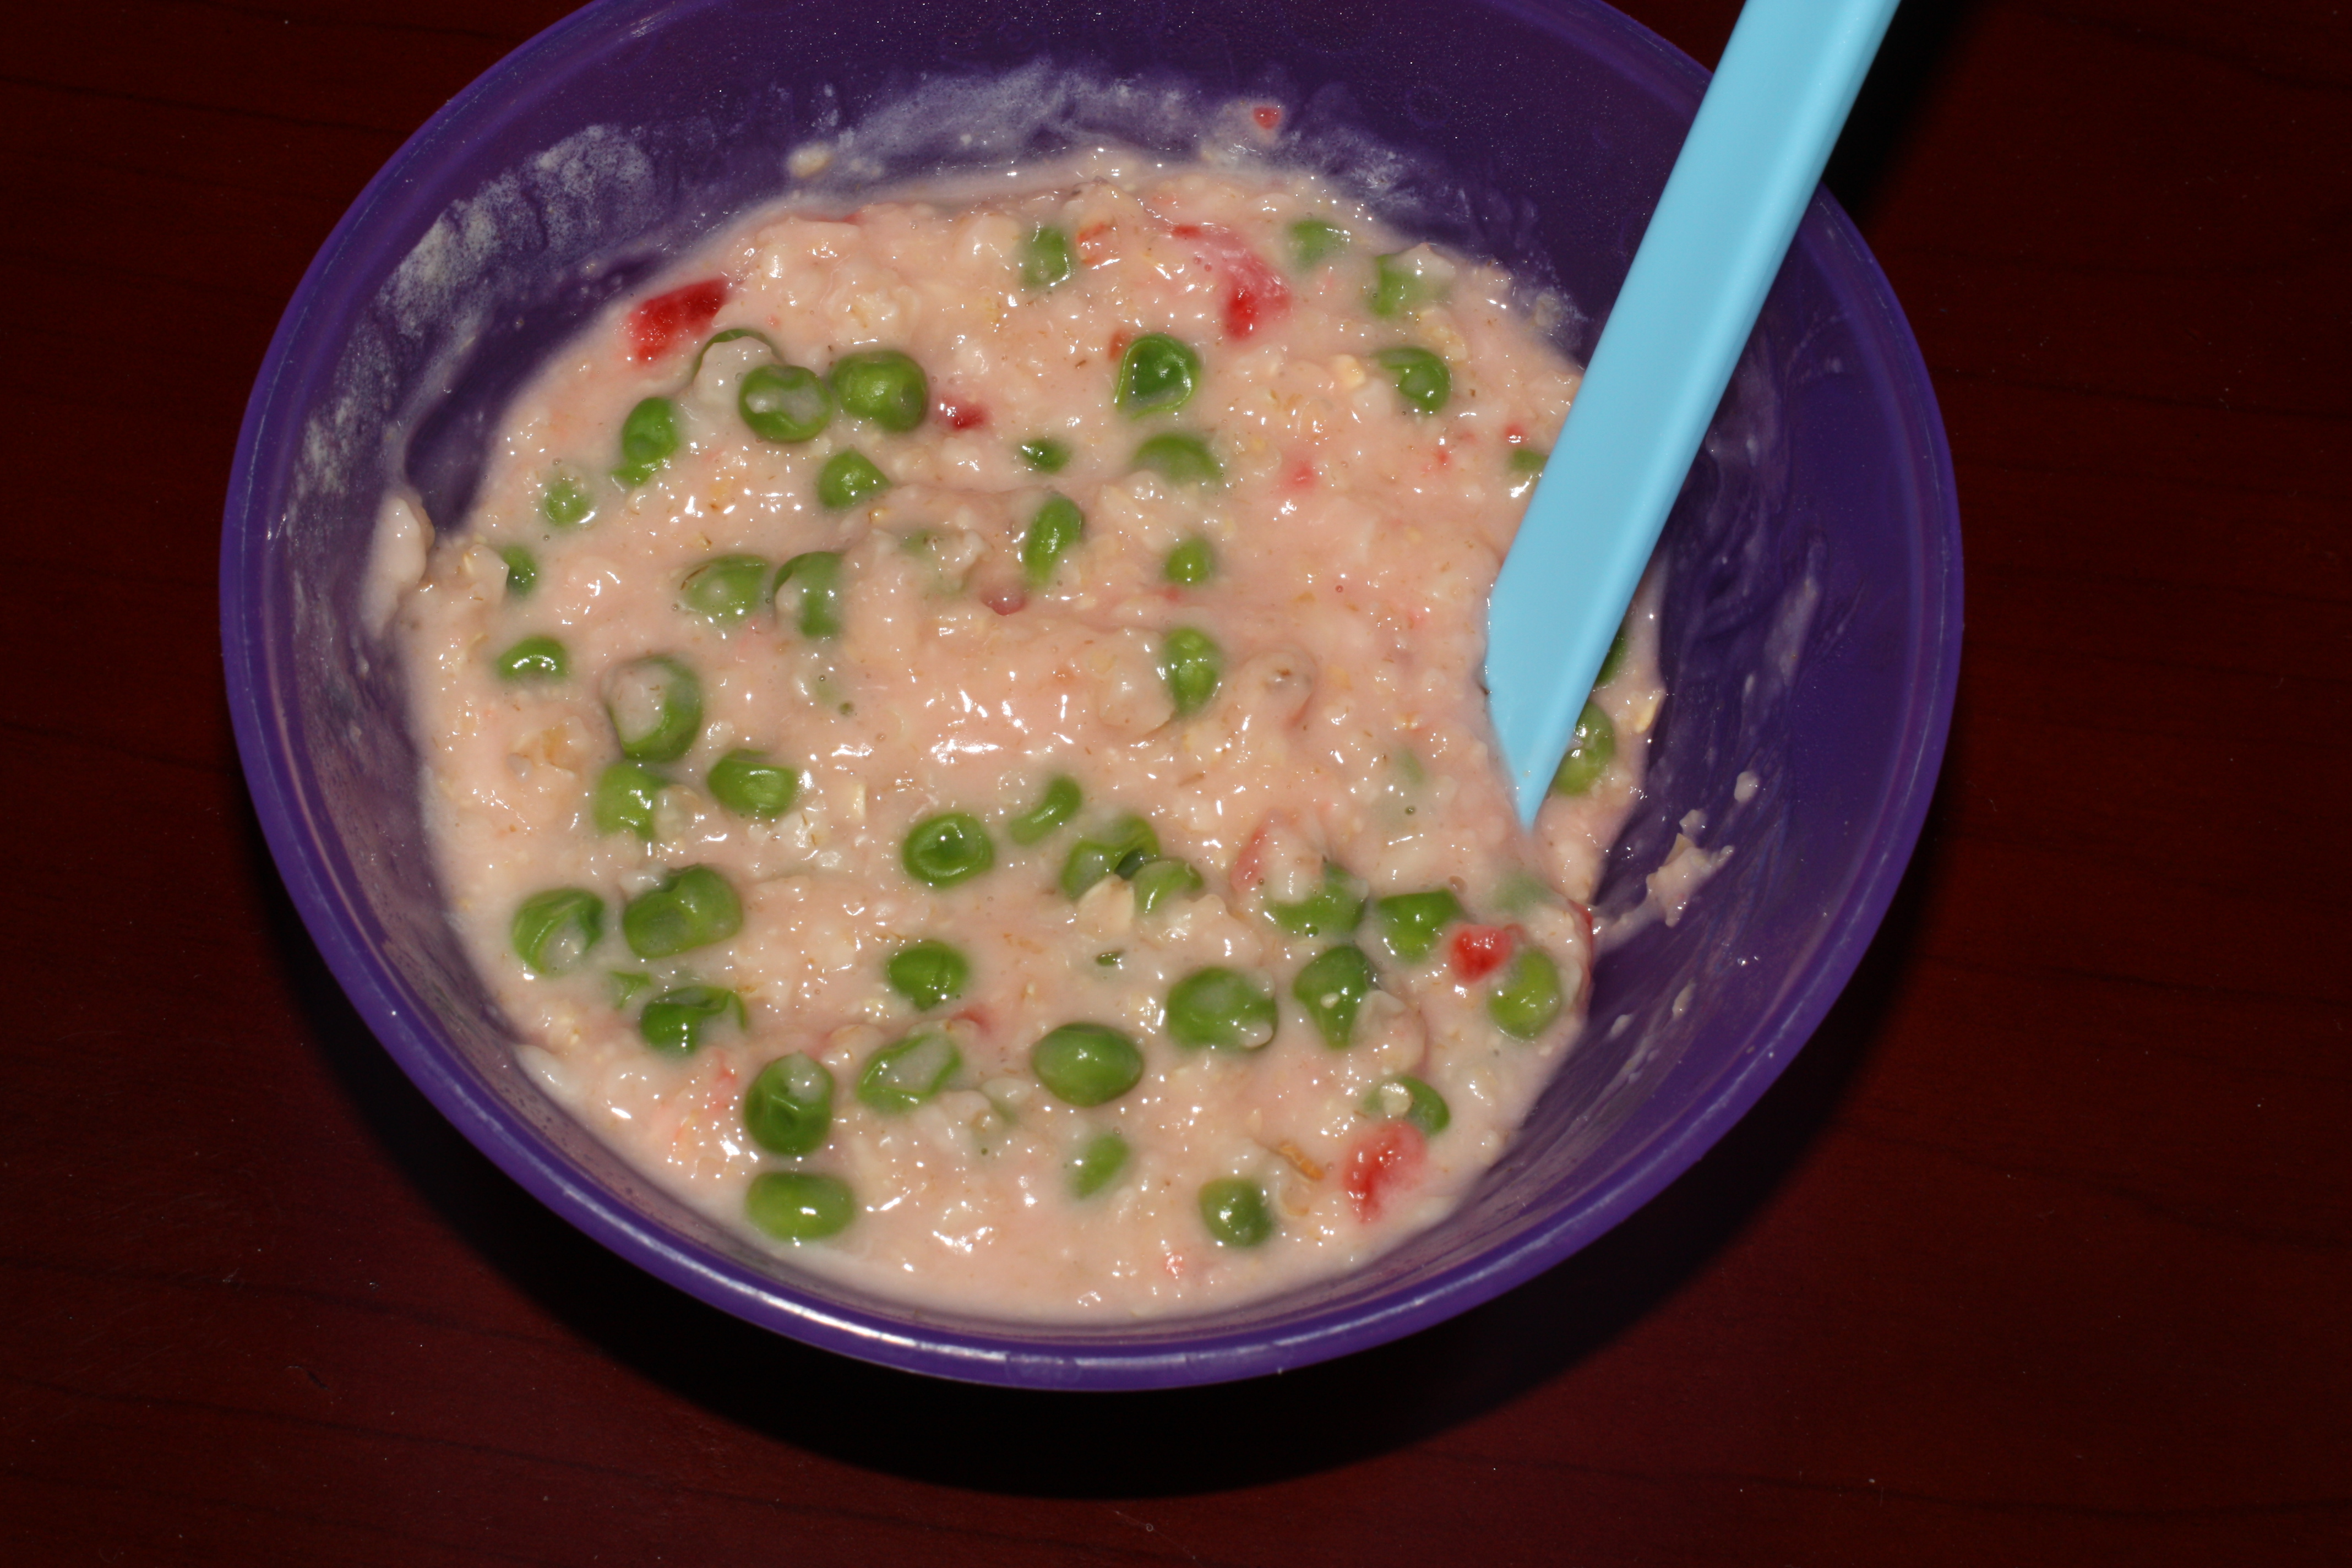
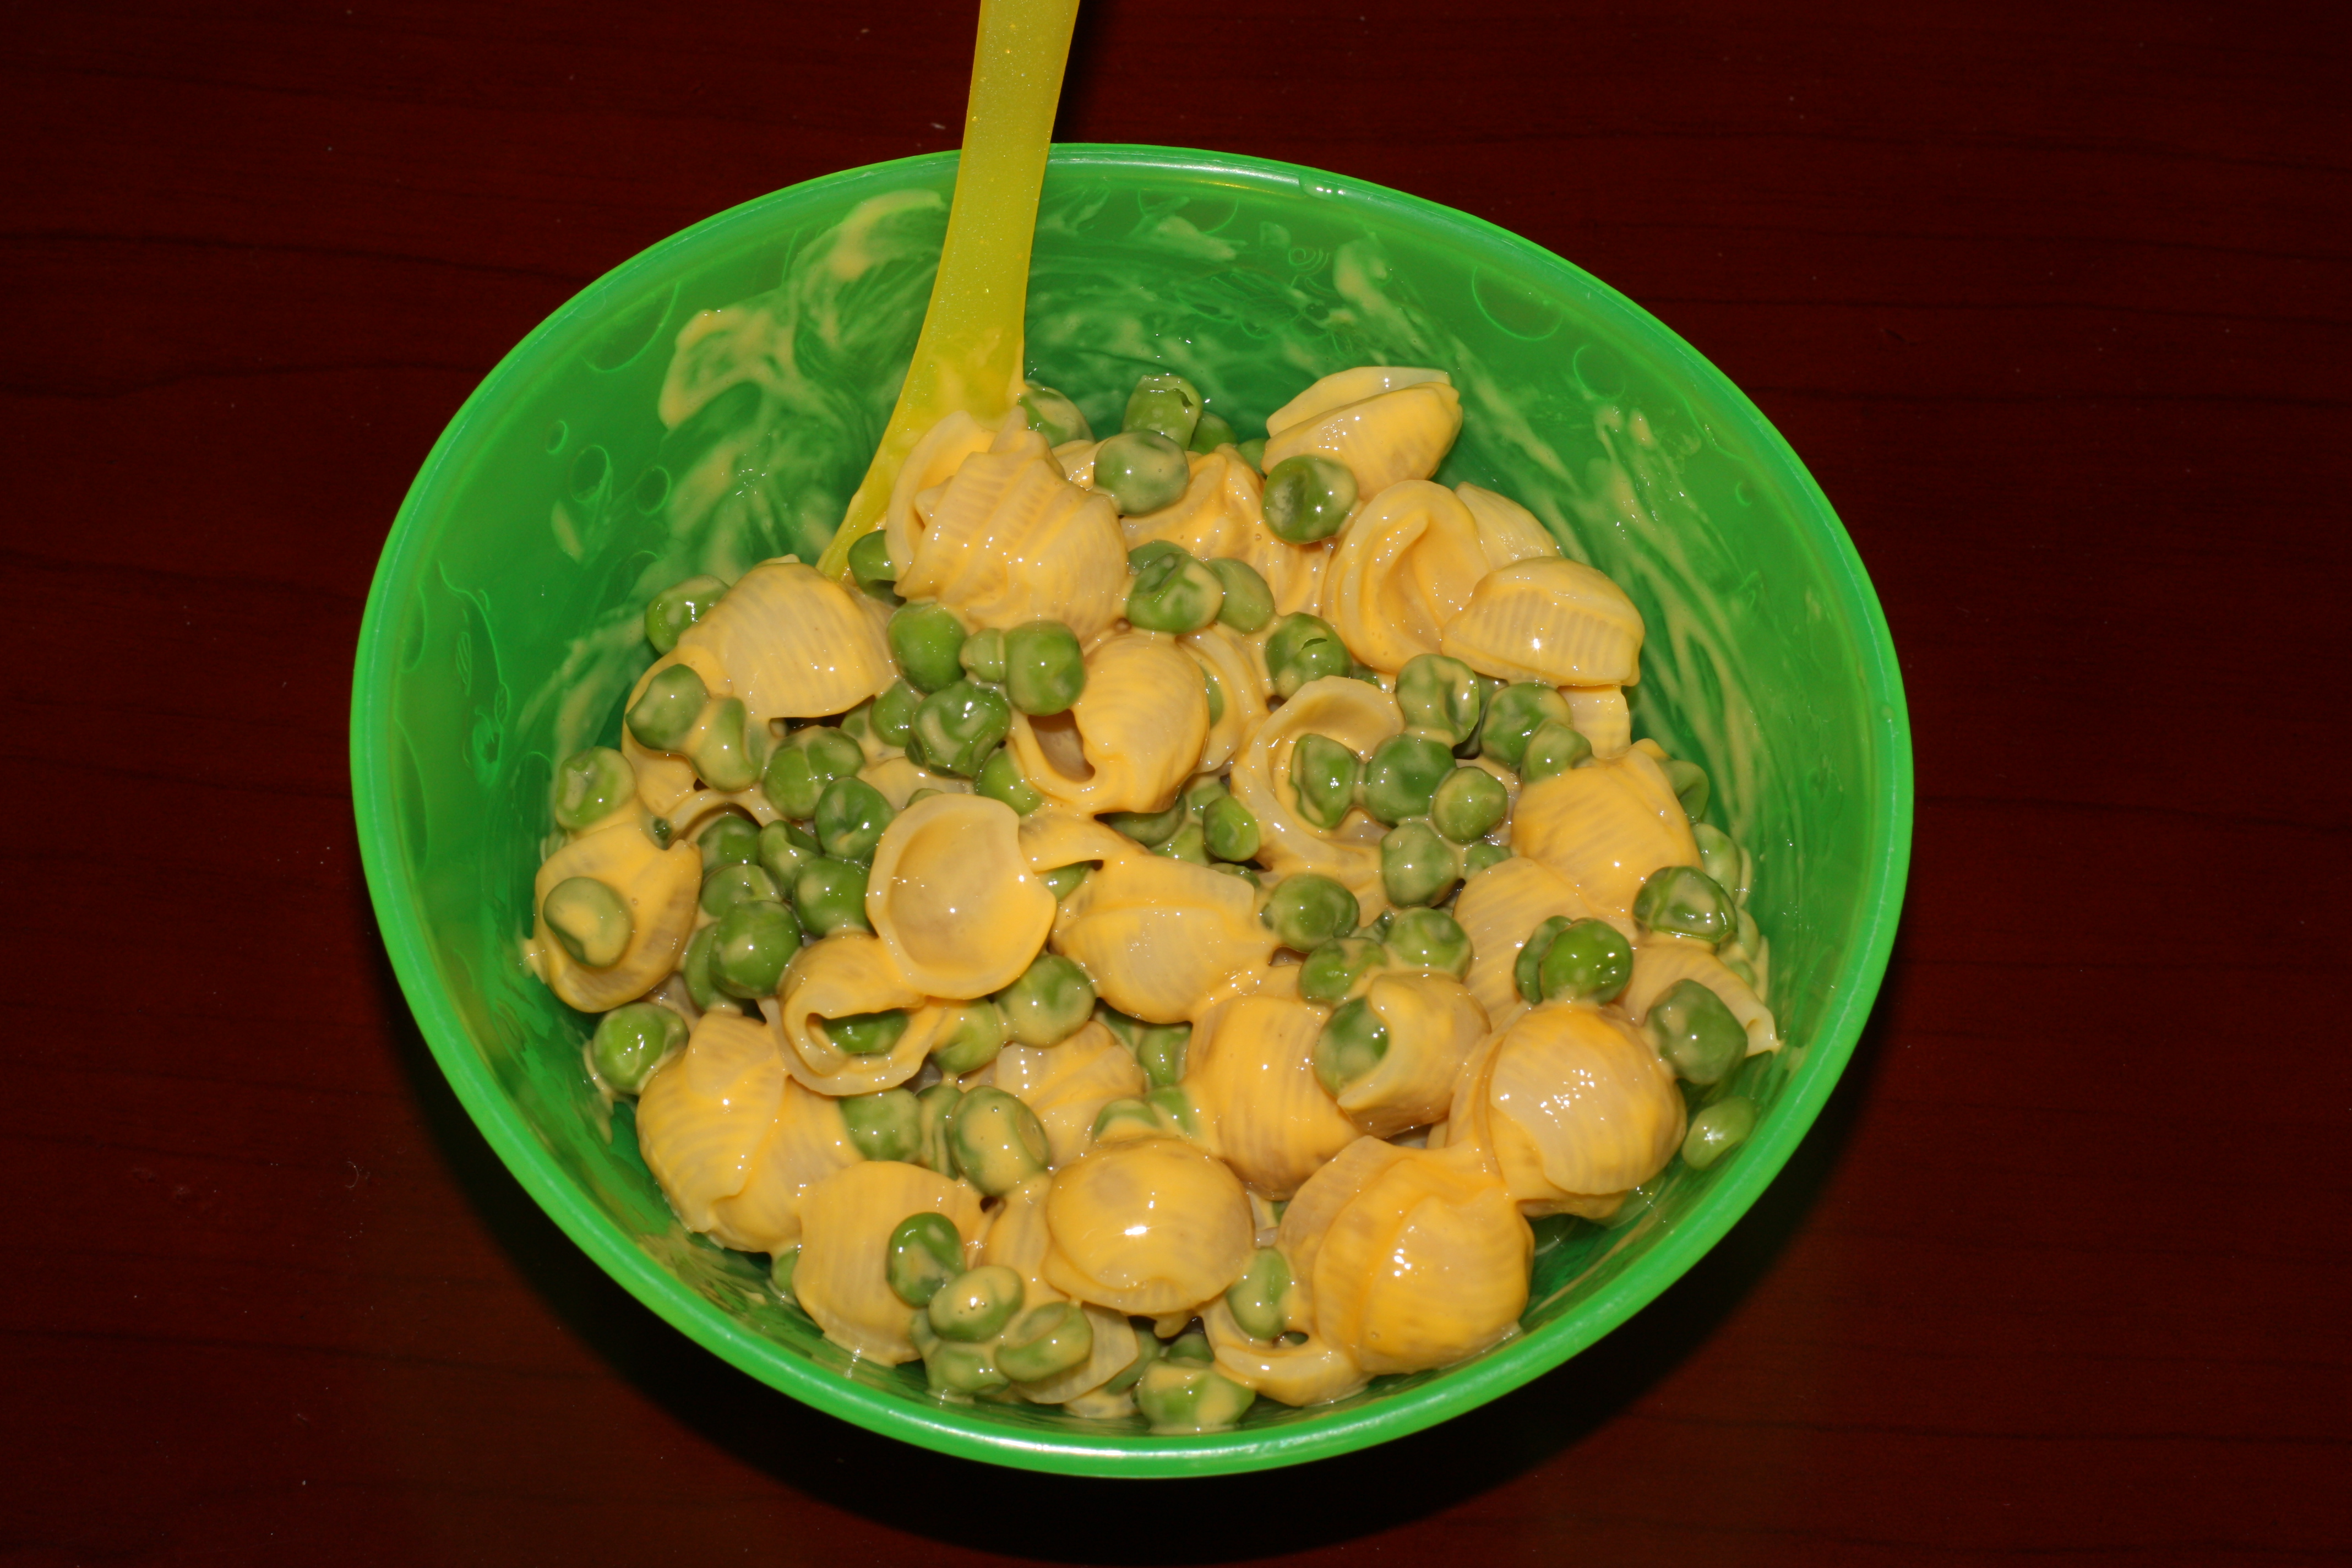
Now I'm trying to decide if this is wrong, but since I've been having some trouble getting the little Bhudda belly to eat his veggies I decided to try this . . .


Peas in Oatmeal

Peas in Macaroni
I know, I know. Disgusting! He loved it though, well the veggies in oatmeal at least. He will eat anything I put into oatmeal. So far we've tried potatoes, sweet potatoes, carrots, peas, and corn. 

Oh, last night we tried him in the crib again and he slept through the night! And I just laid him down for a nap, quiet as a mouse.

Monday, August 8, 2011

Soft Baby Blocks

Supplies:

6 fabric squares in the same size (any size depending on how large you want the blocks). I suggest using a few different fabric types to give it a little textural interest. I like to pick 3 different prints for each block and cut 2 squares from each print. It works well to use one solid, one pattern, and one with pictures or characters on it, but that all really depends on your personal taste. You can also do all 6 sides in the same or all different prints.

fiber-fill or other soft filling

sewing supplies (sewing machine, needle, and thread)


To make the block:

- You want to start by figuring out how you want your blocks arranged. Do this by laying them in a lower case "t", 4 lined up, the extra 2 on either side of the 2nd square.
-Sew 2 squares from the row of 4 together on just one side, making sure the front sides of the fabric are facing each other. Repeat this until you have all 4 blocks connected.
-Use the same technique to sew the other 2 squares to the sides of the 2nd square in the row of 4 blocks.
-Time to make the block 3-D. I like to begin with the cross  part of the "t". So using the picture above I would sew the blocks with lions on them to the pattern on  the left. That is my preference, you can start sewing in any order.
-When you get to the last side (the one that would complete your block), only sew it about 1/2 or 3/4 the way  depending on how large you need the opening to be to stuff the block.
- Cut the edges so the end points with be sharper.
- Turn the block inside out (TIP: Use a pencil to push out the edges to make them more pointed).
- Fill the block with your stuffing of choice
(TIP: Add a bell, tissue paper, or rattle to the inside so when baby shakes them they make noise)
- When the block is stuffed, hand sew the opening closed
I made a set of these for a birthday party back in April. It was cowboy themed, but would you believe I searched the entire fabric section of our craft store and could not find a single cowboy themed print? Luckily I happened to come across a cowboy hat iron-on application that did the job. I stuffed one of the blocks with a bell that I made sure was quiet enough not to be obnoxious to mom and dad. I wanted one to rattle, but most of my ideas involved using food, which I did not want to do. I ended up using little lightweight maze party favors that came in a pack of 6 at our dollar store. My son loved the one with the maze in it.

Friday, August 5, 2011

Night 1 in the Crib


Our son will be 15 months in 2 weeks and has not yet slept a single night in his crib. Let me elaborate on that a little bit. His crib is in his room on the other side of the house. He does currently sleep in his playpen, which is in our room. I'd like to say we have tried very hard to get him to sleep in his own room. Truth be told, we have only tried once for less than an hour and it was horrible. So I mentally prepared myself all day for his first night in his own room, which should have been tonight.

I knew it was going to take a lot more than laying him down, him putting his thumb in his mouth, and quietly falling asleep shortly after, which is what currently happens when we lay him into his playpen. So after dinner we played for a few hours, running around the house and making sure no area was left clean. Then it was bath time. After his bath, we brushed our teeth, I put Eli into his pajamas, massaged his sweet little hands and feet, and read him a book. Then it was time to lay down.


As soon as he realized he was going into the crib he began screaming. So I did what I am sure several of you have done or will do at some point. I hopped in too. I brought a ball and a few books, but he was more interested in carrying them around than reading them. He was showing no signs of exhaustion, then as I started to wonder how long I would be waiting it out in his crib he rubbed his eyes. Yes! So I lay him down, hopped back out of the crib and lay beside it. Of course he jumped right back up and began playing again, all the while peeking over to make sure I was still around.


I managed to sneak out. When he realized I was gone he cried, but it was that weak type of cry that they have when they are fighting just to keep their eyes open. I stood near his door while he cried, just out of view and after about 3 painful minutes he fell asleep. *does dance*

That was short lived.

Just as I was about to claim victory, he woke up and screamed the most horrible scream. His smiles melt my heart and his cries break it. What can I say?


Needless to say I scooped him right out of that crib, squeezed him for a little while, laid him into the playpen, and he fell right to sleep. We'll try again tomorrow.

Saturday, July 30, 2011

Receiving Blanket Cupcakes

My husband's co-worker and his wife just had their second child and first little girl. We wanted to congratulate them with a little gift. Now I'm definitely all about giving homemade gifts. I think it says something when someone is willing to put in the time to make something for you. And since I do believe time is sometimes money, in my mind homemade should almost always be less expensive. This project is no exception! I got this idea from Little Birdie Secrets.

Supplies:

4 Receiving Blankets
4 Clothing items, toys, or washcloths
4 Large Coffee Filters (8 if you want to double them)
4 Rubber Bands
4 12 inch pieces of ribbon (may be all one color or all different)
1 Windowed Cupcake Bakery Box

Directions:

1. Fold each receiving blanket so that it is about 3 inches wide.


2. If you are using a toy you may skip this step. If you are using clothing or a washcloth place it over a fist and fold the edges into the center. You may also lay it on a flat surface and fold the outsides inward. Be sure to make sure all elastic, buttons, or sleeves are folded to the inside to give the cupcakes a neater look.


3. Wrap the receiving blanket around the toy, washcloth, or piece of clothing starting at the highest point you would like the cupcake and wrapping around and down to create a peaked top.


4. Once the cupcake is wrapped tie it with a rubber band.


5. Place the cupcakes into coffee filters. I used 2 filters per cupcake because they are thin.


6. Tie a piece of ribbon around each cupcake. You may use one color for all the cupcakes or multiple colors. Since my cupcakes were fairly neutral colored, I wanted to add a little more color so I went with 4 different colored pieces of ribbon.


7. Place your finished cupcakes in the bakery box. The smallest box available at the store where I purchased my cupcake box was 12"x12". This was too large for 4 cupcakes so I used tape at the bottom of the coffee filters to secure the cupcakes to the box and keep them from shifting in transit. You could also make more than 4 cupcakes to fill up the box if you'd like.


Cost Breakdown:

Pack of 5 receiving blankets - $2 clearance
Onesie & short outfit (separated to make 2 cupcakes) - $1 clearance
Pair of shorts - $1 clearance
Windowed Cupcake Box - $2
All other supplies came from my crafting supplies.

Total: $6